

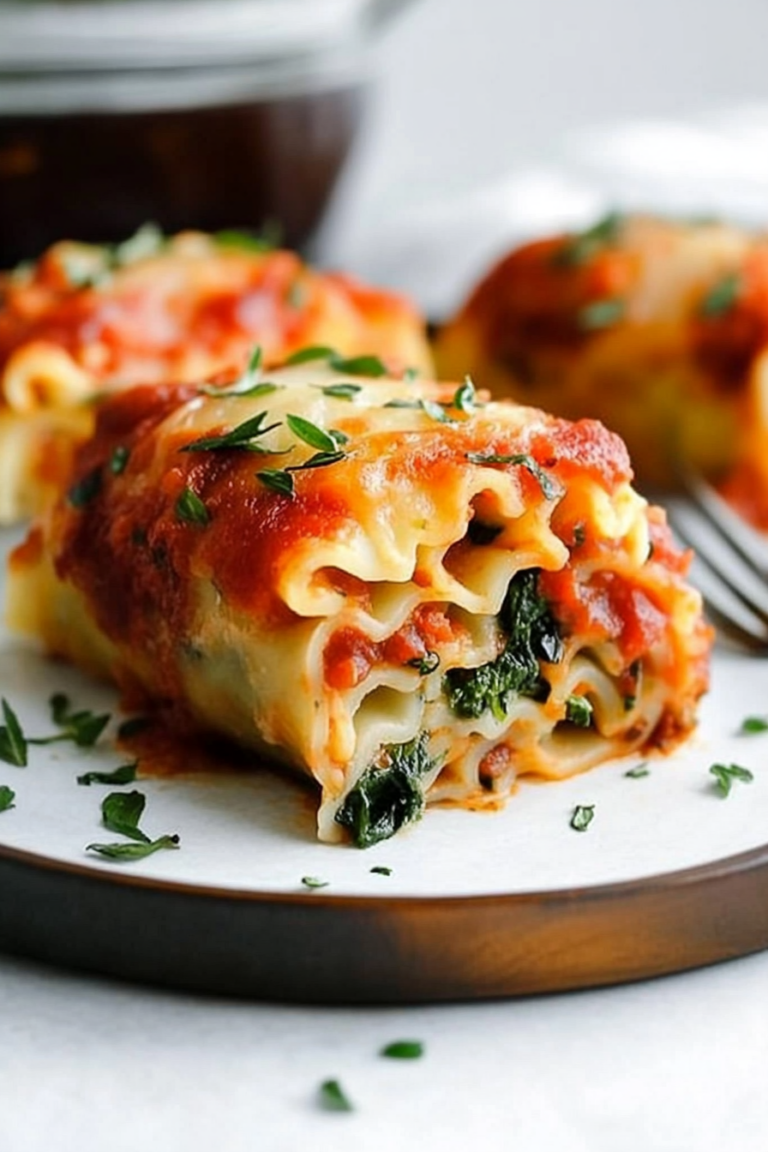
Hearty Cabbage and Sausage Skillet
There’s something about the smell of banana bread baking that instantly takes me back to childhood mornings—those cozy weekends when my mom would pull a warm loaf out of the oven just as we were all stumbling into the kitchen. Over the years, I’ve tweaked that classic recipe a bit, adding zucchini to make it even moister and a little healthier. Honestly, this zucchini banana bread has become a family favorite—my kids ask for it all the time, and I love that I can sneak in some veggies without anyone noticing. It’s perfect when I want something sweet but don’t feel like baking a complicated dessert or indulging in a grocery store treat. Plus, the flavor? Serene, slightly fruity, with just enough sweetness to satisfy that afternoon craving. It’s so good, I always do this when I need a comforting, homemade pick-me-up, and I promise, once you try it, it’ll be top of your list too!
What is Zucchini Banana Bread?
Think of zucchini banana bread as a cozy hybrid between comfort food and sneaky veggie goodness. It’s essentially a moist, fluffy loaf that combines the familiar sweetness of ripe bananas with the mild, tender texture of shredded zucchini. The name says it all: zucchini adds moisture, a little healthy flair, and a subtle earthy flavor that balances the sweetness of the bananas. It’s a baking “hack” I first discovered when trying to use up a bounty of zucchinis from my garden—turns out, it works beautifully! This bread stays incredibly soft and keeps well for a couple of days, which is a lifesaver on busy mornings or lazy Sunday afternoons. Whether you’re into quick snacks, breakfast, or even dessert, this bread hits the spot. It’s the kind of recipe that feels like a hug—simple, wholesome, and oh-so-delicious.
Why you’ll love this recipe?
What I love most about this zucchini banana bread is its perfect harmony of flavors and textures. The bananas lend a rich, sweet aroma that fills the kitchen, while the zucchini keeps everything unbelievably moist and tender—seriously, even a day later, it’s still just as soft. Plus, it’s super easy to make, with common ingredients you probably already have in your pantry. No fancy equipment needed—just a mixing bowl, a grater, and some patience as it bakes. Budget-wise, it’s definitely wallet-friendly, especially since zucchini is such an inexpensive veggie option, and bananas are usually on sale. I’ve tested this with slightly less sugar, and it still comes out flavorful and not overly sweet, which is great if you’re watching your sugar intake. This bread is also versatile: serve it toasted with butter in the morning, or cut thick for a snack or dessert with a drizzle of honey or a smear of cream cheese. Honestly, it’s become a staple in my house because it’s so adaptable and crowd-pleasing.
How do you make Zucchini Banana Bread?
Quick Overview
This zucchini banana bread recipe is a breeze—just mash ripe bananas, grate zucchini, mix everything together, and bake. The secret is in not overmixing—puffier, more tender slices come when you gently fold the ingredients. I usually toss everything into one bowl, which makes clean-up easier, and I love that I can prep it in under 15 minutes. The best part? It’s foolproof, and once in the oven, the smell alone will make everyone in the house wander into the kitchen. From start to finish, it’s a comforting, wholesome treat—perfect when you want something homemade but don’t have hours to spend in the kitchen.
Ingredients
For the Main Batter:
– 3 ripe bananas, mashed (the browner, the sweeter)
– 1 ½ cups grated zucchini (about 1 medium zucchini)
– 2 cups all-purpose flour (I’ve used whole wheat, and it’s just as good!)
– 1 teaspoon baking soda
– ½ teaspoon baking powder
– ½ teaspoon salt
– 1 teaspoon cinnamon (optional but adds warmth)
– ½ cup granulated sugar (or honey/maple syrup for natural sweetness)
– ⅓ cup vegetable oil or melted butter
– 2 large eggs
– 1 teaspoon vanilla extract
For the Filling (Optional but Delicious):
– Chopped walnuts or chocolate chips (my kids love a sprinkle of chocolate!)
For the Glaze (Optional):
– ½ cup powdered sugar
– 1-2 tablespoons milk or cream
– A splash of vanilla or lemon juice for flavor
Step-by-Step Instructions
Step 1: Preheat & Prep Pan
Set your oven to 350°F (175°C) and grease a loaf pan with butter or non-stick spray. You could also line it with parchment paper—trust me, this makes removal so much easier, especially if you’re attempting a neat slice.
Step 2: Mix Dry Ingredients
In a large bowl, whisk together the flour, baking soda, baking powder, salt, and cinnamon. Your dry ingredients should be well combined—this step is key to an evenly risen loaf. I always do this first to keep everything organized.
Step 3: Mix Wet Ingredients
In a separate bowl, mash the bananas with a fork until smooth. Then add the eggs, vegetable oil, vanilla, and sugar. Whisk until everything is nicely blended. The smell alone of the bananas and vanilla is enough to get you excited! If your bananas aren’t super ripe, I’ve found that adding a tiny bit of brown sugar helps boost the flavor.
Step 4: Combine
Pour the wet mixture into the dry ingredients and gently fold with a spatula. Be careful not to overmix—only mix until just combined. Overmixing can make the bread dense, and that’s something I learned after a few ruined batches. The batter will be thick, but that’s perfect.
Step 5: Prepare Filling
If you’re adding chocolate chips or nuts, fold them into the batter now. For the zucchini, squeeze out excess moisture with a clean towel or paper towel before adding, so your bread doesn’t turn out watery.
Step 6: Layer & Swirl
Pour half the batter into the prepared loaf pan. Then sprinkle your filling, and pour the rest on top. If you want a pretty swirl, use a knife to gently drag through the batter before baking—this creates a marbled effect that everyone will love.
Step 7: Bake
Bake for about 50-60 minutes, or until a toothpick inserted in the center comes out clean. Every oven is a little different, so start checking around 50 minutes. If your crust gets too dark before the middle is done, tent it with foil and keep baking. Trust me, patience pays off when waiting for that perfect rise and moist crumb.
Step 8: Cool & Glaze
Let the bread cool in the pan for about 10 minutes before transferring to a wire rack. Once cooled slightly, drizzle with your glaze or dust with powdered sugar. Honestly, that sweet glaze makes it look like a bakery masterpiece — and it’s so simple to whip up.
Step 9: Slice & Serve
Use a serrated knife for clean slices — patience again! Serve it warm or at room temperature. I love it with a pat of butter or a smear of nut butter. It’s also fantastic toasted the next day—the edges get crispy, and the inside stays soft. I often heat a slice for about 10 seconds in the microwave, and it’s like comfort in a bite.
What to Serve It With
This zucchini banana bread is such a versatile treat—here are some ways I serve it around my house:
For Breakfast: With a strong cup of coffee or tea, sliced thin and toasted with butter or cream cheese.
For Brunch: Pair with fresh fruit and a dollop of Greek yogurt, or serve it alongside scrambled eggs to make a quick, satisfying meal.
As Dessert: Warm slices with a drizzle of honey or a dusting of powdered sugar. I even love serving it as a sweet ending to a simple family dinner, especially with a scoop of vanilla ice cream if I’m feeling extra indulgent.
For Cozy Snacks: Cut into thick wedges, and enjoy with a glass of milk or hot cocoa. It’s my go-to after a busy day when I need a little pick-me-up that’s both wholesome and totally satisfying.
This bread has turned into our little family tradition. I often sneak shredded zucchini into zucchinis muffins or pancakes, but honestly, this bread is the star—my kids request it every weekend, and I love knowing I’m feeding them something nourishing and delicious.
Top Tips for Perfecting Your Zucchini Banana Bread
Over the years, I’ve picked up a few tricks that make this zucchini banana bread even better. Here are my top tips:
- Zucchini Prep: Make sure to squeeze out excess moisture after shredding. Moisture is what can make your bread sink or turn soggy, and no one wants that. I keep a clean kitchen towel handy for this.
- Mixing Advice: Don’t overmix once you’ve added the flour. Stir just until the ingredients are combined—the batter should be slightly lumpy, that’s how you get a tender crumb.
- Swirl Customization: For a more dramatic swirl, add a layer of nutella or jam between the layers of batter before baking. It looks beautiful and tastes divine!
- Ingredient Swaps: Want to make it gluten-free? Use a 1:1 gluten-free flour blend. For a little extra flavor, sprinkle in some cardamom or nutmeg.
- Baking Tips: Oven times vary, so start checking at 50 minutes. If it’s browning too quickly, cover with foil. Also, let it cool completely before slicing for clean cuts and a luscious, soft interior.
- Glaze Variations: Try lemon glaze for a citrus zing or cream cheese frosting for a richer treat. Just keep the consistency slightly thick so it drips beautifully down the sides.
After years of tweaking, I’ve learned that patience, gentle folding, and a good-quality banana make all the difference. Keep experimenting — I swear, each variation brings a new twist I love just as much as the original.
Storing and Reheating Tips
This zucchini banana bread is best enjoyed fresh but can easily be stored for later. Here’s how:
- Room Temperature: Wrap tightly in plastic wrap or store in an airtight container. It stays fresh for about 2 days, but honestly, it’s usually gone sooner!
- Refrigerator Storage: Keep in an airtight container for up to a week. To keep it moist, I recommend reheating slices briefly in the microwave—about 10 seconds do the trick.
- Freezer Instructions: Slice the loaf, wrap each piece tightly in plastic wrap, then foil. Freeze for up to 3 months. To serve, just thaw at room temperature or warm in the microwave for a few seconds—so handy when you want a quick treat.
- Glaze Timing: If you plan to store it longer, wait to add the glaze until just before serving. A fresh drizzle lifts the dessert and keeps it looking irresistible.
Trust me, this bread reheat beautifully and only gets better as it sits, gaining deeper flavors. Just be sure to protect it well in storage—it’ll remain moist and delicious, I promise!
Frequently Asked Questions
Final Thoughts
Honestly, this zucchini banana bread has become my little secret weapon—moist, flavorful, and so forgiving. Every time I make it, I get a little smile watching my family devour slices with genuine delight. It’s perfect for those busy mornings, lazy weekends, or whenever I need a comforting, homemade treat. Plus, the fact that I can sneak in zucchini makes me feel a little healthier, even if I’m indulging. Baking this bread reminds me that simple ingredients, when handled with love and patience, turn into something extraordinary. I hope you give it a try and make it your own—maybe add your favorite nuts or switch up the type of sweetener. Either way, I’d love to hear how yours turns out. Happy baking, and don’t forget to share a slice with someone you care about!
cabbage sausage
Ingredients
Method
- Slice the sausage into 1/2-inch pieces. Heat 1/2 tablespoon of oil in a skillet over medium heat. Cook sausage until browned, about 3 minutes per side. Transfer to a plate.
- Reduce heat to medium-low. Add remaining oil and cook chopped onion until softened. Add minced garlic, chopped cabbage, salt, and pepper. Toss to combine, cover, and cook for about 12 minutes, stirring occasionally, until cabbage wilts.
- Stir in red wine vinegar, return sausage to the pan, stir well, and cook for 3 more minutes until heated through and cabbage is tender. Taste and adjust salt if needed. Serve hot.


That sounds absolutely delicious! I love how comforting hearty skillets can be—perfect for cozy nights.
That sounds absolutely comforting! Banana bread really does bring back the best memories.
That sounds absolutely comforting—banana bread and cozy childhood mornings are the best! This cabbage and sausage skillet looks hearty and perfect for a chilly evening.
That sounds so comforting—nothing beats the warmth of banana bread filling the house. I can almost smell it now!
This recipe looks amazing—comfort food at its finest! I can already imagine the cozy aroma filling my kitchen.