
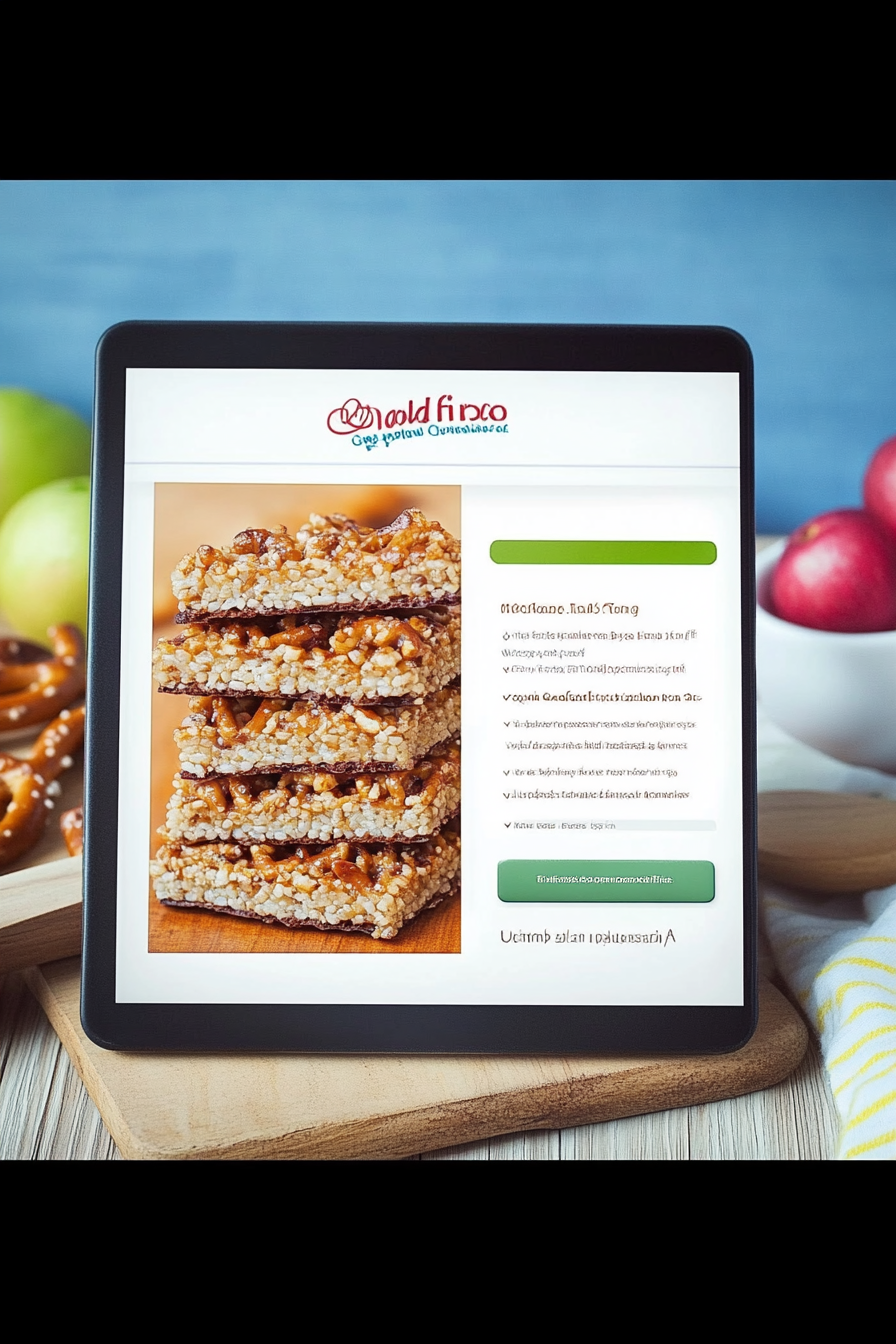
Easy Peanut Pretzel Rice Crispy Treats
There’s something about that first whiff of freshly baked cake that instantly feels like a warm hug, right? Every time I pull this zucchini swirl cake out of the oven, memories flood in — my grandma’s kitchen, weekend afternoons spent baking with my kids, the delighted squeals of my friends when I bring it to potlucks. Honestly, I’ve tested this with all kinds of variations—almond milk instead of regular milk, a splash of vanilla, even a sprinkle of cinnamon—and it’s always a hit. It’s incredibly forgiving and, thank goodness, easy enough for even a busy weeknight. Plus, I love how sneaky and wholesome it feels – sneaking some extra veggies into a dessert? Yes, please! If you’re craving something sweet but don’t want to spend hours fussing in the kitchen, this zucchini swirl cake is downright lifesaving. Trust me, once you try it, it’ll become a staple in your dessert lineup. My kids ask for this all the time, and honestly, I don’t mind—they finish their slices before I can even get seconds! We call it “The Cozy Cake” at home, and I think you’ll see why the second it hits your plate.
What is Zucchini Swirl Cake?
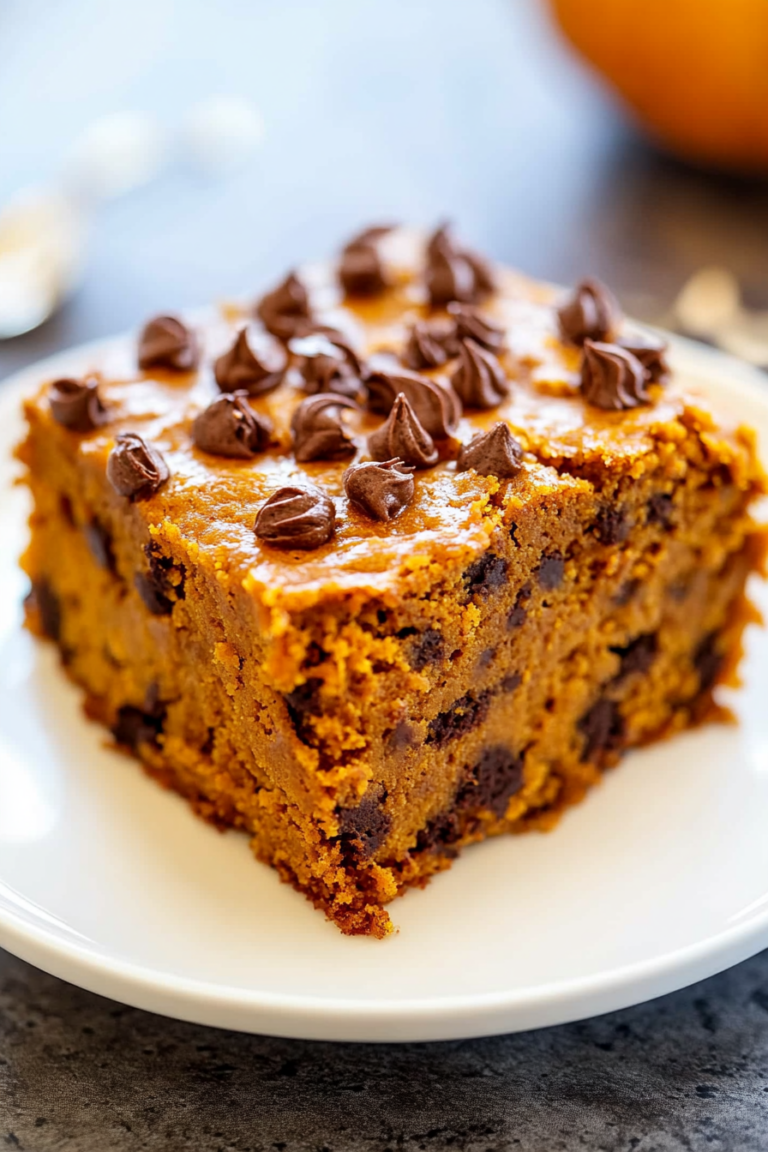
Think of this zucchini swirl cake as a cozy mash-up of a moist sponge cake with a touch of vegetable sneaking in for good measure. It’s essentially a tender, buttery cake layered with a nutty, cinnamon-spiced zucchini filling, swirled artfully through the batter—kind of like a marble cake but with a veggie twist. The name captures what’s special about it: the zucchini adds moisture and a subtle flavor without anyone suspecting there’s anything healthy hiding inside. It’s a little bit rustic, a little bit elegant, and perfect for just about any occasion—breakfast, brunch, after-school snack, or dessert. The swirl pattern is fun to make, and I love that this cake stays fresh for days, softening even more with time. When I first made this, I was surprised at how versatile it was — I’ve served it warm with a dollop of cream, chilled with a drizzle of icing, and even enjoyed it plain with a cup of coffee. The best part? It’s straightforward enough that I usually have everything I need in the pantry and fridge.
Why you’ll love this recipe?
Okay, real talk—what I love most about this zucchini swirl cake is how it combines simplicity with a touch of elegance. The flavor? Oh my gosh, it’s just perfectly balanced: a tender vanilla cake intertwined with a cinnamon-scented zucchini filling that’s slightly gooey and just sweet enough. Every bite feels like comfort food, but it doesn’t weigh you down. And the best part? It’s so easy to make. I always do this when I have a spare zucchini sitting in the fridge that’s on its last leg—grab it, grate it, and voila, you’ve got the base for a show-stopping treat. Plus, it’s budget-friendly, especially because zucchinis are so affordable and widely available. I’ve also experimented with different fillings—blueberries, chopped nuts, even a swirl of lemon curd—and let me tell you, each variation is delightful in its own way. What I really appreciate is how flexible this recipe is—whether you want a light dessert or something more decadent, it adapts easily. It’s a crowd-pleaser that feels special, but honestly, I make it just for my family on lazy Sundays when everyone’s craving something cozy.
How do I make Zucchini Swirl Cake?
Quick Overview
This cake starts with a simple vanilla batter, which you’ll pour into a prepared pan. Meanwhile, the zucchini filling is a quick mixture of grated zucchini, cinnamon, and a touch of sugar—think of it as a rustic jam. Once the batter is in the pan, dollop spoonfuls of the zucchini filling on top, then swirl it through with a knife to create a marbled look. Pop it in a preheated oven, and watch the magic happen! The smell alone will have everyone in the house wandering into the kitchen. When it’s done, it’s all about cooling it just enough to slice without it falling apart and then drizzling with a simple glaze or enjoying it plain. Honestly, I love how forgiving this recipe is — even if you overmix a tad or forget to swirl perfectly, it still comes out delicious. Quick, cozy, and utterly satisfying, it’s one of those recipes I come back to again and again.
Ingredients
For the Main Batter:
- 2 cups all-purpose flour (or a mix of whole wheat and white for extra fiber)
- 1 cup granulated sugar
- 1/2 cup unsalted butter, softened (or coconut oil, if you prefer)
- 1 cup milk (dairy or almond work equally well)
- 2 large eggs
- 1 teaspoon vanilla extract
- 1 teaspoon baking powder
- 1/2 teaspoon baking soda
- Pinch of salt
For the Filling:
- 1 1/2 cups grated zucchini (squeeze out excess moisture)
- 1/2 cup packed brown sugar or coconut sugar
- 1 teaspoon ground cinnamon
- 1 teaspoon vanilla (optional but nice)
For the Glaze:
- 1/2 cup powdered sugar
- 1-2 teaspoons milk or lemon juice (to thin)
- Optional: vanilla extract, citrus zest, or a splash of honey for extra flavor
Step-by-Step Instructions
Step 1: Preheat & Prep Pan
Set your oven to 350°F (175°C). Grease a 9-inch round cake pan or line it with parchment paper. A quick tip: if you want an extra-crisp crust, brush the pan with a little melted butter and dust with flour or sugar. This helps release the cake easily and adds a little natural shine.
Step 2: Mix Dry Ingredients
In a medium bowl, whisk together the flour, baking powder, baking soda, and salt. This step ensures everything gets evenly distributed and prevents clumps, giving you a light, airy texture in the finished cake.
Step 3: Mix Wet Ingredients
In a large bowl, cream the softened butter and sugar until fluffy—that usually takes about 2-3 minutes. Add eggs one at a time, mixing well after each, then stir in the vanilla. If your eggs are straight from the fridge, I sometimes warm the milk a little to avoid cold spots, and I always test the batter’s consistency before combining everything.
Step 4: Combine
Gradually add the dry ingredients to the wet bowl, mixing gently on low speed or folding with a spatula. Don’t overmix—just until everything comes together. A few lumps are fine, I promise. Overmixing can make the cake dense.
Step 5: Prepare Filling
While that’s happening, squeeze out excess moisture from the grated zucchini using a clean kitchen towel or cheesecloth. Mix it with the cinnamon, sugar, and vanilla until well combined. I like to taste a tiny bit of the mixture—if it’s too watery or bland, just add a little more sugar or cinnamon to balance it out.
Step 6: Layer & Swirl
Pour the batter into your prepared pan, smoothing the top with a spatula. Drop spoonfuls of the zucchini mixture over the batter—spread out evenly across the surface. Then, using a butter knife or skewer, swirl gently through the batter and filling to create a pretty marbled effect. Don’t over-swirl; just enough for those lovely streaks to emerge.
Step 7: Bake
Pop it into your oven for about 35-40 minutes. A toothpick inserted in the center should come out clean or with moist crumbs—no wet batter, please! Every oven is different, so start checking at 35 minutes. If the top gets too brown before it’s cooked through, cover loosely with foil for the last 10 minutes.
Step 8: Cool & Glaze
Let your cake cool in the pan for at least 15 minutes — this helps it set and prevents crumbs from falling apart when slicing. Meanwhile, whisk together your glaze ingredients. Once the cake is only lukewarm, drizzle it all over the top. The glaze sets quickly, adding just a touch of sweetness and shine.
Step 9: Slice & Serve
Use a sharp serrated knife to cut neat slices. This cake is delicious warm or cold—my kids love it straight from the fridge, with a dollop of cream or a sprinkle of powdered sugar. For presentation on a brunch table or dessert platter, serve slices dusted with extra cinnamon or topped with berries. It’s a real comfort, the kind that makes everyone ask for seconds.
What to Serve It With
Honestly, this cake is flexible enough to suit any mood. For breakfast, pair it with a strong cup of black coffee or a frothy latte—nothing beats starting the day with something homemade and warm. My family loves to enjoy a slice with Greek yogurt and fresh berries on weekends, turning it into a quick, wholesome brunch. When I want something a little more decadent, I heat a slice and add a dollop of whipped cream or vanilla ice cream—heaven. This cake also makes a fantastic after-dinner treat—serve it chilled with a drizzle of honey or a dusting of powdered sugar, maybe with a side of herbal tea or coffee. On casual days, I’ve sliced it into squares and packed it in lunchboxes for a sneaky veggie boost. No matter how you enjoy it, it’s comforting, satisfying, and just a little bit special. My kids actually ask for this all the time—they think it’s like a secret weapon for ending dinner on a high note!
Top Tips for Perfecting Your Zucchini Swirl Cake
Cooking is all about little secrets, and I’ve picked up quite a few over the years. Here are some tried-and-true tips to help you get that perfect slice every time:
- Zucchini Prep: Always squeeze out as much moisture as possible after grating. Watery zucchini can make your cake soggy or cause the swirl to sink in the batter. I use a clean dish towel or cheesecloth—trust me, this step makes all the difference.
- Mixing Advice: Don’t overmix your batter once the dry ingredients are in. Whipping too much air into the batter can lead to tunnels and a dense crumb. Mix just until combined, then fold gently.
- Swirl Customization: For prettier swirls, play with the pattern—you can do a figure-eight or circle motion, but don’t overdo it. Less is more when it comes to keeping the marbled effect distinct.
- Ingredient Swaps: Make it vegan by using coconut oil and plant-based milk; swap applesauce for eggs if needed. Or add a handful of chopped nuts into the filling for contrast.
- Baking Tips: Every oven varies, so start checking at 35 minutes. If the top gets too dark, tent with foil. Use a cake tester or toothpick to check doneness—less worry, more baking fun.
- Glaze Variations: Mix in a teaspoon of grated lemon zest for a citrus zing, or add a splash of almond extract. Apply it while the cake is only slightly warm so it melts in beautifully.
Over the years, I’ve learned to trust my senses and not stress too much about perfection. Sometimes, the most rustic-looking slices are the most delicious! This recipe is forgiving enough that even if it’s not picture-perfect, I promise it’ll taste just right. The secret is in patience and a little love in every step.
Storing and Reheating Tips
This cake is pretty hardy, but a few storage tricks can help keep it as fresh as the day it was baked. If you’ve got leftovers (lucky you!), here’s how I handle it:
- Room Temperature: Wrap it loosely with plastic wrap or store in an airtight container for up to 2 days. It stays moist and fragrant, especially if you add a bit of glaze on top when serving.
- Refrigerator Storage: Keep it in an airtight container or wrapped in foil for up to 5 days. The flavors actually deepen a bit in the fridge, making it perfect for next-day breakfast or snacks.
- Freezer Instructions: Wrap slices tightly in plastic wrap and store in an airtight container or freezer bag for up to 3 months. To enjoy, thaw at room temperature or gently microwave until warm. The texture stays lovely if you don’t overheat.
- Glaze Timing: For best results, add the glaze after reheating if you like it fresh and shiny—wait until the cake is just warm or cooled completely, then drizzle.
Honestly, I find that a little effort in storing pays off—fresh slices, soft texture, cozy aroma all over again. Plus, this cake tends to get more flavorful the next day, so don’t be afraid to make it a day ahead of your gathering or family breakfast!
Frequently Asked Questions
Final Thoughts
I truly can’t sing enough praises for this zucchini swirl cake. It’s one of those recipes that feels like a warm hug on a busy day—simple, comforting, and surprisingly versatile. Every time I make it, I get a little nostalgic, remembering my childhood kitchen where my grandma used to bake something similar, only she’d toss in even more love—and maybe an extra handful of chocolate chips! Now, I pass that warmth along to my family through this humble, delicious cake. It’s perfect for when you want *something* sweet without overdoing it, and it’s so forgiving that even a beginner baker can nail it. If you give it a try, I’d love to hear how it turns out or if you’ve made your own tweaks. Happy baking, friends — and don’t forget a big glass of milk or a warm cup of coffee to enjoy alongside!

Peanut Pretzel Rice Crispies
Ingredients
Method
- In a large mixing bowl, combine rice cereal and chopped pretzels.
- In a microwave-safe bowl, melt peanut butter and honey together until smooth, about 1 minute.
- Pour the melted mixture over the dry ingredients and mix well to combine.
- Transfer the mixture to a greased baking dish and press down firmly.
- Sprinkle mini marshmallows on top and gently press them into the mixture.
- Allow to cool and set for at least 30 minutes before cutting into bars.

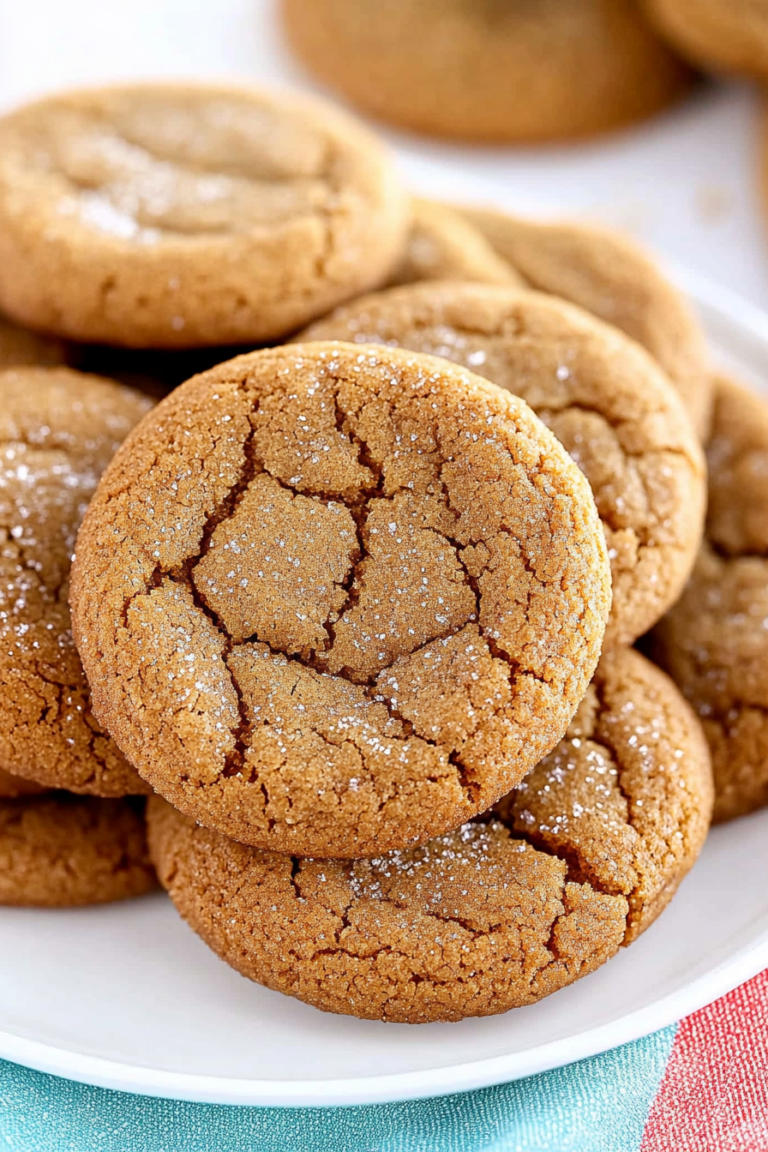
So delicious and easy to make — my kids love the peanut pretzel twist!
These peanut pretzel rice crispy treats look so fun and tasty—I bet the pretzel crunch makes them extra special!
These look absolutely delicious! The peanut pretzel twist sounds so unique and tasty—perfectly sweet with a salty crunch. Can’t wait to try this recipe!
I love how these treats combine sweet and salty so perfectly—my kids ask for them all the time!
So yummy! I’m definitely adding these to my next baking day.