

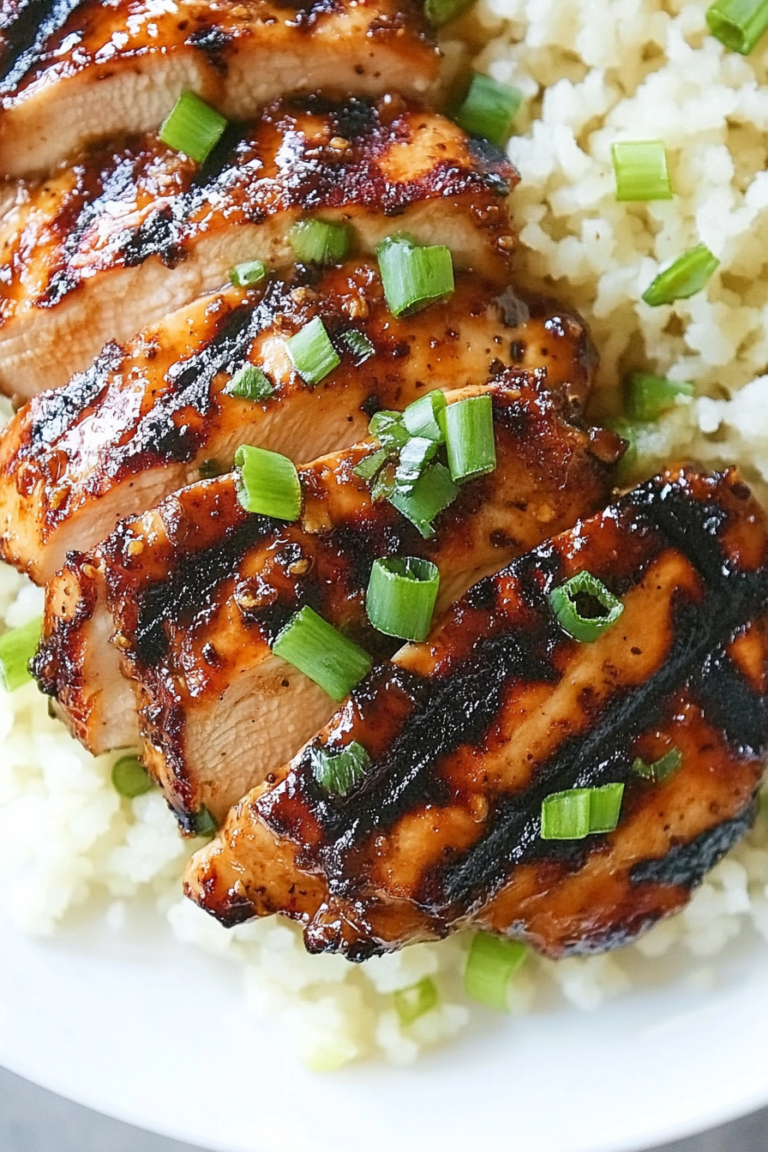
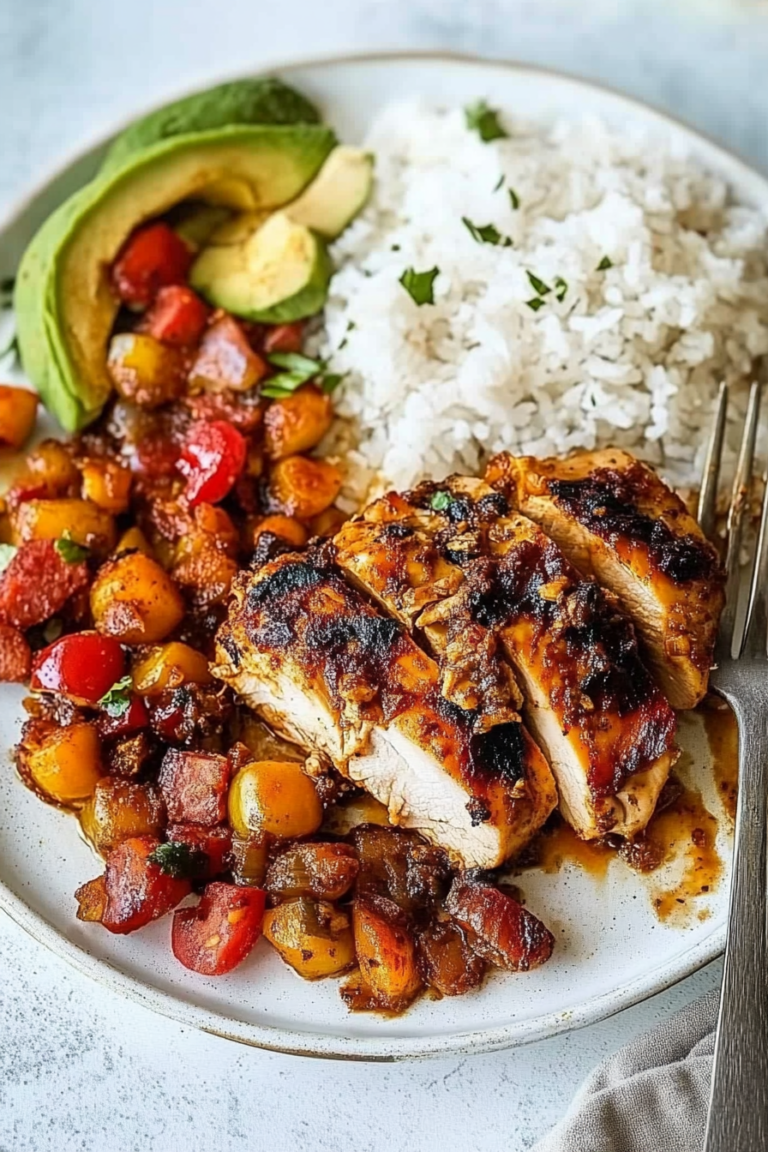
Savory Stuffed Squash with Sausage & Mushrooms
If there’s one thing I know for sure, it’s that a slice of homemade cake, especially one that combines the unexpected—like zucchini and chocolate—can turn an ordinary afternoon into something special. I remember baking this on a rainy Sunday, the kitchen filled with the warm scent of cocoa and fresh zucchini, and my kids asking if I was making their favorite dessert. It’s funny because, at first, I was a little skeptical about adding zucchini to cake—I mean, what kid wants veggies in their sweet treat? But trust me on this one: it’s a total game changer. The zucchini keeps the cake moist and tender, while the swirl of chocolate adds that indulgent, rich flavor. This recipe is my secret weapon for when I want something comforting but also sneaks in a bit of healthy goodness. It’s simple enough for a weeknight family dinner yet special enough for guests. Honestly, I always do this when I need a quick win. My favorite part? The glaze—glossy, just sweet enough, and totally addictive. I promise, once you try this, you’ll be adding it to your regular rotation too.
What is a Zucchini Swirl Cake?
This one’s a cozy, crumbly, insanely chocolatey cake with a lively twist—the swirl of grated zucchini running through it. Think of it as a mash-up between the classic chocolate loaf and a veggie-packed surprise. The name might sound fancy, but it’s really just a humble cake with a sneaky vegetable upgrade. It’s essentially a chocolate loaf cake, but when you take a bite, you get this luscious moistness thanks to the zucchini—without any hint of the vegetable’s texture or flavor. The swirl of melted chocolate runs through the batter, giving each slice those beautiful marbled patterns that are almost too pretty to cut. I love how this cake brings a bit of nostalgia—like those Sunday afternoons in my grandma’s kitchen—yet it’s so straightforward to whip up. The best part? It’s a cake that kids love, adults love, and honestly, it’s perfect for those days when you need comfort but don’t want to spend hours in the kitchen.
Why do you love this movie?
What I love most about this chocolate zucchini swirl cake is how it combines simplicity with a little bit of magic. It’s the kind of dessert that tastes incredibly rich and indulgent, but the secret ingredient—zucchini—keeps it surprisingly light and moist. The flavor is just right: deep, velvety chocolate with a subtle earthy undertone from the zucchini. Plus, it’s a real time-saver because I always keep grated zucchini in the freezer, which means I can throw this together any day of the week. Budget-wise, it’s super frugal; you probably already have all the ingredients in your pantry and fridge. Another plus? This cake is incredibly versatile. You can eat it plain for breakfast (no judgment here!), serve it as a casual weekend dessert, or dress it up with fresh berries and whipped cream for a dinner party. My friends are always amazed when I tell them about the zucchini—“Really? No one can tell!” I say, sneaking in healthy bits without sacrificing flavor. Plus, the swirl of melted chocolate makes each bite feel like a little celebration. It’s honestly become a staple in my household because it’s so forgiving and always impresses everyone, even picky eaters.
How do I make Zucchini Swirl Cake?
Quick Overview
This cake comes together in about an hour, thanks to its straightforward steps. The trick is to grate the zucchini and squeeze out excess moisture, mix your wet and dry ingredients carefully, and layer the batter with the chocolate swirl. Once it’s in the oven, you pretty much just wait, and smelling that rich cocoa aroma is the best part. No fancy techniques required—just a mixing bowl, a spoon, and some patience. Trust me, this one’s a lifesaver on busy nights when a comforting, homemade treat is calling your name. Plus, the swirling of the chocolate adds a gorgeous marbled effect without any complicated piping or artistry. It’s the kind of recipe that feels fancy but is totally forgiving—my kind of baking.
Ingredients
For the Main Batter:
– 1 ¾ cups all-purpose flour (I like unbleached for a richer flavor)
– ¾ cup granulated sugar (you can reduce slightly if you want less sweetness)
– ½ cup unsweetened cocoa powder (preferably Dutch-processed)
– 1 teaspoon baking soda
– ½ teaspoon baking powder
– ½ teaspoon salt
– 2 large eggs (at room temperature helps with smooth mixing)
– ½ cup vegetable oil (or melted coconut oil for a hint of flavor)
– 1 teaspoon vanilla extract
– 1 cup grated zucchini (squeezed dry, see tips below)
For the Filling (Chocolate Swirl):
– ½ cup semi-sweet chocolate chips or chopped chocolate
– 2 tablespoons heavy cream or coconut milk (to make a quick ganache)
– Optional: a teaspoon of espresso powder for richness
For the Glaze:
– ½ cup powdered sugar
– 1-2 teaspoons milk (dairy or nut milk)
– A touch of vanilla or cocoa powder for extra flavor
– Optional: sprinkles or chopped nuts for garnish
Step-by-Step Instructions
Step 1: Preheat & Prep Pan
Set your oven to 350°F (175°C). Grease a loaf pan or line it with parchment paper — I like using a quick spray of non-stick spray and a little dusting of flour. This cake is pretty sticky, so proper prep saves a lot of headaches later. Also, grate your zucchini first and squeeze out as much moisture as possible—this makes it tender and prevents a watery batter. I always do this with a clean dish towel or cheesecloth to get maximum liquid out. Once you’ve prepped everything, you’re good to go!
Step 2: Mix Dry Ingredients
In a big bowl, whisk together the flour, cocoa powder, baking soda, baking powder, sugar, and salt. It’s essential to blend these thoroughly to avoid clumps of cocoa or uneven leavening. I like to use a sifter or just whisk briskly. The dry mix should look uniform, which guarantees even baking and flavor distribution.
Step 3: Mix Wet Ingredients
In another bowl, beat the eggs, oil, and vanilla until they’re well combined. I usually do this with a fork or whisk—then, add the grated zucchini. Sometimes I add a splash of milk if the batter feels thick. The batter should be smooth, creamy, and just a little glossy. This mix is where the magic happens—it’s all about balancing wet and dry, so don’t rush this step.
Step 4: Combine
Gently fold the wet ingredients into the dry bits until just combined. Be careful not to overmix—overmixing can lead to dense cake. A few lumps are OK; the batter should be thick but spoonable. I always say that patience pays off here because we want a light, tender crumb.
Step 5: Prepare Filling
In a small microwave-safe bowl, melt the chocolate chips with the heavy cream, stirring every 15 seconds until glossy and smooth. If you’re feeling extra indulgent, sprinkle in a bit of espresso powder to boost the chocolate flavor—my secret ingredient! Let it sit until slightly thickened, about 5 minutes.
Step 6: Layer & Swirl
Pour about half the batter into your prepared pan. Drizzle half of the melted chocolate over it, then add the rest of the batter and top with the remaining chocolate. Using a butter knife or skewer, gently swirl the layers together—think of it as creating a marbled effect. Don’t overwork it; just a few gentle swirls will do. The visual is almost as tasty as the flavor!
Step 7: Bake
Pop it into your oven and bake for about 40-45 minutes. The top should look set, with a few tiny cracks—exactly what I love to see. To check if it’s done, insert a toothpick into the center; it should come out with moist crumbs but no wet batter. Every oven varies, so start checking around the 40-minute mark.
Step 8: Cool & Glaze
Let the cake cool in the pan for about 15 minutes, then transfer to a wire rack. Once completely cooled, whisk together the powdered sugar and milk to make a smooth glaze. Drizzle this over the cake in a zigzag pattern—trust me, it makes it look adorable—and sprinkle with nuts or sprinkles if you like. The glaze sets quickly and adds that glossy, irresistible finish.
Step 9: Slice & Serve
Use a serrated knife to cut through once it’s fully cooled. I love serving it slightly warm, with a dollop of whipped cream or a scoop of vanilla ice cream—yum. This cake is even better the next day, when the flavors have had time to mingle fully. It slices beautifully and stays moist for days, if it lasts that long!
What to Serve It With
Honestly, this cake is versatile enough to suit any mood. For breakfast, pair a slice with your morning coffee—nothing beats waking up to the smell of cocoa and zucchini. It’s also fantastic as a brunch centerpiece, especially with fresh berries and a splash of cream. My kids adore it as a dessert, especially topped with a bit of extra glaze and some chopped nuts. At dinner parties, I like to serve thin slices with a scoop of vanilla ice cream or a swirl of mascarpone for a fancy touch. And for casual afternoons, just a cup of tea and some good company will do. I love to keep a slice wrapped tightly in foil or stored in an airtight container for up to 3 days, though it rarely lasts that long here. The secret is to keep it in a cool, dark place or in the fridge if you’re humid. Honestly, it’s a showstopper—no one can resist that gorgeous marble look and the rich chocolate aroma.
Top Tips for Perfecting Your Chocolate Zucchini Swirl Cake
If you want your cake to turn out just right every time, here are some tips I swear by:
- Zucchini Prep: Always squeeze out as much moisture as possible after grating. I do this with a clean dish towel—try to avoid watery batter because it can affect the texture. Use fresh zucchini; older ones tend to be watery and can make the cake dense.
- Mixing Advice: Gently fold the wet and dry ingredients. Overmixing develops gluten, which results in a tougher cake. Look for a slightly lumpy batter and resist the urge to stir until completely smooth.
- Swirl Customization: When layering and swirling, don’t overdo it—just a few gentle passes create the marbled look and keep the chocolate visible for that wow factor.
- Ingredient Swaps: Want to make it dairy-free? Coconut oil and coconut milk work beautifully, and dark chocolate chips make it even richer. Adjust sweetener if you prefer it less sweet—sometimes I use honey or maple syrup in place of sugar for a different flavor profile.
- Baking Tips: Always check doneness a few minutes early—ovens vary. If the top is browning too quickly, tent with foil. It’s done when a skewer inserted in the center comes out moist but not wet.
- Glaze Variations: Mix in a teaspoon of vanilla or a splash of almond extract for extra flavor. For a fruitier touch, add a spoonful of berry jam or citrus zest to the glaze.
Over the years, I’ve learned that patience and gentle handling make all the difference. Sometimes I even sprinkle a few chocolate chips on top before baking—they melt beautifully and add a little extra crunch. Also, don’t skip the squeezing step; I learned the hard way that wetter batter sinks and makes the cake heavier. practice makes perfect, and after a few tries, you’ll find your rhythm. Just remember, this cake is forgiving—if it’s a little underbaked, it’s still delicious, and if you overmix a bit, it’ll still taste amazing. It’s about enjoying the process and indulging in that perfect, melted chocolate swirl with every slice.
Storing and Reheating Tips
This cake keeps pretty well, which is great because I often make it ahead for a crowd or a family gathering. Store it at room temperature, loosely covered with foil or a cake dome, for up to 2 days. After that, it’s best to pop it in the fridge to maintain freshness—just bring it out and let it sit at room temp for about 10 minutes before serving. If you want to freeze it, wrap it tightly in plastic wrap and then foil. It’ll keep for up to 3 months! Thaw overnight in the fridge, then let it come to room temperature before slicing. The glaze can be added right before serving or stored separately if you prefer a fresher look. For the best texture, I recommend glazing just before serving—it gives that shiny, irresistible finish and keeps everything tasting fresh. Reheating slices briefly in the microwave (about 15 seconds) makes it feel just like right out of the oven, especially when topped with a dollop of whipped cream. Honestly, this cake is a wonderful make-ahead treat that always makes an impression—whether it’s for family, friends, or just a cozy night in.
Frequently Asked Questions
Final Thoughts
This chocolate zucchini swirl cake is more than just a dessert—it’s a hug in food form. It’s nostalgic, comforting, and a little sneaky—especially when you get that first bite, recognizing how moist, rich, and insanely chocolatey it is. I’ve made this countless times, and each batch seems to get better with small tweaks and personal touches. Sometimes I add a handful of chopped nuts or a dash of cinnamon for a little twist. The best part? Seeing my kids and friends’ faces when they realize zucchini is hidden inside (and no, they don’t mind at all!). It’s perfect for lazy weekends, last-minute get-togethers, or simply rewarding yourself after a busy day. I hope you try it and find your own favorite way to enjoy this cozy slice of heaven. Don’t forget to leave a comment if you give it a shot—I love hearing how it turns out! Happy baking, friends!

stuffed squash
Ingredients
Method
- Preheat oven to 425°F. Spray the cut sides of the squash with oil and sprinkle with salt. Place face down on a large baking sheet. Bake until tender and browned on the edges, about 20 to 25 minutes.
- Meanwhile, in a large saute pan cook sausage on medium heat, breaking up the meat into small pieces as it cooks until browned. Add the onion and celery; cook until soft, about 8 to 10 minutes.
- Add the mushrooms and thyme to the pan, season with salt and pepper if needed, and cook, stirring for 5 minutes. Cover and cook for 2 minutes until mushrooms are soft.
- Divide the filling evenly among the squash halves. Top with parmesan cheese and bake for an additional 10 minutes.


I love the idea of savory stuffed squash—it sounds comforting and full of flavor. The sausage and mushroom combo must be delicious!
I love the idea of using zucchini in chocolate cake—it’s such a clever way to add moisture and nutrients. Definitely trying this recipe soon!
This recipe sounds amazing—stuffed squash with sausage and mushrooms is such a comforting dish! I can’t wait to try it.
I’ve been wanting to try this stuffed squash recipe—sausage and mushrooms sound perfect for a cozy dinner. Can’t wait to see how it turns out!
I’m definitely trying this recipe—savory squash sounds perfect for cozy dinners!