

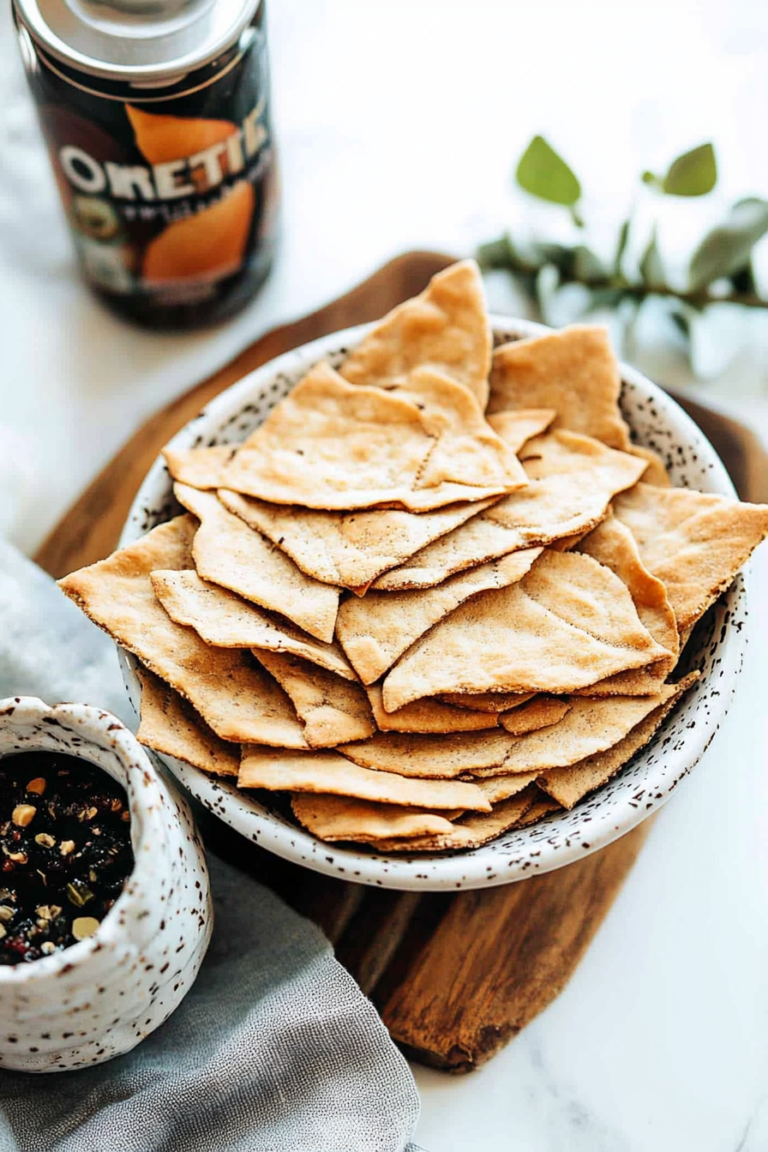
Easy DIY Dog Treats Your Pup Will Love
There’s something about the smell of freshly baked banana bread that instantly takes me back to my childhood kitchen. You know that warm, cozy feeling when your house is filled with the sweet aroma of ripe bananas, toasted walnuts, and just a hint of vanilla? That’s exactly what this banana walnut bread gives me — pure comfort in every slice. I’ve made this recipe so many times, I can practically do it with my eyes closed. It’s one of those dishes that’s simple enough for weeknights, yet special enough to serve for weekend brunch or send care packages to friends. Plus, it’s a fantastic way to use those overripe bananas that nobody wants to eat anymore. I promise, once you try this, it’ll become a family favorite — mine ask for it all the time, and I love how forgiving and easy it is. Trust me on this one — it’s practically foolproof, and I guarantee you, the taste will blow your mind every single time.
What is banana walnut bread?
Think of banana walnut bread as the comforting cousin of cake — it’s a hearty, moist loaf packed with ripe bananas and crunchy walnuts. It’s essentially a quick bread, which means no yeast, just good old baking powder or baking soda to make it rise. The name says it all: bananas + walnuts = pure, no-fuss deliciousness. This bread has a cozy feel, perfect for breakfast with a smear of butter or for a coffee break. Its humble origins come from frugal kitchens wanting to turn overripe bananas into something special and satisfying, and over the years, it’s become a beloved treat everywhere. Think of it as a cross between banana cake and hearty muffin batter, but baked into one glorious loaf that slices beautifully. Whether you call it banana loaf, brea, or cake — it’s one thing for sure: it’s soulful, nostalgic, and makes your house smell like love.
Why you’ll love this recipe?
Honestly, what I love most about this banana walnut bread is how it’s a total lifesaver on busy nights. It’s so straightforward — you probably have all the ingredients in your pantry right now. No fancy equipment needed, just a mixing bowl, a spoon, and a loaf pan. The flavor? Out of this world. The bananas give it a natural sweetness, and the walnuts add that irresistible crunch in every bite. Plus, it stays moist for days — seriously, I’ve kept slices on my counter for a good three days and it still tastes fresh and tender. What’s more, it’s super budget-friendly, using simple everyday ingredients like flour, sugar, eggs, and bananas, so you’re not breaking the bank. You can even customize the mix-ins — I’ve swapped in pecans or chocolate chips when I was craving something extra indulgent. It’s versatile, too. My kids love it for breakfast, and I often sneak a slice with my afternoon coffee. And if you’re into healthier options, I’ve also tested using mashed avocado or Greek yogurt to keep it moist without adding refined fats. Basically, it’s an all-around winner in my house — warm, cozy, and totally dependable.
How do you make banana walnut bread?
Quick Overview
This banana walnut bread is a breeze to put together. You start by mashing those super-ripe bananas until smooth, then mix them with a handful of basic pantry staples. Whisk together your wet ingredients and fold in your dry — but here’s the trick: don’t overmix! Just combine until everything’s just incorporated. Fold in the chopped walnuts last, pour into a greased loaf pan, and bake until golden and a toothpick comes out clean. It’s seriously so simple I do it almost on autopilot anymore. The key is not rushing the baking, and letting the smell do its magic while it’s in the oven. In about an hour, you’ll have this glorious, fragrant loaf ready to slice. And trust me — the hardest part is waiting for it to cool enough to cut. Oh, and don’t skip the glaze — it makes it look like a bakery masterpiece, plus adds just the right touch of sweetness.
Ingredients
For the Main Batter:
– 3 to 4 very ripe bananas (the more brown spots, the sweeter and easier to mash)
– 1/3 cup melted unsalted butter or neutral oil (I tested with coconut oil and loved it)
– 1 cup sugar (can reduce to 3/4 cup if you want less sweetness)
– 2 large eggs
– 1 teaspoon vanilla extract
– 1 ½ cups all-purpose flour (whole wheat works too, if you want a healthier twist)
– 1 teaspoon baking soda
– ½ teaspoon salt
For the Filling:
– 1 cup chopped walnuts (my favorite for crunch and flavor)
– Optional: chocolate chips, shredded coconut, or dried fruit for fun variations
For the Glaze:
– ½ cup powdered sugar
– 1 tablespoon milk or cream
– A splash of vanilla or lemon zest for extra flavor (trust me on the zest!)
Step-by-Step Instructions
Step 1: Preheat & Prep Pan
Heat your oven to 350°F (175°C). Grease your loaf pan with butter or non-stick spray, then toss in a little flour or line it with parchment paper. I always do this so nothing sticks — nothing ruins that perfect crust. Set your pan nearby because this batter comes together quickly once you’re at the mixing stage.
Step 2: Mix Dry Ingredients
In a small bowl, whisk together the flour, baking soda, and salt. This helps everything blend evenly and prevents clumping. I used to just dump everything into the wet mixture, but I learned that a quick dry mix makes the loaf rise better and have a lighter crumb. Plus, it’s an easy step, so don’t skip it!
Step 3: Mix Wet Ingredients
In a large mixing bowl, mash the bananas with a fork until pretty smooth — I leave some chunks for texture, but fully mashed works too. Add the melted butter (or oil), sugar, eggs, and vanilla. Whisk everything until it’s all beautifully combined — glossy and lookin’ rich. The smell alone will make your mouth water. I like to do this part while the oven is heating up. That way, I can pop it into the oven as soon as I finish mixing.
Step 4: Combine
Pour the dry ingredients into the wet and gently stir until just combined. I try not to overmix because that can make the bread dense instead of fluffy. A quick fold, just until there are no streaks of flour left, is perfect. If the batter feels thick but sticky, you’re on the right track.
Step 5: Prepare Filling
Stir in the chopped walnuts now. If you want other goodies like chocolate or dried cranberries, fold those in too. I like to reserve a few walnuts for topping, just for that extra crunch on top of the loaf after baking.
Step 6: Layer & Swirl
Pour half of the batter into your pan, add spoonfuls of your filling (if using), then swirl gently with a toothpick or skewer. Top with the remaining batter and swirl again. Don’t overdo it — just a few gentle strokes will give you a pretty marbled effect that looks as delicious as it tastes.
Step 7: Bake
Pop the loaf in the oven and bake for about 55-60 minutes. Check for doneness by inserting a toothpick or skewer into the center — it should come out clean. If it’s browning too fast, tent with foil halfway through. Every oven is different, so keep an eye on it after 50 minutes.
Step 8: Cool & Glaze
Once baked, let it cool in the pan for about 10 minutes, then transfer to a wire rack. This part’s important — you don’t want the bread to sweat in the pan, which can make it soggy. While it cools, whisk together your glaze ingredients. Drizzle over the loaf once it’s room temperature for that bakery look and extra sweetness.
Step 9: Slice & Serve
Use a serrated knife and make gentle sawing motions for clean, pretty slices. Serve warm or at room temperature. I love a slice with a pat of butter or a smear of cream cheese — total comfort food. Trust me, this disappears in minutes at my house, and I always get asked for the recipe. I promise, once you master this, it’ll become your go-to for breakfast, snacks, or even packed in lunchboxes. The aroma alone will make your house feel like a cinnamon roll shop — but way more wholesome.
What to Serve It With
This banana walnut bread is so versatile, I can’t tell you how many ways I enjoy it. For breakfast, a warm slice paired with a cup of coffee or a glass of cold milk makes mornings feel extra special. My kids love it sliced thick with a drizzle of honey and a side of fresh fruit — it’s practically a treat for them. When hosting brunch, I like to serve it with a dollop of whipped cream or a smear of mascarpone, alongside a fruit salad or some crispy bacon. It’s also a fabulous dessert — I sometimes warm a slice and top it with vanilla ice cream or Greek yogurt for an easy, fancy-looking finish. And for a cozy snack, I’ll toast a slice and spread it with almond butter or Nutella — honestly, it’s just that good.
Top Tips for Perfecting Your Banana Walnut Bread
Over the years, I’ve learned a few tricks that make all the difference with this bread. First, use the ripest bananas you can find. The more brown spots, the sweeter and more flavorful the bread. If your bananas aren’t quite ripe, toss them in a paper bag for a day or two — it’s a game changer. Second, don’t overmix the batter; this is how you keep it tender and moist. A few lumps are fine, and they won’t ruin your loaf. Third, I recommend chopping nuts fairly small so they distribute evenly and don’t overwhelm each bite. Also, I’ve experimented with different sugars — honey, maple syrup, brown sugar — and I’ve found that a little brown sugar adds a caramel undertone that makes the bread even more irresistible. When baking, keep an eye on the oven. If your loaf gets too dark on top before the center’s done, loosely cover it with foil. And finally, always let the bread cool completely before glazing or slicing — this helps it hold its shape and prevents everything from falling apart.
One mistake I made early on was cutting into the loaf too soon — don’t do that! Patience is key, and I’ve learned that the longer you wait, the better the texture. Also, for even moister bread, I’ve tested adding a splash of milk or a dollop of Greek yogurt into the batter — it adds richness without compromising the texture. And if you want an extra flavor kick, sprinkle a little cinnamon or nutmeg into the dry ingredients. Honestly, this is one of those recipes where the little tweaks make all the difference — so don’t be afraid to experiment.
Storing and Reheating Tips
To keep your banana walnut bread fresh, store it properly. If you plan to eat it within a day or two, wrap it loosely in plastic wrap or place it in an airtight container at room temperature. It’ll stay delicious for about 2-3 days this way. For longer storage, pop it in the refrigerator — just make sure it’s airtight, so it doesn’t dry out or absorb fridge odors. I find that refrigeration also keeps the walnuts crunchy. To enjoy leftovers, I often slice the bread first, then toast individual pieces. It’s amazing how toasting intensifies the flavors and brings back that freshly-baked warmth. If you want to freeze a loaf, wrap it tightly in plastic wrap and then foil, or place slices in a resealable bag. It’ll keep well for up to 3 months. When reheating, just warm slices in the microwave or oven until heated through, then enjoy with additional toppings — maybe a sprinkle of cinnamon sugar or a smear of butter. Just remember, always let it cool slightly before slicing, especially if you’re adding glaze or toppings — nobody likes a soggy, melted mess!
Frequently Asked Questions
Final Thoughts
If you’re looking for a cozy, foolproof bread that fills your kitchen with warmth and happiness, look no further. This banana walnut bread is a classic for a reason — it’s moist, flavorful, endlessly customizable, and simply makes your home smell like a hug. Over the years, I’ve shared this recipe with friends, brought it to potlucks, and made it countless times just for my family. Every time, it’s a hit. Honestly, it’s a tried-and-true comfort that I can’t recommend enough. Don’t be surprised if it becomes your new favorite too. So, gather your overripe bananas, get mixing, and enjoy every bite of this cozy treat. And hey, I’d love to hear how yours turns out — leave a comment or share your spin on it. Happy baking!
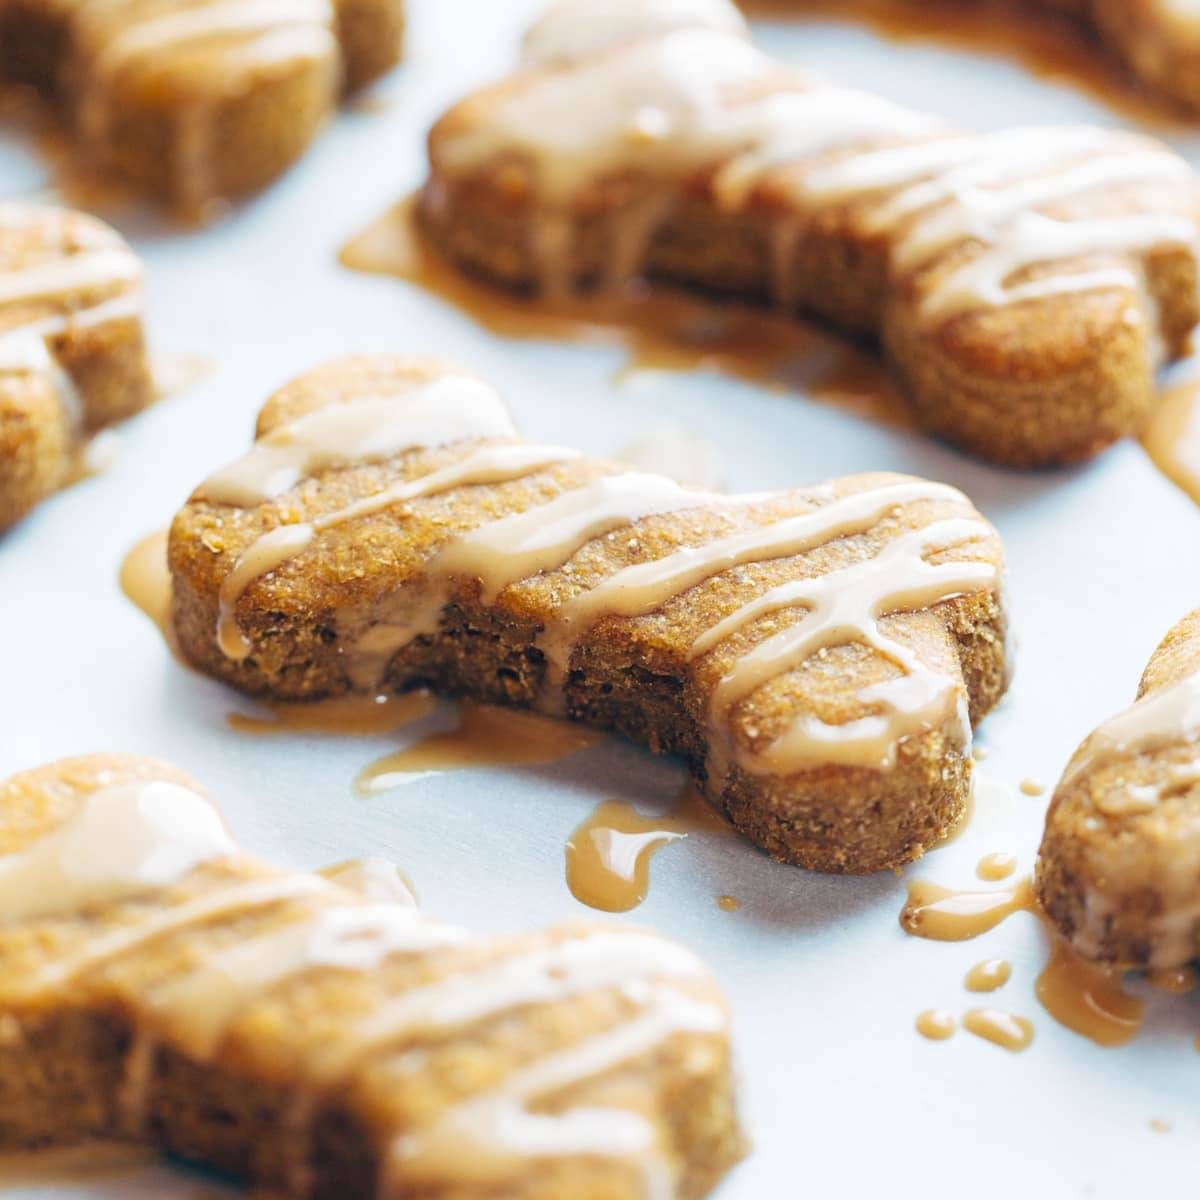
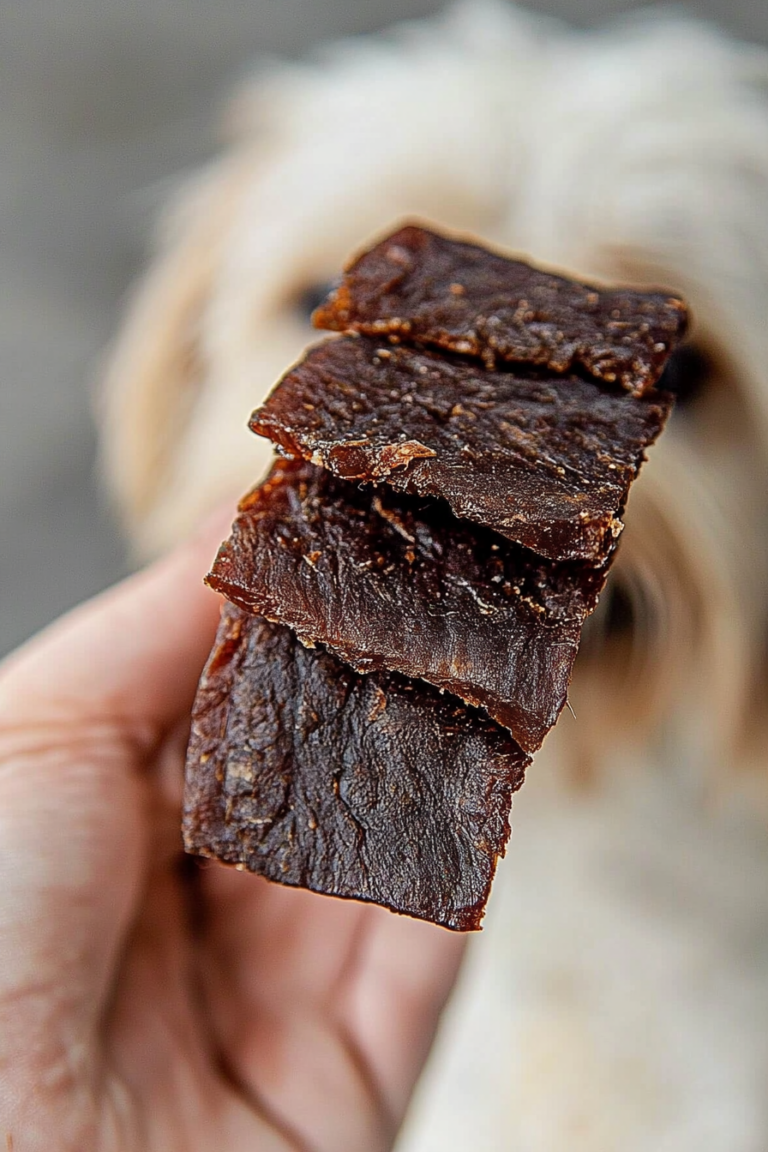
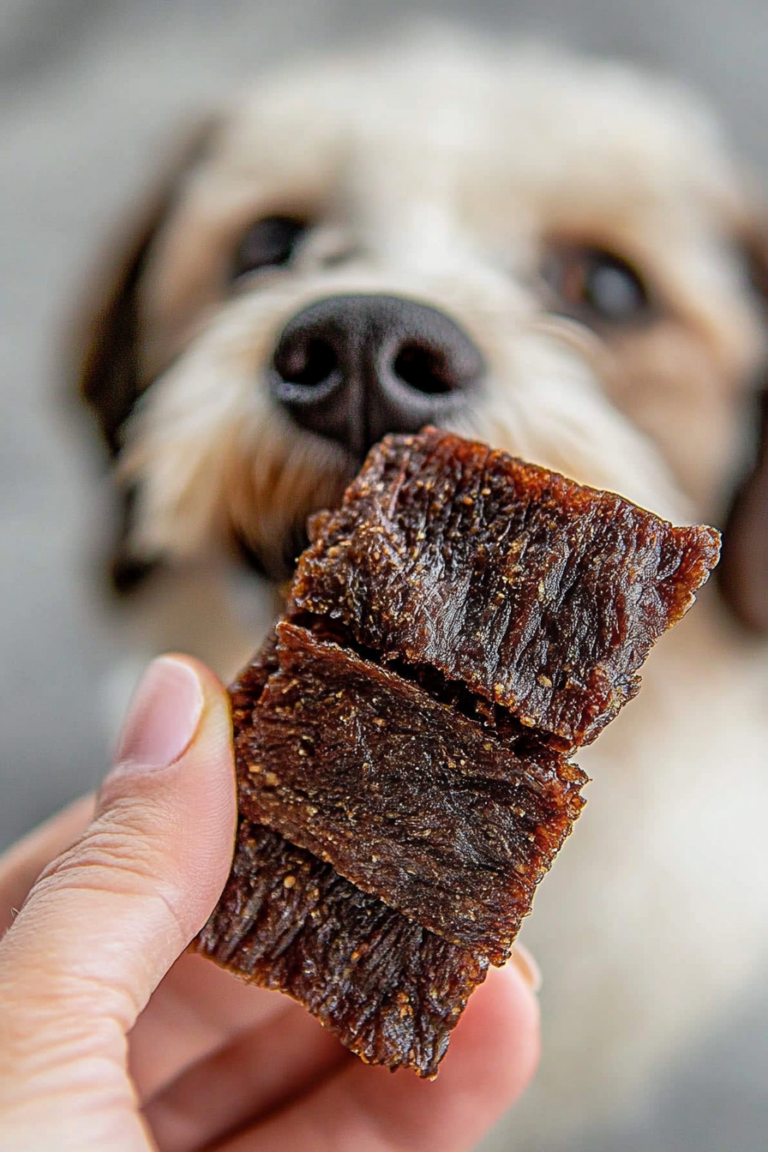
dog treats
Ingredients
Method
- Preheat oven to 350 degrees Fahrenheit.
- Combine pumpkin, peanut butter, eggs, and oil in a bowl. Add baking soda and flour. Mix until a stiff dough forms.
- Roll out dough and cut into desired shapes. Bake for 15 minutes.
- Mix bacon grease and peanut butter until smooth. Drizzle over cooled treats.

So true! Nothing beats the cozy warmth and smell of homemade treats—my dog gets so excited when I start baking these.
This reminds me of baking with my dog watching—he loves the banana smell too!
I made these for my golden retriever yesterday and he went absolutely wild! Such a simple, heartwarming recipe.
This reminds me of baking with my dog curled up nearby—she always tries to “help” by stealing crumbs! So sweet and simple.
I love how comforting homemade dog treats can be—both for my pup and for me while making them. Banana bread is the best!