
Striped Treats How to Make a Fun Cake
There’s something about baking a cake that instantly warms the soul, isn’t there? I remember the first time I made this carrot zucchini cake — it was a lazy Sunday afternoon, the smell of cinnamon and fresh vegetables filling my tiny apartment, and I swear my neighbors peeked out their windows expecting a bakery to open. This cake is proof that you don’t need fancy ingredients or hours in the kitchen to whip up something that looks as beautiful as it tastes. Honestly, this one’s a lifesaver on busy nights when I want something sweet, wholesome, and made from ingredients I always have on hand. My kids ask for this all the time — they call it “the secret garden cake” because of all the sneaky veggies hidden inside. And trust me, it’s so moist and tender, nobody ever guesses zucchini’s in there. It’s like a cozy hug baked into a slice, and I promise, once you try it, it’ll become a staple in your house too!
What is Carrot Zucchini Cake with Cream Cheese Swirl?
This cake is a cozy, comforting bakery-style treat, but made right in your own kitchen with simple, wholesome ingredients. Think of it as a cross between a quick bread and a classic carrot cake, with the added surprise of zucchini, which keeps it wonderfully moist. The name might sound fancy, but honestly, it’s really just a veggie-packed cake that leans a little into the carrot cake vibe — warm spices, sweet carrots, and zucchini melt together in every bite. The cream cheese swirl on top is totally addictive — it’s like the rich, tangy crown that makes each slice special. What I love most about this is how versatile it is: perfect for breakfast, a snack, or even dessert. Plus, it’s friendly on the wallet because the ingredients are staples I always have, and it’s so forgiving if you’re new to baking!
Why you’ll love this recipe?
First off, the flavor is just incredible — it’s sweet, spicy, and has that warm aroma of cinnamon and nutmeg that makes your kitchen smell like a cozy café. But what really gets me every time is how easy it is to make. No fancy gadgets or complicated techniques — just grate, mix, swirl, and bake. This one’s a great way to use up leftover carrots and zucchini, making it budget-friendly and eco-friendly too. I’ve tested this recipe with almond milk (because we’re dairy-free at my house sometimes) and it actually made it even creamier — so feel free to swap ingredients without losing that moist texture. And the versatility — oh, I love that! You can serve it as is for a brunch, dusted with powdered sugar, or go all out with the cream cheese frosting for a decadent dessert. It’s perfect for sneaking in vegetables for your little ones, yet it’s so indulgent, nobody will notice. My family devours this in minutes — they even ask for seconds! The sneaky addition of zucchini keeps the cake insanely moist without tasting too vegetable-y, and the spices just make everything feel warm and nostalgic. Plus, it’s great for making ahead because it keeps beautifully in the fridge, and the flavors get even better overnight. Honestly, I can’t recommend it enough — it’s become my go-to for when I want something sweet but still cozy and wholesome.
How do I make a Carrot Zucchini Cake with Cream Cheese Swirl?
Quick Overview
This cake comes together in just one bowl — no need for fancy mixers or obsessive measuring. Grated carrots and zucchini are folded into a simple batter flavored with cinnamon and nutmeg. While it bakes, I whip up a tangy cream cheese swirl. Once out of the oven, it’s all about patience — let it cool so the swirl sets perfectly before slicing. The trick is in the gentle folding and not overmixing, which keeps everything tender and light. This method is so simple, I’ve made it with kids helping in the kitchen, and it still comes out perfect every time. Because it’s basically a cake you stir together, it’s a real time-saver — you’ll have a gorgeous treat in under an hour!
Ingredients
For the Main Batter:
- 2 cups grated carrots (about 2-3 large carrots, freshly grated)
- 1 cup grated zucchini (squeeze out excess moisture)
- 1 1/2 cups all-purpose flour (or gluten-free blend)
- 1 teaspoon baking powder
- 1/2 teaspoon baking soda
- 1 teaspoon ground cinnamon
- 1/2 teaspoon ground nutmeg
- 1/4 teaspoon salt
- 3/4 cup granulated sugar (or coconut sugar for a healthier twist)
- 1/2 cup vegetable oil (or melted coconut oil)
- 3 large eggs (or flax eggs for vegan option)
- 1 teaspoon vanilla extract
For the Filling:
- 8 oz cream cheese, softened
- 1/4 cup powdered sugar (or honey for natural sweetness)
- 1 teaspoon vanilla extract
For the Glaze:
- Optional: powdered sugar mixed with a splash of milk or lemon juice for drizzling
Step-by-Step Instructions
Step 1: Preheat & Prep Pan
Set your oven to 350°F (175°C). Grease a 9-inch round cake pan or line it with parchment paper. I always do this so nothing sticks — trust me, it’s worth the few extra seconds. Having everything ready before you start makes the whole process smoother and more fun.
Step 2: Mix Dry Ingredients
In a large mixing bowl, whisk together the flour, baking powder, baking soda, cinnamon, nutmeg, and salt. This step ensures the leavening and spices are evenly distributed, which means every bite gets that perfect flavor hit and rising beautifully in the oven.
Step 3: Mix Wet Ingredients
In a separate bowl, beat the eggs with sugar, then add the oil and vanilla. Whisk until the mixture is light and smooth. I always test the eggs first — if they’re super cold, I warm them just slightly to make mixing easier. An overbeaten batter can turn out dense, so I keep this step gentle.
Step 4: Combine
Pour the wet mixture into the dry ingredients. Use a spatula to fold everything together gently — don’t overmix, or the cake can turn out a little tough. Just stir until the batter looks combined and no streaks remain. It should be thick but spreadable.
Step 5: Prepare Filling
In a small bowl, mix the softened cream cheese with powdered sugar and vanilla until smooth. I like to use room temperature cream cheese so it blends effortlessly. If I want a tangier flavor, I might add a splash of lemon juice here.
Step 6: Layer & Swirl
Pour half of the batter into your prepared pan. Dot spoonfuls of the cream cheese mixture onto the batter. Cover with the remaining batter and use a skewer or knife to gently swirl the cream cheese into the batter, creating pretty marbled patterns. Trust me, the swirl makes it look as homemade as it tastes.
Step 7: Bake
Place the cake in the oven and bake for about 45-50 minutes. The top should be golden, and a toothpick inserted in the center should come out clean. If the top browns too quickly, tent with foil — I’ve learned this trick after a few burnt edges. Every oven cooks differently, so keep an eye on it around the 40-minute mark.
Step 8: Cool & Glaze
Let the cake cool in the pan for 15 minutes before transferring it to a wire rack. This step is crucial — rushing to cut it hot will mess up the slices. Once cooled completely (at least 30 minutes), drizzle with the glaze if you like a little extra sweetness and shine.
Step 9: Slice & Serve
Cut with a sharp serrated knife, wiping between cuts for clean slices. Serve at room temperature, maybe with a cup of coffee or tea. This cake is surprisingly good the next day — the flavors meld beautifully, and even the kids ask for seconds. A dollop of whipped cream or a sprinkle of chopped nuts on top makes it even more special.
What to Serve It With
This cake is so versatile; I love tossing out ideas for different occasions. For a wholesome breakfast, serve it with a dollop of Greek yogurt or a drizzle of honey. It’s fantastic for brunch — maybe alongside a fresh fruit salad and some herbal tea. As a dessert, I like to add a dusting of powdered sugar or a smear of extra cream cheese frosting for that extra indulgence. It’s also perfect as a cozy snack: warm slices with a cup of hot cocoa on a chilly evening are pure comfort. When I make this for friends, I often bring it along for picnics or potlucks — it travels well, and everyone always asks for the recipe. What I love most is how the veggies stay hidden until the first bite, so even the pickiest eaters are surprised and delighted by the moist, flavorful cake. Honestly, it’s become my family’s favorite, and I hope you love it just as much!
Top Tips for Perfecting Your Carrot Zucchini Cake with Cream Cheese Swirl
After making this countless times, I’ve picked up a few tricks that guarantee a perfect bake each time. First, prep your zucchini properly — I usually squeeze out all excess moisture with a clean kitchen towel, or even press it with a weight for a few minutes. Too much moisture can make the cake soggy — nobody wants that. When mixing, I always fold gently and avoid overmixing; you want a tender crumb, not a dense brick. If your swirl pattern feels uneven, don’t stress — swirling in circles or zigzags both work, and a little messy gives it character. You can swap out ingredients based on what you have: try coconut sugar instead of white, applesauce instead of oil, or even chopped walnuts on top for crunch. I’ve tested all these variations, and while the texture shifts slightly, the flavor stays fantastic. Baking tip: oven racks matter — position your cake in the center to ensure even rise and don’t open the door too early or too often to keep the heat steady. When it comes to the glaze, if I want it thicker, I add a touch more powdered sugar; for a runnier drizzle, a splash of milk does the trick. Over time, I’ve also played around with adding a hint of lemon zest or ginger for more flavor depth. Trust me, the little tweaks make all the difference — but honestly, the base recipe is foolproof, and my biggest lesson was to be patient — let it cool completely before slicing. That crisp, clean edge makes all the difference!
Storing and Reheating Tips
This cake keeps wonderfully, which makes it perfect for making ahead. If you’re planning to serve it within a day or two, wrap it tightly in plastic wrap or store it in an airtight container at room temperature (especially if it’s a cooler day). It’ll stay fresh for about 2 days that way. I find that the flavors really set overnight, so I often bake it the night before a gathering. For longer storage, pop it in the fridge — just be sure to cover it well so it doesn’t dry out. It’s surprisingly good cold, but I prefer bringing it back to room temp or giving slices a quick warm-up in the microwave — 15 seconds or so — to get that cozy, fresh-baked feel. If you plan to freeze it, wrap each slice individually with plastic wrap and place inside a zip-top bag. It’ll keep well for up to 3 months. When ready to eat, thaw overnight in the fridge or on the counter, then add a quick drizzle of glaze or dust of powdered sugar if needed. Just avoid piling slices in a pile or squishing the frosting, and you’ll have a delicious treat anytime!
Frequently Asked Questions
Final Thoughts
Honestly, this carrot zucchini cake with cream cheese swirl is one of those recipes I keep coming back to — it’s like comfort food wrapped in a pretty package. Whenever I bake it, the entire house smells like cinnamon and happiness, and my family devours it before I can even get the perfect slice on a plate. It’s a reminder that sometimes, the simplest ingredients combined with a little love can create something extraordinary. If you enjoy cozy, veggie-packed baked goods that don’t compromise on flavor, I think you’re really going to love this. Feel free to play around with the spices or add your favorite nuts or dried fruit — the room for customization is endless. I’d love to hear how yours turns out or see your beautiful photos! Drop a comment below, share with friends, and don’t forget — baking becomes instinct after a few tries. Happy baking, friends — can’t wait to hear how yours turns out!
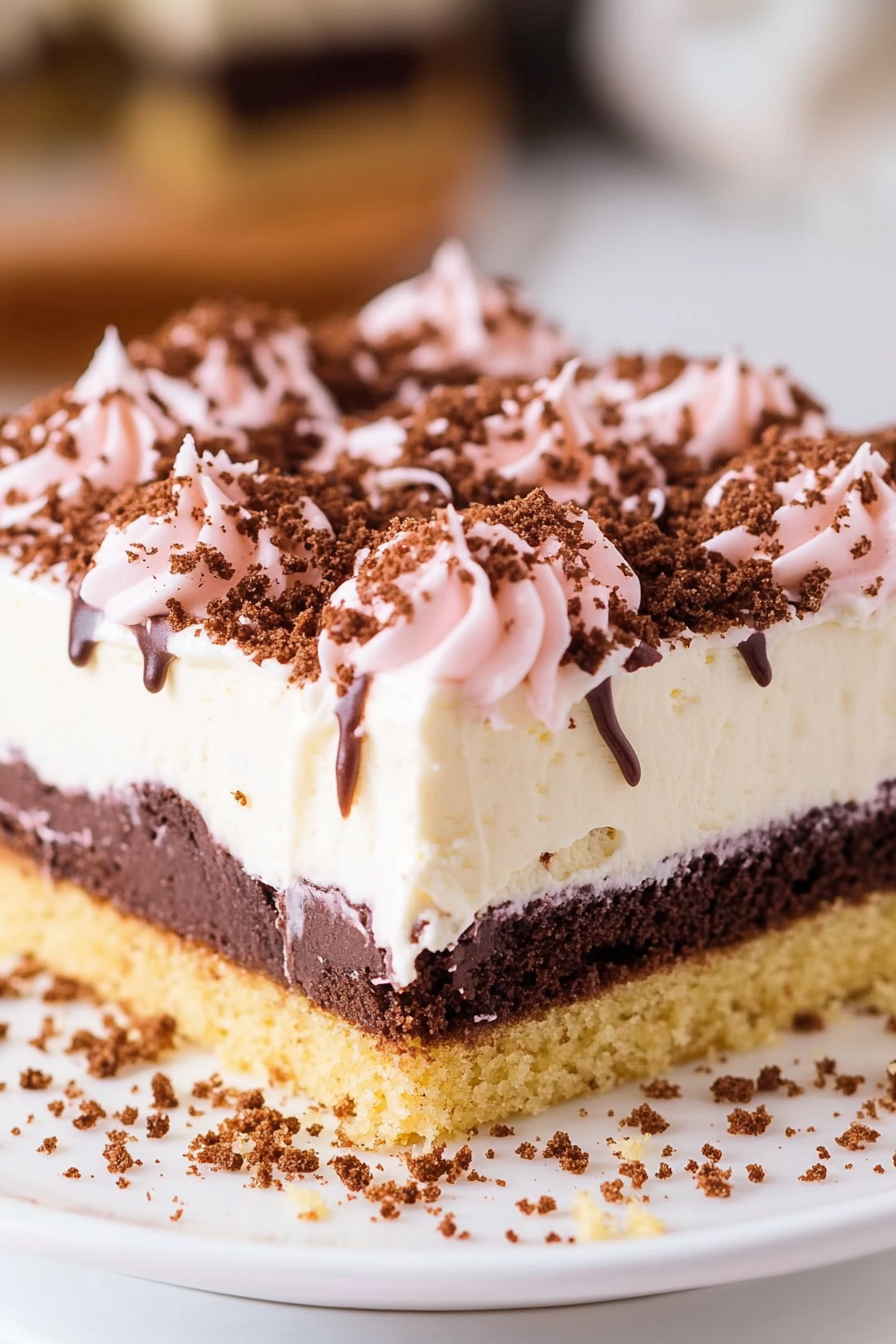
striped cake
Ingredients
Method
- Preheat oven to 350°F. Grease and flour two 9-inch round cake pans.
- Mix flour and sugar in a bowl. Add melted butter, eggs, and vanilla. Beat until smooth.
- Divide batter into four equal parts. Color each part with food coloring to create different shades.
- Pour different colored batters into the prepared pans in layers, creating stripes.
- Bake for 25-30 minutes or until a toothpick inserted in the center comes out clean.
- Allow cakes to cool completely, then layer with buttercream frosting.


Love this! Baking always feels so cozy and personal. That carrot zucchini cake sounds delicious—any tips for keeping it moist?
I love how simple yet satisfying baking can be—this striped cake looks so fun and colorful!
I love how baking brings so much joy — this cake idea sounds perfect for a cozy weekend!
I totally agree—baking just feels so comforting! This carrot zucchini cake sounds delicious and perfect for a cozy afternoon.
I totally agree—there’s something so comforting about baking a cake, especially on a lazy Sunday. That carrot zucchini one sounds delicious!