
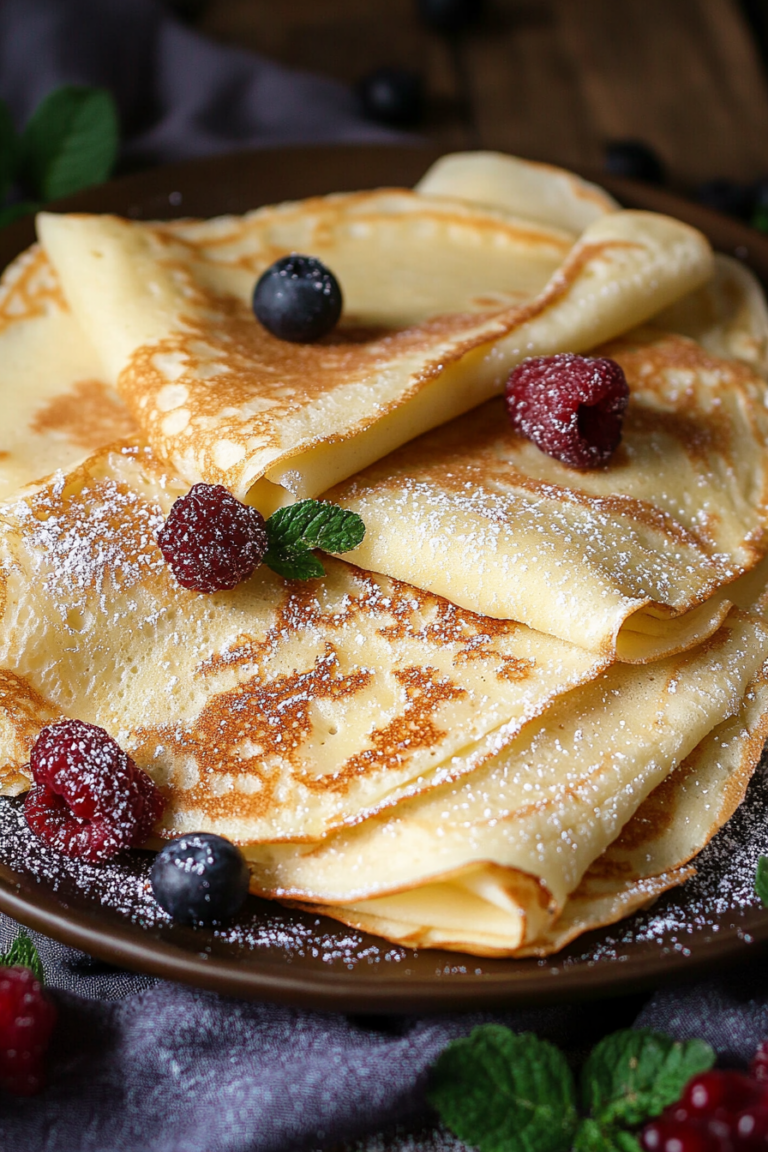
Delicate French Pancakes How To Make Them
There’s something truly nostalgic about a warm slice of banana bread, isn’t there? For me, it’s the smell that instantly transports me back to rainy Sunday mornings at Grandma’s house, windows fogged up, and the aroma of toasted walnuts and sweet banana filling the air. But lately, I’ve been obsessed with my own twist — zucchini swirl banana bread. And let me tell you, it’s kind of a hidden gem in the baking world. Not only does it pack an extra veggie punch, but it’s also incredibly moist, with a beautiful marbled swirl that makes it look fancy but is insanely easy to pull off. I always do this when I want something cozy, indulgent, but still a little sneaky on the healthier side. It’s perfect when the kids ask for seconds or when I want a quick, satisfying treat that’s not a sugar bomb. Honestly, I’ve made this so many times that I could do it with my eyes closed — but I promise, every time, the smell alone has everyone in the house rushing to the kitchen. It’s become a family favorite, and I just can’t wait to share it with you!
What is Zucchini Swirl Banana Bread?
This is basically your classic banana bread — but with a clever twist. Think of it as a double whammy of flavor and texture. You have the rich, sweet, and slightly tangy bananas that make every bite irresistibly moist, paired with grated zucchini that sneaks in moisture and a subtle veggie flavor that’s barely noticeable once it’s baked. The swirl on top is what makes it stand out — a beautifully marbled pattern that looks fancy but is actually a breeze to create. The name sounds fancy, I know, but it’s really just about mixing two batters and swirling them together. It’s essentially a loaf that feels indulgent but is also a little sneaky. The zucchini doesn’t overpower or change the flavor much, but it gives the bread an incredible tenderness. Plus, it’s a great way to sneak in some extra veggies for the kids — or even yourself, because who doesn’t want a slice of goodness that’s secretly healthy?
Why you’ll love this recipe?
What I love most about this zucchini swirl banana bread is how it balances flavor, texture, and ease. First off, the flavor—oh my gosh, it’s just perfectly banana-y with a tender, moist crumb that melts in your mouth. The zucchini’s subtle presence adds a softness that makes it so satisfying, and the swirl on top makes it look like a bakery treat, but trust me, this one’s a lifesaver on busy nights when you need something quick and comforting. And speaking of easy, I’ve tested this countless times, and it never fails. You just mix your ingredients, pour, swirl, and bake. That’s it! Plus, it’s incredibly budget-friendly—most ingredients are staples you already have in the pantry. And because it’s adaptable, you can tweak it with walnuts, chocolate chips, or even blueberries. I’ve made this with almond flour too, and let me tell you, it actually made it even creamier. It’s versatile, forgiving, and downright delicious. What I love most about it is how it makes my whole house smell like heaven — that warm, cozy, banana-cake aroma that instantly makes everyone happy. Honestly, I think this will become your new go-to comfort bake too.
How do you make Zucchini Swirl Banana Bread?
Quick Overview
This banana bread is a simple one-bowl wonder—like most of my favorite recipes, it’s all about minimal fuss and maximum flavor. You start by grating zucchini and mashing bananas, then separately mix the dry and wet ingredients. The secret is in how you layer and swirl the batters to create that gorgeous marbled effect. Baking is straightforward: a gentle bake at medium heat until a skewer comes out clean. It’s so forgiving — a little longer if your oven runs slow, a little shorter if it’s hot. The result? A beautifully moist loaf with a tender crumb and irresistible swirl on top that’s perfect for breakfast, snack, or dessert.
Ingredients
For the Main Batter:
– 3 ripe bananas (the browner, the better — they mash easier and add extra sweetness)
– 1 cup grated zucchini (about 1 medium zucchini, shredded and excess moisture squeezed out)
– 1/2 cup melted unsalted butter (or coconut oil for dairy-free)
– 1/2 cup honey or maple syrup (or sugar if you prefer)
– 2 large eggs
– 1 teaspoon vanilla extract
– 1 1/2 cups all-purpose flour (or a gluten-free blend, see tips below)
– 1 teaspoon baking soda
– 1/2 teaspoon baking powder
– 1/4 teaspoon salt
For the Filling:
– 1/4 cup mashed bananas (for extra swirl consistency)
– 2 tablespoons cocoa powder or cinnamon (optional, for variation)
For the Glaze:
– A simple glaze made from powdered sugar and a splash of milk or lemon juice, or just a dusting of powdered sugar for a lighter touch.
Step-by-Step Instructions
Step 1: Preheat & Prep Pan
Set your oven to 350°F (180°C). Grease a standard loaf pan with butter or non-stick spray and line with parchment if you like. This makes removing the bread a breeze later. Get your zucchini shredded, and then squeeze out any excess moisture—trust me, this step is *key* to keeping your bread from getting soggy.
Step 2: Mix Dry Ingredients
In a small bowl, whisk together the flour, baking soda, baking powder, salt, and optional cocoa or cinnamon. Mix well — this ensures even distribution of the leavening agents and spices, which helps the bread rise evenly and flavors to blend.
Step 3: Mix Wet Ingredients
In a large bowl, mash your bananas really well—no lumps! Add the melted butter, honey, eggs, and vanilla, then whisk until smooth. I always do this with a whisk rather than a spoon — it’s faster and gives a nice, uniform mixture. The smell alone during this step makes my kitchen feel like a bakery.
Step 4: Combine
Fold the dry ingredients into the wet mixture gently. Don’t overmix — a few lumps are okay. Overmixing can lead to dense bread. Then, fold in the grated zucchini, making sure it’s evenly distributed without breaking down the batter. The texture should be thick but stir-able, kind of like muffin batter.
Step 5: Prepare Filling
Mix your mashed bananas with cocoa powder or cinnamon if using. If you want a more subtle swirl, just stick with the mashed bananas. This adds flavor and helps with that beautiful marbled look. Some people like to add chocolate chips or nuts at this stage — I’ve tested that too, and wow, it’s a game changer.
Step 6: Layer & Swirl
Pour half of the batter into your prepared loaf pan. Spoon dollops of the banana filling on top, then cover with the rest of the batter. Use a toothpick or skewer to swirl the two batters together — gentle figure-eight motions work best. You want a marbled pattern, not a mixed-up mess. Trust me, this visual makes the slices look so pretty when sliced later.
Step 7: Bake
Bake in the middle of your oven for about 50-60 minutes, or until a toothpick inserted in the center comes out clean. Every oven is different — I recommend checking around 50 minutes. If it’s browning too fast, tent with foil. The smell? Pure comfort, I promise. Let it cool in the pan for about 15 minutes, then transfer to a wire rack to cool completely before glazing or slicing.
Step 8: Cool & Glaze
Once cooled, drizzle your favorite glaze or dust with powdered sugar. I love a simple lemon glaze for a tangy twist, but a maple glaze is just as dreamy. For best texture, wait until the bread is fully cooled so it doesn’t get soggy. That first slice is the best — soft, moist, with that gorgeous marbled swirl showing through.
Step 9: Slice & Serve
Use a serrated knife to cut clean slices. Serve warm or at room temperature; I think it’s especially good with a pat of butter or a dollop of Greek yogurt. This bread tastes incredible on its own, but it also pairs well with a cup of coffee or tea — cozy *must-have* for lazy mornings or afternoon treats.
What to Serve It With
This zucchini swirl banana bread is a true chameleon. For breakfast, I love a warm slice with Greek yogurt and fresh berries — it’s like a breakfast parfait in loaf form. It’s also fantastic for brunch, especially when topped with a drizzle of honey or mascarpone, paired with a crisp glass of apple cider or coffee. My kids ask for this all the time as an after-school snack, especially when I make a double batch and freeze slices for busy mornings. It’s amazing toasted, with butter and a smear of jam, or plain when you crave pure banana-softness wrapped in buttery goodness. Honestly, I’ve seen friends slide a slice in their kid’s lunchboxes, and it disappears before they even get to school. It’s just that good—kind of like a hug in bread form. And if you want to make it a dessert, serve it warm with a scoop of vanilla ice cream or whipped cream. Trust me, it’s cozy, satisfying, and just a little bit special.
Top Tips for Perfecting Your Zucchini Swirl Banana Bread
The secret to a flawless loaf is in the prep and subtle tweaks. First, don’t skip squeezing out the zucchini’s excess moisture; a soggy loaf is no fun and can fall apart or become gummy. I learned this the hard way after my first batch — now I always give it a good squeeze. When mixing, be gentle with the batter; overmixing leads to dense bread, and nobody wants that, trust me. For the swirl, take your time layering and use a toothpick or skewer to create a gentle figure-eight; this ensures a beautiful marbled effect that’s as pretty as it is delicious. Honestly, little things like using ripe bananas and room temperature eggs make a huge difference. I’ve also tried adding walnuts or chocolate chips, which elevate this recipe further — but sometimes, simple is best. If you want to experiment, swapping out part of the flour for oats or almond flour works well, just keep an eye on the moisture level. And always check your bake time — every oven is a little different, and I’ve learned to trust my nose and when the bread smells golden and a toothpick comes out clean. Lastly, don’t be shy about glazing or dusting — it elevates your loaf and makes it feel like a bakery treat. Remember, baking is all about patience, so take your time and enjoy the process!
Storing and Reheating Tips
This bread stays fresh for several days if stored properly. Once completely cooled, wrap it tightly in plastic wrap or keep it in an airtight container. At room temperature, it’ll stay good for 2-3 days — perfect for easy mornings. If you need to keep it longer, I highly recommend refrigerating it in a well-sealed container or wrapping it in foil. Just be aware that refrigeration can sometimes dry out baked goods, so I like to toast slices lightly to revive their softness. For freezing, double-wrap slices in plastic wrap and place them in a zip-top bag. They’ll keep in the freezer for up to 3 months! To reheat, defrost at room temp or microwave for 15-20 seconds until warm. If your bread has a glaze, I suggest adding it after reheating to keep it shiny and fresh-looking. I’ve tested this with both glaze and just dusted powdered sugar, and honestly, both work beautifully. Just remember, the longer it sits, the more the flavors meld — so enjoy it fresh, but don’t hesitate to save some for later. It’s just as good the next day, especially toasted!
Frequently Asked Questions
Final Thoughts
This zucchini swirl banana bread has truly become a staple in my kitchen — it’s one of those recipes that’s cozy, versatile, and just *a little* exciting because of the gorgeous swirl on top. I love how it combines familiar comfort with a sneaky veggie boost, making it a win for everyone at the table. The first time I made it, my kids demanded seconds, and I was secretly thrilled that they didn’t even notice the zucchini. It’s perfect for breakfast, a casual snack, or dressed up as a dessert with some whipped cream or ice cream. Plus, it’s forgiving enough for bakers of all skill levels — I’ve learned to trust my instincts more than strict measures, and the results are always wonderful. If you’re looking for something that tastes like coming home, but with a little twist, this bread is just the ticket. I can’t wait to see how yours turns out! Please leave a comment sharing your variations or rate it if you give it a try. Happy baking, friends — this one’s a keeper!
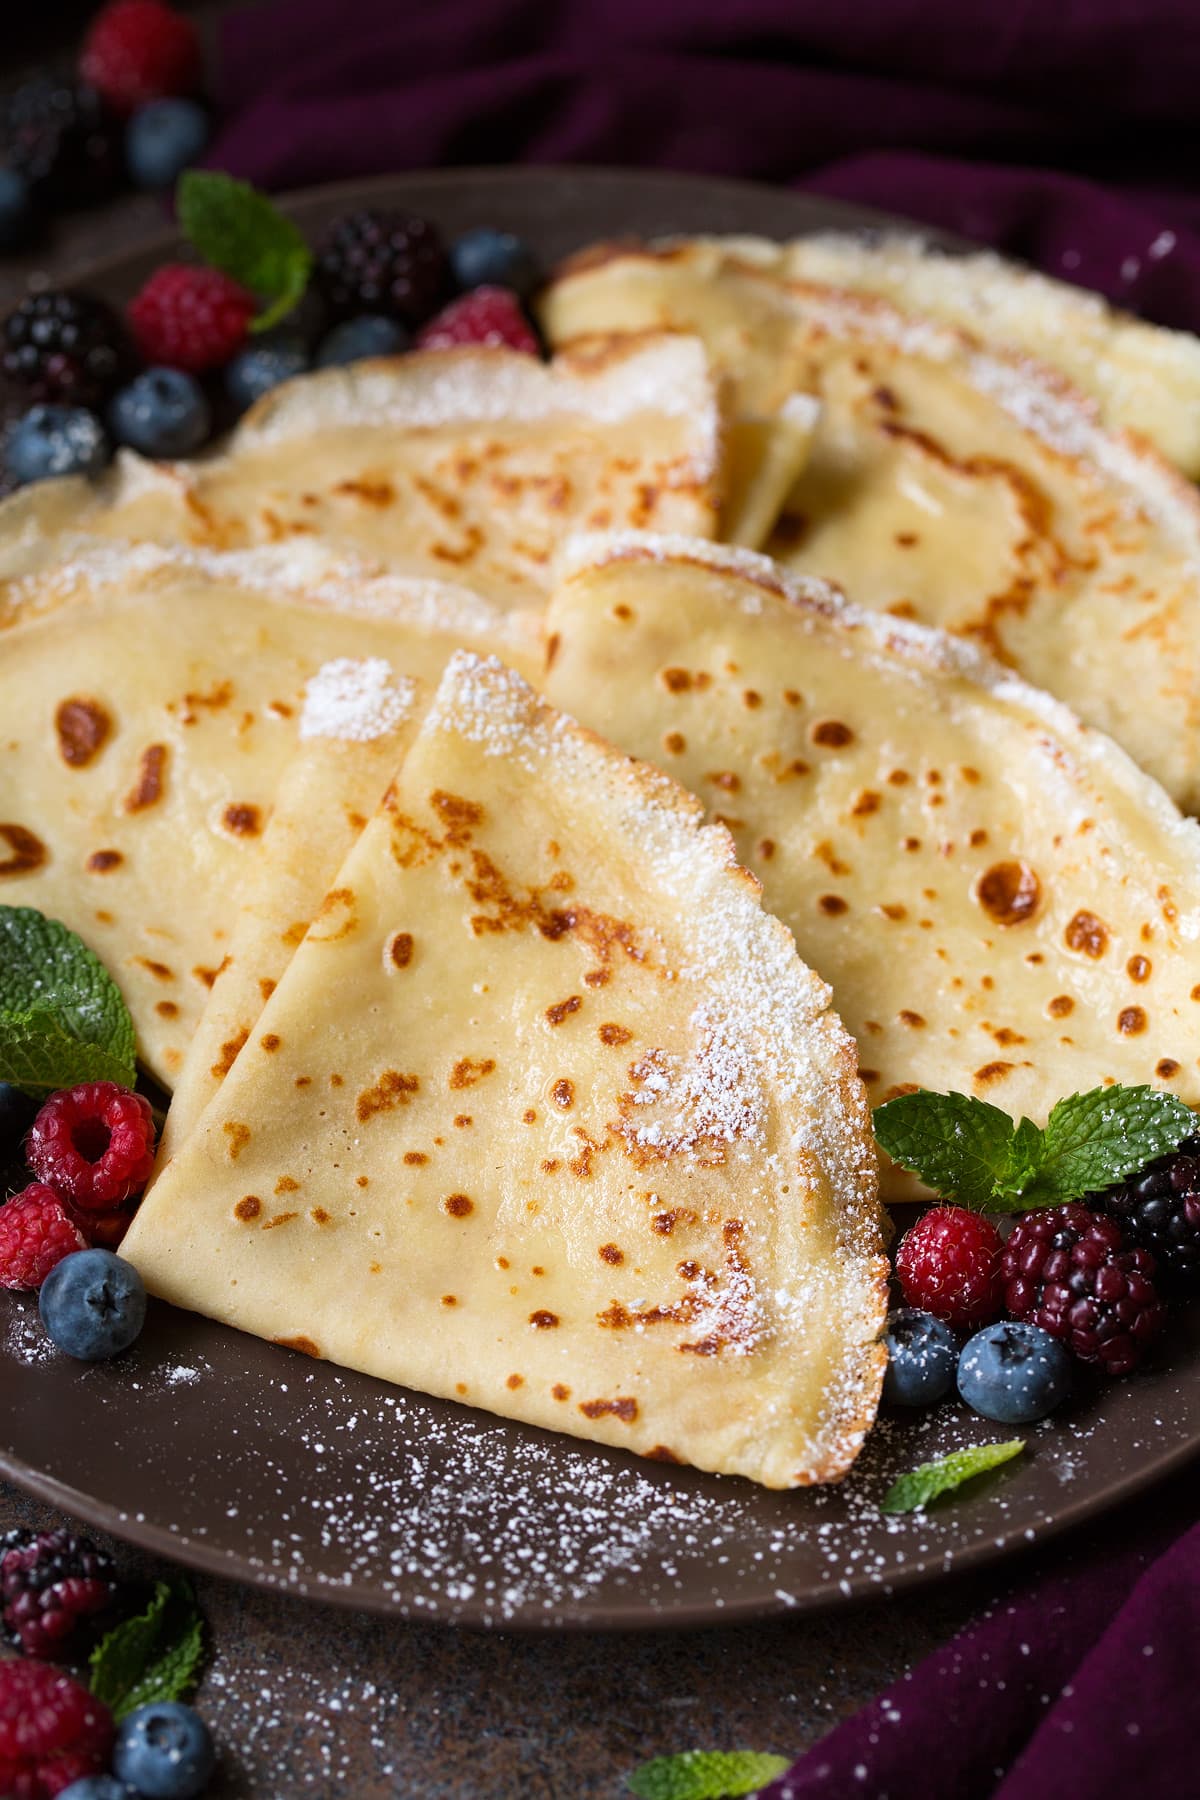
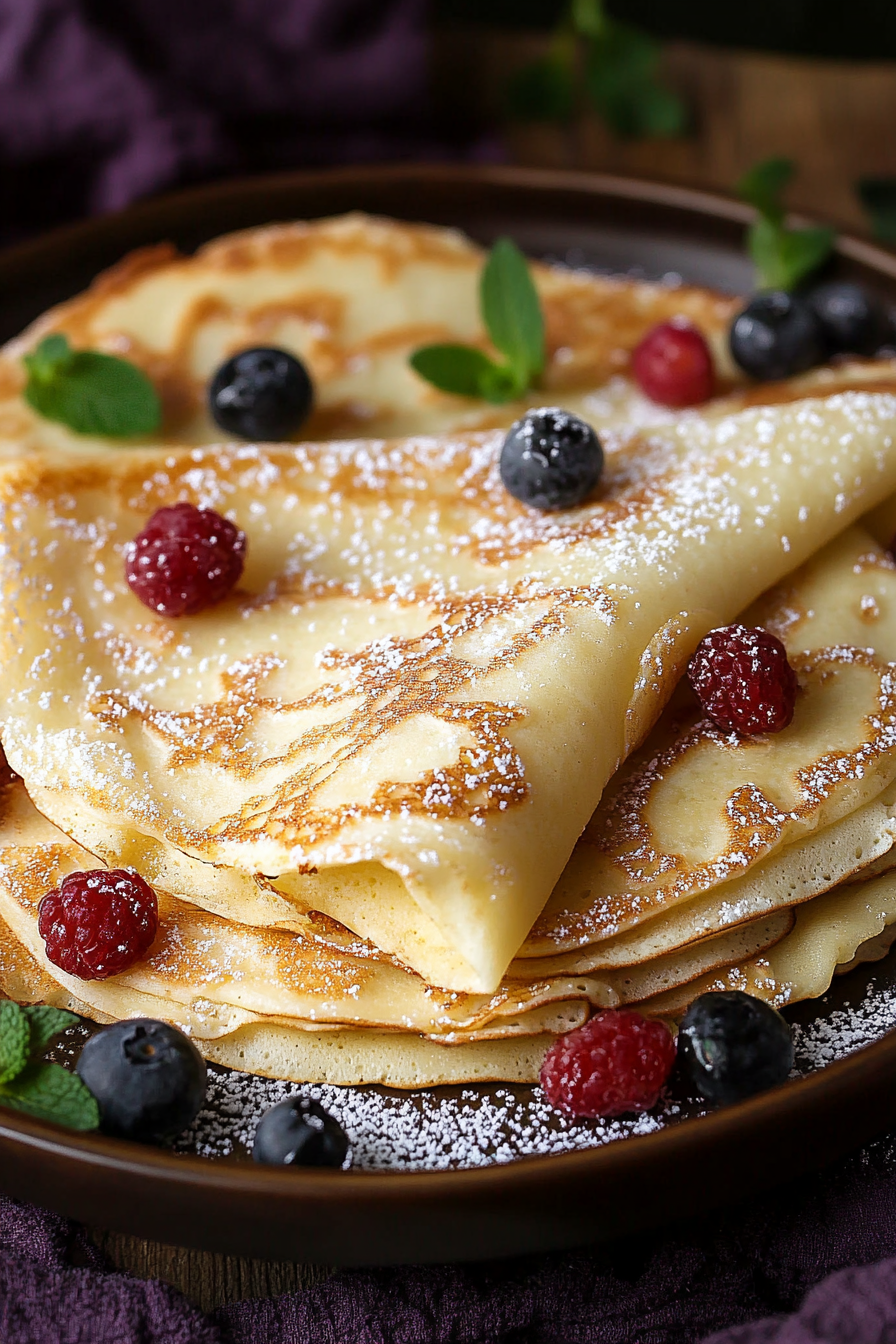
Crepes
Ingredients
Method
- Add milk, flour, sugar, salt, melted butter, vanilla, and eggs to a blender, then blend on low speed until well combined, about 10 seconds.
- Scrape sides and bottom of blender if there's any flour sticking and blend a few seconds longer.
- Cover and chill for 1 hour (or overnight if desired).
- Heat a 10-inch non-stick skillet over medium heat.
- Gently stir batter with a spoon just to blend separated layers.
- Lightly butter skillet then lift pan and pour a scant 0.25 cup batter into pan, immediately tilt and swirl pan in circular motion to evenly coat entire bottom portion of pan with batter.
- Cook until golden brown on bottom then use an offset spatula to lift an edge of the crepe, grab the edge with your fingertips and flip to cook the opposite side until golden brown spots appear.
- Transfer to a wire rack. Repeat until all batter is used, reducing heat briefly if necessary.
- Dust crepes with powdered sugar and fold or roll, or fill with desired toppings then fold.
I totally agree—there’s something magical about banana bread that brings back such warm memories. This recipe looks perfect!
Love this recipe—it’s so cozy and brings back such sweet memories! I’ll have to try it this weekend.
I love the nostalgic vibe of this—banana bread always reminds me of cozy mornings too!