

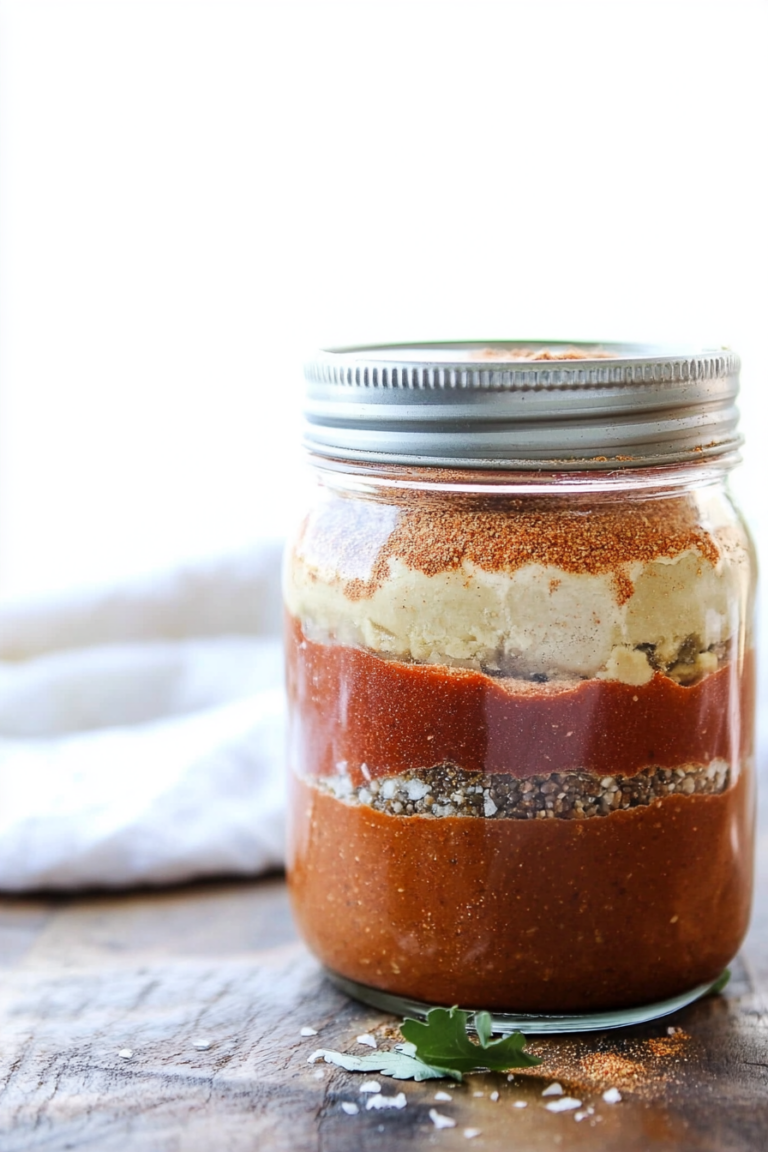
Easy Chicken White Bean Enchiladas Recipe
Have you ever had that moment when you’re craving something just a little sweet, but also bright and fresh, and nothing heavy or overly indulgent will do? That’s pretty much me every summer when my zucchini plants are bursting with the best veggies of the season. I remember my grandma making something similar, and the smell of the cinnamon-spiced batter just takes me right back to her cozy kitchen. But honestly, I’ve tested this recipe so many times, tweaking it here and there, and I swear — it’s become everybody’s favorite around here. Kids love it, adults love it, and I love how easy it is to whip up when I don’t want to spend hours in the kitchen. It’s especially perfect when you need a quick pick-me-up at 3 p.m. or a cozy dessert after dinner. Trust me on this — you’re gonna want to keep this recipe handy, because it disappears in minutes at my house! And, good news, it’s better than store-bought cake, not just because it tastes amazing, but because it’s made with real ingredients that I actually feel good about sharing.
What is Zucchini Swirl Cake?
Think of it as a loaf cake, but with a surprise swirl of cinnamon and sugar running through its moist, tender interior. It’s essentially a quick bread or coffee cake with shredded zucchini blended into the batter — sounds strange, I know, but it keeps everything super moist and adds a subtle veggie boost that kids never even notice. The swirl is what makes this one special; I love using a cinnamon-sugar mixture that gets marbled through the batter, creating beautiful, addictive ribbons that crackle slightly when baked. The name might sound fancy, but really, this is just a comforting homemade treat you can whip up in no time. It’s like that childhood memory of soft cakes and Sunday mornings, but with a healthy twist — or at least, that’s how I like to think of it. And if you have leftover zucchini from last week’s garden harvest, this is the perfect way to use it up without wasting a thing.
Why you’ll love this recipe?
What I love most about this zucchini swirl cake is how that tender crumb is packed with flavor, yet it’s so effortless to make. The smell alone — warm cinnamon, a hint of vanilla, and that fresh zucchini — will draw everyone to the kitchen. This one’s a lifesaver on busy nights because you just Mix, Layer, and Bake, and suddenly you’ve got a stunning homemade dessert or snack that tastes way better than anything you’d buy. Plus, it’s pretty budget-friendly — most ingredients are staples I already keep stocked. And versatility? Oh, I’ve played around with it long enough to tell you there are endless ways to tweak this. Love blueberries? Toss a handful into the swirl. Want it more decadent? Top it with a cream cheese glaze. Or, for the kids’ school lunch, slice it into mini muffins—trust me, they ask for this all the time! I honestly think that the secret to why this recipe works so well is that it’s simple, wholesome, and that little swirl adds a fun visual and flavor boost that makes it feel special without fuss.
How do I make Zucchini Swirl Cake?
Quick Overview
This cake starts with grating fresh zucchini (don’t forget to squeeze out excess moisture!) then mixing it into a basic batter made with flour, sugar, eggs, and a touch of oil. Meanwhile, a cinnamon-sugar mixture gets prepared for that irresistible swirl. After layering the batter in your pan and swirling in the cinnamon, it bakes until golden and smells absolutely heavenly. The easiest part? It’s mostly mixing and layering—no complicated techniques, just good old-fashioned comfort baking. I always do this when I want something sweet but also nutritious, and it’s honestly faster than making cookies from scratch. The key is not overmixing the batter; I’ve learned this the hard way, and trust me, a few lumps never hurt anyone — they actually make the cake lighter. Once out of the oven, you let it cool just enough so the glaze won’t slide off, and then you’re ready to indulge.
Ingredients
For the Main Batter:
– 2 cups grated zucchini (about 2 small zucchinis, shredded and drained well)
– 1 ½ cups all-purpose flour (or gluten-free blend, see tips below)
– 1 cup granulated sugar
– 2 large eggs
– ½ cup vegetable oil or melted coconut oil
– 1 teaspoon vanilla extract
– 1 teaspoon baking powder
– ½ teaspoon baking soda
– ½ teaspoon salt
For the Filling:
– ¼ cup brown sugar
– 1 tablespoon ground cinnamon
– 2 tablespoons softened butter (or coconut oil for dairy-free)
For the Glaze:
– 1 cup powdered sugar
– 1-2 tablespoons milk (dairy or non-dairy)
– ½ teaspoon vanilla
– Optional: a pinch of cinnamon or lemon zest for extra flavor
Step-by-Step Instructions
Step 1: Preheat & Prep Pan
Set your oven to 350°F (175°C). Grease a 9×5-inch loaf pan or line it with parchment paper. This makes for easy removal and prevents sticking. Meanwhile, grate the zucchinis and squeeze out the excess moisture — I do this with a clean dish towel or paper towels. Less moisture means the cake won’t be soggy and stays beautifully tender.
Step 2: Mix Dry Ingredients
In a small bowl, whisk together the flour, baking powder, baking soda, salt, and cinnamon (the dry ingredients are your foundation). This step ensures even distribution of leavening and spices, giving you a uniform rise and flavor.
Step 3: Mix Wet Ingredients
In a larger mixing bowl, whisk the eggs, sugar, vanilla, and oil until smooth. I always do this by hand — it’s quick, and I like to make sure everything’s combined well before adding the dry ingredients. Add the grated zucchini and stir gently — the batter will be a little lumpy, which is perfect.
Step 4: Combine
Fold the dry ingredients into the wet mixture gently. Resist the temptation to overmix; a few lumps are totally fine and actually give the cake a lighter texture. When everything’s just combined, you’re ready to layer it up.
Step 5: Prepare Filling
Mix the cinnamon and brown sugar together. Soften the butter and blend it into the cinnamon-sugar mixture; it’ll be crumbly but spreadable. If you want a firmer swirl, you can roll it into a log and slice, but I usually just sprinkle and swirl directly.
Step 6: Layer & Swirl
Pour half the batter into your prepared pan, then sprinkle half the cinnamon-sugar mixture on top. Repeat with the remaining batter and cinnamon. Using a butter knife or skewer, swirl through the layers to create beautiful marbled ribbons. Don’t overdo it — just slow, gentle circles do the trick and make the swirl look amazing.
Step 7: Bake
Pop it in the oven and bake for 45–50 minutes. Start checking around 45; it’s done when a toothpick inserted in the center comes out clean. The top should be golden and fragrant. If it browns too quickly, you can tent it with foil halfway through baking.
Step 8: Cool & Glaze
Allow the cake to cool in the pan for about 10 minutes before transferring it to a wire rack. Once cooled slightly, drizzle with your glaze—just whisk powdered sugar, milk, and vanilla until you get a smooth, pourable consistency. This is the moment I love; the glaze soaks into the warm crumb and makes every bite extra special.
Step 9: Slice & Serve
Use a sharp serrated knife to slice into thick pieces. The cake is best enjoyed warm or at room temperature. Serve with a cup of coffee or a glass of milk. Oh, and leftovers? They keep well in an airtight container for up to 2 days, but honestly, I doubt it’ll last that long.
What to Serve It With
This zucchini swirl cake is so flexible — I’ve served it a bunch of different ways over the years. For a cozy breakfast, pair it with a strong cup of black coffee or a chai latte. The soft, subtly sweet flavor makes it perfect for weekend brunch alongside fresh fruit and maybe a dollop of whipped cream. When I’ve got friends over for a little afternoon tea, I like to dust it lightly with powdered sugar or serve small slices with a side of Greek yogurt. At dinner, I might even serve it as a light dessert, especially if topped with a drizzle of honey or a splash of lemon glaze. My kids love it for school snacks, sliced into mini muffins or cut into bars. It’s also great at picnics — travel-friendly, flavorful, and certainly a crowd pleaser. The best part? It feels like a warm hug from my grandma’s kitchen, even when I make it on a busy weekday.
Top Tips for Perfecting Your Zucchini Swirl Cake
Over the years, I’ve learned a few tricks to make this cake even better. First, always squeeze out as much moisture as possible from the zucchini — the wetter it is, the soggier the cake, and nobody wants that. I’ve tested with almonds or oats instead of part of the flour, which makes it even heartier and a little nuttier—trust me, it works beautifully. When it comes to mixing, I prefer folding gently to keep everything light, especially if I’m adding extras like chopped nuts or dried fruit. For the swirl, I’ve played with different spices—cardamom or ginger add a lovely twist. Want it vegan? Swap eggs for applesauce or flaxseed eggs, and use plant-based milk. When baking, I recommend placing the cake on a middle rack and rotating halfway through—this helps it bake evenly. You can also try baking at 340°F if your oven runs hot; it gives an even, tender crumb without browning too quickly. For the glaze, if you want it thicker, add a little more powdered sugar, or dilute it a bit for a lighter drizzle. Experiment, and remember: you’re making this your own. Every batch will taste like a little piece of home, which is exactly what makes it so special.
Storing and Reheating Tips
This cake keeps surprisingly well. Once fully cooled, store it in an airtight container at room temperature for up to 2 days—if it lasts that long! If you want to keep it fresh longer, pop it in the fridge for up to 4 days, wrapped tightly with plastic wrap or in a container. Just let it come to room temperature before slicing; it tastes much better that way. For longer storage, freezing is your friend. Wrap the whole loaf tightly in plastic wrap and foil, and it’ll keep for up to 3 months. To reheat, simply warm slices in the microwave for 15–20 seconds or gently in a low oven. If you’ve added glaze, it’s best to add that fresh before serving, as it can get a little sticky in the fridge. I’ve also experimented with icing or cream cheese frosting—delicious, but just make sure to keep them refrigerated if you do. When rewarming, avoid overheating—that’s how you get dry, tough cake. Trust me, these little steps keep every bite tasting just as good as the day you baked it!
Frequently Asked Questions
Final Thoughts
This zucchini swirl cake isn’t just a treat — it’s a little piece of my family’s story baked into every slice. It’s an easy, forgiving recipe that never fails to make my kitchen smell amazing and my loved ones smile. Whether you bake it for a lazy Sunday morning, a quick snack, or a potluck, I promise it’s a recipe you’ll turn to again and again. What I love most is how adaptable it is: you can add blueberries, swap in coconut oil, or even make it vegan. It’s the kind of thing that tastes like home, no matter where you are. So grab your zucchinis, get mixing, and I can’t wait to hear how yours turns out! Don’t forget to leave a comment or share a photo—nothing makes me happier than seeing someone else fall in love with this magic little loaf. Happy baking!
chicken enchiladas
Ingredients
Method
- Preheat oven to 375°F.
- In a medium pan, heat olive oil over low heat. Add onions and garlic, sauté until soft, about 2-3 minutes.
- Add green chiles, beans, water, bullion, and cumin. Mix well, cover, and simmer on low for 15 minutes.
- Remove cover, add shredded chicken, and cook an additional 5 minutes until thickened.
- For the sauce, melt butter over medium heat in a large pan. Add chopped onions and cook until translucent, about 3-4 minutes.
- Stir in flour and cook for 1 minute. Slowly whisk in chicken broth and bring to a boil. Cook until thickened, about 4-5 minutes.
- Add green chiles, jalapeños, and salt. Remove from heat and stir in sour cream.
- Spread 1/4 cup of sauce in a 9×13 inch baking dish. Fill tortillas with 1/3 cup of filling, roll, and place seam side down.
- Pour remaining sauce over the rolled tortillas and sprinkle with cheese.
- Cover with aluminum foil and bake for 20-30 minutes until hot and cheese melts. Garnish with cilantro or scallions before serving.

Love this idea! I’ve made something similar and it turned out amazing—simple but so flavorful.
Yes, that’s exactly it—light, flavorful, and satisfying without being too much. Love recipes that balance comfort and freshness!
I love this recipe—simple, flavorful, and perfect for a comforting yet light dinner! Thanks for sharing such an easy and delicious idea.
I love this idea—simple, flavorful, and perfect for a light yet satisfying meal. Thanks for sharing the recipe!