
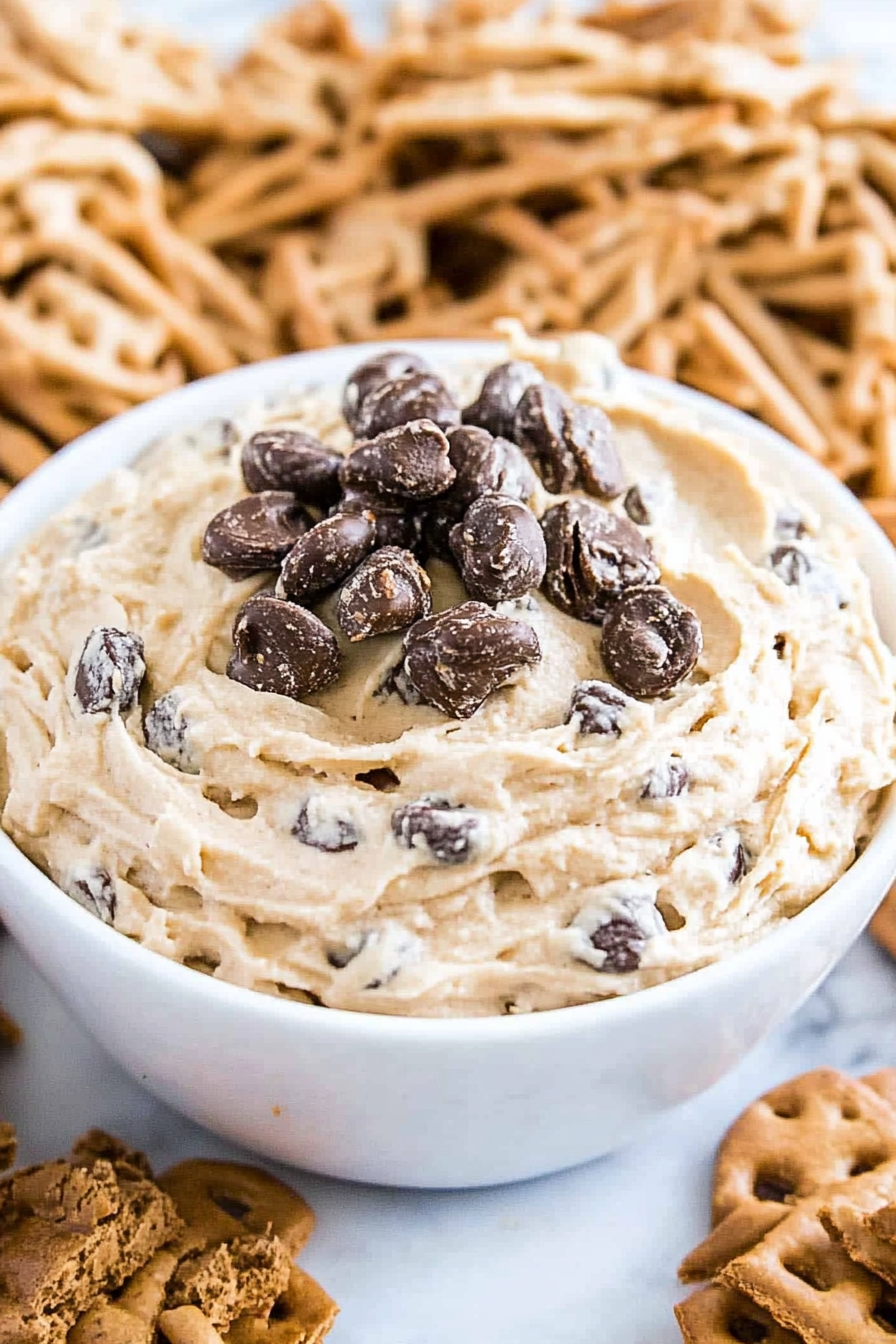
Easy Peanut Butter Cookie Dip Recipe
There’s something so nostalgic about baking a quick coffee cake on a lazy Sunday morning or even after a long day when I just crave that warm, comforting scent filling the house. I remember vividly how my grandma used to make her famous zucchini bread, but one day, I experimented and created this zucchini coffee cake, and wow, it’s become an instant family favorite. My kids ask for it all the time—especially when I tell them it’s basically a dessert wrapped up in breakfast form. And honestly, it’s one of those recipes I always keep in my back pocket because it’s insanely easy, super versatile, and makes the house smell like heaven. Plus, the zucchini keeps everything moist and tender—trust me, you’ll be surprised how much flavor that little veggie adds.
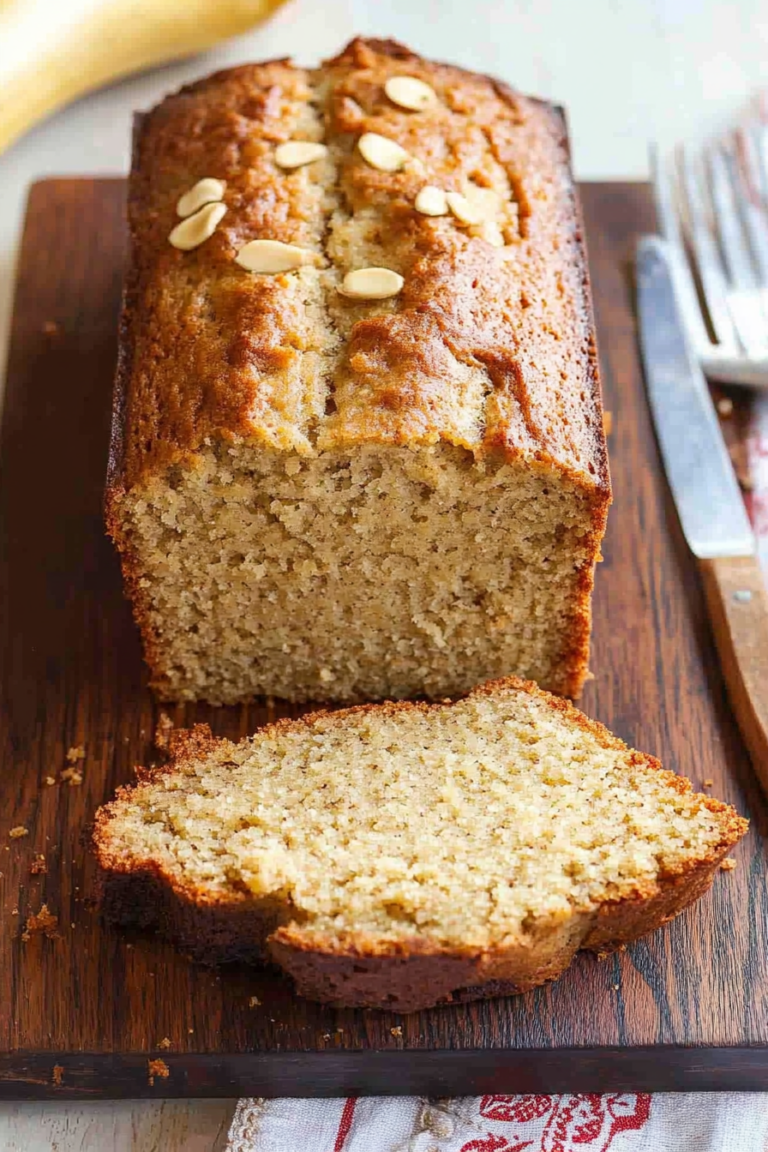
What is Zucchini Coffee Cake?
Think of zucchini coffee cake as a cozy, buttery cake that’s packed with shredded zucchini and topped with a sweet, crunchy streusel. It’s essentially a delicious way to sneak some veggies into a dessert, and honestly, you won’t even notice they’re there — only how moist and tender the cake is. Named after the simple joy of pairing it with a cup of coffee or tea, this cake is more than just a breakfast treat; it’s a crowd-pleaser any time of day. The best part? It’s so easy that I always do this when I have those extra zucchinis from my garden or the farmer’s market. Plus, the flavor combo of cinnamon, brown sugar, and that buttery crumb? Absolute heaven. This one’s a lifesaver on busy nights or when you want to impress someone with a homemade bake that tastes fancy but is actually super straightforward.
Why you’ll love this recipe?
What I love most about this zucchini coffee cake is how it’s a total comfort recipe that never fails to bring a smile. The flavor profile is a perfect balance of sweetness, warmth from the cinnamon, and that subtle earthiness from the zucchini, which honestly behaves like a magic ingredient. Plus, it’s so easy to whip together — I’ve tested this with so many substitutions and tweaks, and it always comes out moist and delicious. And let’s talk about cost — ingredients are simple pantry staples or garden-grown veggies, so it’s budget-friendly too. You can serve it for breakfast, brunch, or even as a cozy dessert with a dusting of powdered sugar or a scoop of vanilla ice cream. I love how flexible it is — my sister adds chopped walnuts on top, and my best friend swears by serving it warm with a dollop of whipped cream. What I’m saying is, this cake adapts to whatever mood you’re in, and it’s always a hit whether I make it for a crowd or just a quiet weekend morning.
How do I make Zucchini Coffee Cake?
Quick Overview
This zucchini coffee cake is all about simplicity. You start by shredding the zucchini, mixing your dry ingredients in one bowl, and your wet ingredients in another. Then, you combine everything — but be careful not to overmix! The batter comes together quickly, and the secret is in that crunchy streusel topping which makes every bite irresistible. You layer the batter into your prepared pan, sprinkle the streusel over the top, and bake until golden. Love that smell wafting through the house? Yep, it’s coming! Once out of the oven, I like to let it cool just enough so it doesn’t fall apart when sliced. Trust me, this cake is just as good warm as it is cooled — especially with a drizzle of caramel or a dusting of cinnamon sugar.
Ingredients
For the Main Batter:
- 2 cups grated zucchini (squeezed dry — don’t skip this! Moisture is the enemy of perfect texture)
- 1 cup sugar (white or a mix of brown and white sugar for richer flavor)
- 1/2 cup vegetable oil (or melted butter, if you prefer richer taste)
- 3 large eggs (at room temperature to combine better)
- 1 teaspoon vanilla extract
- 2 cups all-purpose flour (sifted for airy batter)
- 1 teaspoon baking powder
- 1/2 teaspoon baking soda
- 1 teaspoon ground cinnamon
- 1/2 teaspoon salt
For the Filling:
- Optional: 1/2 cup chopped walnuts or pecans
- Optional: 1/2 cup chocolate chips for a fun twist
For the Glaze:
- 1 cup powdered sugar
- 2-3 teaspoons milk or cream
- 1/2 teaspoon vanilla or cinnamon for flavor
Step-by-Step Instructions
Step 1: Preheat & Prep Pan
Crank your oven to 350°F (175°C). Grease a 9-inch round or square baking pan with butter or cooking spray, then line it with parchment paper if you like—because quick removal is the best! Set it aside. The smell of butter melting and warm vanilla is already making me hungry.
Step 2: Mix Dry Ingredients
In a medium bowl, whisk together the flour, baking powder, baking soda, cinnamon, and salt. This step ensures everything is evenly distributed and will give your cake that fluffy texture. I learned this trick early on — don’t skip dry ingredients mixing or you’ll end up with uneven pockets of baking soda or spices.
Step 3: Mix Wet Ingredients
In a large bowl, whisk together the sugar, oil, eggs, and vanilla until smooth. You’ll notice the mixture becomes slightly pale and fluffy — that’s how you know it’s well combined. I always test the zucchini after shredding; I press out excess moisture with a clean towel or paper towel. Moisture is sneaky — too wet, and your cake won’t rise properly.
Step 4: Combine
Gradually add the dry mixture into the wet, folding gently with a spatula. It’s tempting to overmix — but stop just when it’s combined. Overmixing can lead to dense, tough cake. The batter should be thick but smooth, with no streaks of flour.
Step 5: Prepare Filling
If you’re adding nuts or chocolate chips, fold them into the batter now. For a bit of variation, I sometimes sprinkle a few more nuts on top for extra crunch. The filling is totally optional, but I find it adds a lovely texture contrast.
Step 6: Layer & Swirl
Pour half the batter into your prepared pan, then add a layer of your favorite filling if using. Cover with the remaining batter, and with a knife or skewer, do a gentle swirl — just a few strokes — to create pretty marbled patterns. This looks fancy, but it’s super easy and makes every slice feel special.
Step 7: Bake
Pop it into the oven and bake for about 35-40 minutes. The edges should be golden, and a toothpick inserted in the center should come out clean. Every oven is different, so start checking at 35 minutes. If it’s browning too fast, cover loosely with foil to prevent burns.
Step 8: Cool & Glaze
Let the cake cool in the pan for about 10 minutes, then transfer to a wire rack if possible. While it’s still warm, drizzle your glaze over the top or dust with powdered sugar. I love how the glaze seeps into all the nooks — it’s like an extra-layer of sweetness.
Step 9: Slice & Serve
Slice it with a serrated knife these days, and don’t forget to serve with a cup of coffee or tea. The cake is best enjoyed warm or at room temperature — but honestly, it’s so good you might want seconds right away. I especially like serving slices with a blob of whipped cream or a scoop of vanilla ice cream on the side — just my personal indulgence!
What to Serve It With
This zucchini coffee cake is so versatile. For breakfast, I love pairing it with a strong cup of black coffee or a frothy cappuccino — the flavors marry so well. My kids think it’s dessert, so I often serve it with a glass of milk or a splash of warm caramel latte. On weekends, I make a fancy brunch spread with fresh fruit, yogurt, and maybe some crispy bacon — the sweet-spiced scent of the cake just adds to the cozy vibe. After dinner, a warm slice with a drizzle of caramel sauce or a dusting of cinnamon sugar makes it feel extra indulgent. And for those quick snack moments, it’s perfect just as it is — no fuss, no leftovers around here! Honestly, I’ve even packed slices in the lunchbox — it stays moist and delicious all day.
Top Tips for Perfecting Your Zucchini Coffee Cake
Over the years, I’ve picked up a few tricks to make this cake even better. First, squeezing out as much moisture as possible from the zucchini is a game-changer. I use a clean dish towel to wring it out — it makes all the difference. Moisture can turn the batter soupy, and nobody wants a dense coffee cake. Second, be gentle when folding in the flour — overmixing is the enemy of fluffiness. Once you add dry ingredients, stop mixing as soon as everything’s just combined. For the swirl pattern, I like to reserve a few tablespoons of batter, dollop spoonfuls randomly, then swirl lightly with a toothpick for a rustic look. Also, feel free to swap in almond flour or gluten-free blends if needed — just remember, the texture might be slightly different, but delicious all the same. I’ve tested it with coconut oil, and it adds a subtle tropical flavor that pairs nicely with cinnamon. Lastly, don’t underestimate the power of that streusel topping — adding a pinch of nutmeg or even grated orange zest can elevate it to a whole new level. Trust me, every little tweak adds up, and your final cake will be even more spectacular!
Storing and Reheating Tips
This cake is a weekend winner, but it also keeps well. If you’re not planning to eat it all in one sitting, store leftovers in an airtight container at room temperature for up to 2 days. Just cover it loosely — the moisture stays for days, but you don’t want it to get soggy. For longer storage, pop it in the refrigerator for up to a week — just give it a quick microwave zap (about 20 seconds) or warm it in the oven at 300°F (150°C) until warm and fragrant. Freezing works beautifully too; wrap individual slices in plastic wrap, then pop them in a freezer-safe bag. They stay good for about 3 months. To reheat, I usually let a slice thaw slightly, then warm it in the microwave or oven, and it’s just like fresh. If you add the glaze after reheating, it’ll look glossy and inviting — because let’s be honest, that’s the best part.
Frequently Asked Questions
Final Thoughts
This zucchini coffee cake has become a staple in my weekend repertoire, and I always look forward to making it — it’s like a warm hug in dessert form. The combination of moist zucchini, cinnamon-spiced batter, and that irresistible streusel topping hits all the right notes for me. I love how adaptable it is: nut-free, gluten-free, or loaded with extras — the possibilities are endless. And honestly, once you try it, I bet it’ll become a go-to for your family, too. It’s not just a recipe; it’s a memory-maker that fills your home with cozy smells and happy moments. If you give it a try, I’d love to hear how you customized it or what you paired it with. Happy baking, and don’t forget to leave a comment or share a photo of your gorgeous creation. Happy baking!

Peanut Butter Cookie Dip
Ingredients
Method
- In a small saucepan over medium heat, melt butter and whisk in the brown sugar and peanut butter. Heat until sugar dissolves (about one minute). Remove from heat immediately and allow to cool to room temperature.
- In a large mixing bowl, beat cream cheese with powdered sugar until creamy (about 3-4 minutes). On low, add in the cooled brown sugar mixture and mix until combined.
- Fold in mini chocolate chips and mini Reese's cups. Serve immediately or store in refrigerator until ready to serve. Enjoy with pretzels, animal crackers, and graham sticks.


Love this idea! That warm, comforting scent really hits the spot on a lazy Sunday.
Love this! The smell of baking cookies always makes my house feel cozy. I’ll definitely try this dip soon—sounds delicious and easy.
I totally get that feeling—there’s nothing like the smell of cookies baking to make everything feel cozy again.