
Nutty Chocolate Chip Cookies How To
There’s something about waking up to the smell of freshly baked… well, not exactly baked, in my case. But that warm, cozy scent of vanilla and just a hint of cinnamon? That’s the magic of this zucchini mug cake. It’s just the kind of thing I need on busy mornings when I-should-be-trying-to-snooze but instead am craving something sweet and comforting. My kids ask for this all the time—they love that it’s almost like a little cake cooked right in their favorite mug. And honestly, I love how this one’s a lifesaver on busy nights when I don’t want to spend ages baking, but still want that sweet, homey flavor. Plus, I learned this trick after years of making it: I tested this with almond milk and it actually made it even creamier! Trust me on this one, it’s worth trying. I’ll even confess—I sometimes sneak in a bit of dark chocolate chips when I want a little extra decadence. It’s that flexible and forgiving—a real keeper in my kitchen arsenal.
What is Zucchini Mug Cake?
Think of this zucchini mug cake as a cozy, single-serving treat that packs a punch of flavor without the fuss. It’s essentially a tiny cake, but made in a mug, so it’s perfect for when you want something sweet with zero leftovers. The magic ingredient here is shredded zucchini. Yes, zucchini! That sneaky veggie that adds moisture and a velvet-like texture without overpowering the flavor. This recipe’s name might sound fancy, but it’s a simple, friendly homemade dessert that reminds me of lazy weekend mornings or late-night cravings. The name ‘morning mug cake’ is really just a nod to how quick and easy it is—think of it as a little breakfast or snack, anytime you want. Plus, it’s a great way to sneak in some extra veggies—because who doesn’t want a little more greens in their day?
Why you’ll love this recipe?
What I love most about this zucchini mug cake is how effortless it is—literally, a few minutes from start to finish. I tested so many variations before settling on this perfect balance of moistness and flavor, and I promise, once you get the hang of it, it becomes your go-to for caffeine-fueled mornings or late-night sweet attacks.
- Flavor:What makes this flavor so good?
- Simplicity:Several ingredients, minimal prep, and a microwave are all you need. No need to turn on the oven or get out multiple bowls—this
- Cost-efficiency: You probably already have everything in your pantry or fridge—zucchini, flour, eggs, a little sweetener. It’s super budget-friendly and makes you feel like a kitchen wizard.
- Versatility: Love chocolate? Toss in some chips. Want it spiced up? Sprinkle some nutmeg or ginger. Looking for dairy-free? Swap in coconut milk. My kids ask for this all the time, and I often jazz it up for myself, too.
This mug cake has become a staple in my house because it hits all the right notes—comfort, quickness, and a little sneaky vegetable boost that makes me feel good about indulging. Plus, it’s perfect for when I need a cozy moment alone or a sweet pick-me-up in the middle of a hectic day. Honestly, I’ve made this countless times and it never fails to brighten my mood. I swear, once you try it, you’ll keep coming back for more—just like I do!
How to Make Zucchini Morning Mug Cake
Quick Overview
This zucchini mug cake comes together in just five minutes. It’s all about mixing the dry ingredients in your mug, adding the wet, then stirring in the shredded zucchini. Whether you prefer sweet or a little chocolatey, the process stays the same. You just microwave it for about 90 seconds, and voilà—you’ve got a warm, fluffy, veggie-infused treat that’s perfect whether it’s breakfast, dessert, or a late-night craving. The best part? It’s forgiving—overmix, undercook, or add an extra pinch of cinnamon—people love the rustic charm of this mug cake, and it’s incredibly flexible.
Ingredients
For the Main Batter:
– 4 tbsp all-purpose flour (I usually use unbleached or whole wheat for a health boost)
– 1 tbsp sugar or maple syrup (for sweetness, but honey works too)
– 1/4 tsp baking powder (makes it fluffy!)
– 1/4 tsp cinnamon (just a pinch for warmth)
– Pinch of salt (to balance the flavors)
– 2 tbsp olive oil or melted coconut oil (for richness)
– 3 tbsp milk (dairy or plant-based as you’d like)
– 1/2 tsp vanilla extract (because I love the aroma of vanilla in baked goods)
For the Filling:
– 1/4 cup shredded zucchini (squeezed dry—moisture is the enemy)
– Optional: chocolate chips, chopped nuts, or a dollop of nut butter to customize
For the Glaze:
– 1 tbsp powdered sugar mixed with a tiny splash of milk or lemon juice (or just a dusting of cocoa powder for a chocolate version)
– A sprinkle of cinnamon or cocoa powder for extra flair
Step-by-Step Instructions
Step 1: Preheat & Prep Pan
No oven needed here, but make sure your microwave is ready! Spray your mug lightly with non-stick spray or use a microwave-safe mug—no one wants a sticky cleanup. Have all your ingredients nearby—it’s a quick dance in the kitchen!
Step 2: Mix Dry Ingredients
In your mug, whisk together the flour, sugar, baking powder, cinnamon, and salt. Make sure they’re well combined—this helps ensure an even rise and fluffy texture. I always do this first—it’s like laying the foundation of a good cake.
Step 3: Mix Wet Ingredients
In a separate small bowl or directly in your mug, whisk your oil, milk, and vanilla. I sometimes warm the milk a bit if I want it to blend faster, but it’s not necessary. Once combined, pour it into the mug with the dry ingredients. It should look and smell delicious already!
Step 4: Combine
Stir gently with a fork or small whisk until just combined. Be careful not to overmix—just until the flour disappears. Overmixing can make it dense, so just a few folds does the trick.
Step 5: Prepare Filling
Take your shredded zucchini, squeeze out extra moisture with a paper towel, and fold it into the batter. If you’re feeling decadent, toss in a handful of chocolate chips or chopped nuts now. This is where you can customize it—chocolate, berries, or coconut flakes all work beautifully.
Step 6: Layer & Swirl
If you want a marbled look, add a spoonful of filling on top and gently swirl it with a toothpick or skewer. No need for perfect patterns—rustic is more charming anyway.
Step 7: Bake
Place in the microwave and cook on high for about 90 seconds. Start checking around the 80-second mark—your cake should be puffed up and just set in the center. Every microwave varies, so a little patience and observation go a long way. It may seem runny at first, but it firms up as it cools.
Step 8: Cool & Glaze
Let it sit for a minute or two; this keeps it from being too hot to enjoy. Pour over your glaze—whether powdered sugar, cocoa, or a drizzle of honey. I love a dusting of cinnamon here for that cozy finish.
Step 9: Slice & Serve
It’s best enjoyed warm, right out of the mug or plated with a little extra fruit or dollop of yogurt. Trust me, this disappears in minutes at my house! Light, fluffy, and just the right hint of vegetable goodness — it feels like a little secret treat you’re secretly proud of.
What to Serve It With
This mug cake is so versatile, I could go on forever about ways to enjoy it. For breakfast, I love pairing it with a strong cup of coffee or a glass of almond milk. It’s like a mini indulgence that kickstarts my day without the guilt.
On weekends, I might turn it into a fancy brunch moment—serve with fresh berries, a dollop of whipped cream, or a drizzle of honey. When I want just a dessert, I add a scoop of vanilla ice cream on the side or sprinkle more chocolate chips for that extra wow factor.
If you’re craving something cozy for a quick snack, this mug cake hits all the right buttons. It’s perfect for those nights when I want a little sweetness without firing up the oven or making a big mess. Plus, I love how adaptable it is—sometimes I swap zucchini for mashed banana or applesauce, and it still comes out amazing. It’s one of those recipes that makes me feel like a genius even on my busiest days.
Top Tips for Perfecting Your Zucchini Mug Cake
After making this a hundred times, I’ve gathered some tips to ensure yours turns out perfectly:
- Zucchini Prep: Squeeze out as much moisture as possible. Moisture is the enemy of fluffiness here—fresh zucchini can be sneaky that way. I usually wrap it in a paper towel and press gently, then let it air dry a few minutes.
- Mixing Advice: Overmixing can make the cake dense, so stir just until everything’s combined. Use a fork or small whisk—less vigorous whisking, more gentle folding.
- Swirl Customization: Use a toothpick or skewer to create pretty marbled patterns, especially if you add a layer of jam or melted chocolate. It’s all about visual appeal and fun!
- Ingredient Swaps: Tried coconut flour? Use half the amount because it’s more absorbent, and add a splash more milk. Want it dairy-free? Coconut oil and almond milk work beautifully. Just adjust based on what you have.
- Baking Tips: Each microwave is different, so keep an eye on your cake. It’s ready when it’s just set in the middle—a toothpick inserted should come out with moist crumbs, not wet batter.
- Glaze Variations: If you want a richer finish, melt some dark chocolate and pour it over. Or, for a zing, whisk in a teaspoon of lemon juice into your powdered sugar glaze. You can really make this your own!
Honestly, I learned this trick after several tries: microwaving in bursts of 30 seconds until it’s just right helps prevent overcooking. Plus, giving it a few seconds to cool slightly before inverting or serving keeps the texture perfect.
Storing and Reheating Tips
This mug cake is best enjoyed fresh and warm, but if you’re lucky enough to have leftovers, here’s how to keep that freshness:
- Room Temperature: If it’s only been an hour or two, you can keep it covered on the countertop. Just know it’s best eaten the same day for full fluffiness.
- Refrigerator Storage: Pop it into an airtight container or cover your mug with plastic wrap. It’ll last 1-2 days, and honestly, it still tastes pretty good reheated.
- Freezer Instructions: Wrap the cooled mug in plastic or foil and store flat in the freezer for up to a month. To reheat, defrost for a few minutes at room temp and microwave for about 30 seconds. It might be a little denser, but still super tasty.
- Glaze Timing: I prefer adding the glaze right after baking when it’s warm—this lets it soak in slightly. If saving for later, store the glaze separately and add just before serving for that fresh, shiny look.
Whatever your storage method, just remember: a quick microwave zap or a warm spoonful can bring back that just-baked feel. And the smell? Still as inviting as ever.
Frequently Asked Questions
Final Thoughts
After countless batches, I can honestly say this zucchini mug cake has earned a permanent spot in my recipe rotation. It’s cozy, flexible, and hits that sweet spot of indulgence without the guilt. The best part? It comes together faster than you can spell “dessert,” but it tastes like a little slice of homemade heaven. My family loves it, especially when I toss in a handful of chocolate chips or a dash of extra cinnamon—little tweaks that turn this simple cake into a special treat. If you’re looking for a way to sneak some veggies into your dessert, or just need a quick, satisfying snack, give this a try. I can’t wait to hear how yours turns out—maybe you’ll even invent a new variation I haven’t thought of yet! Remember, a little experimentation makes cooking even more fun. Happy baking!
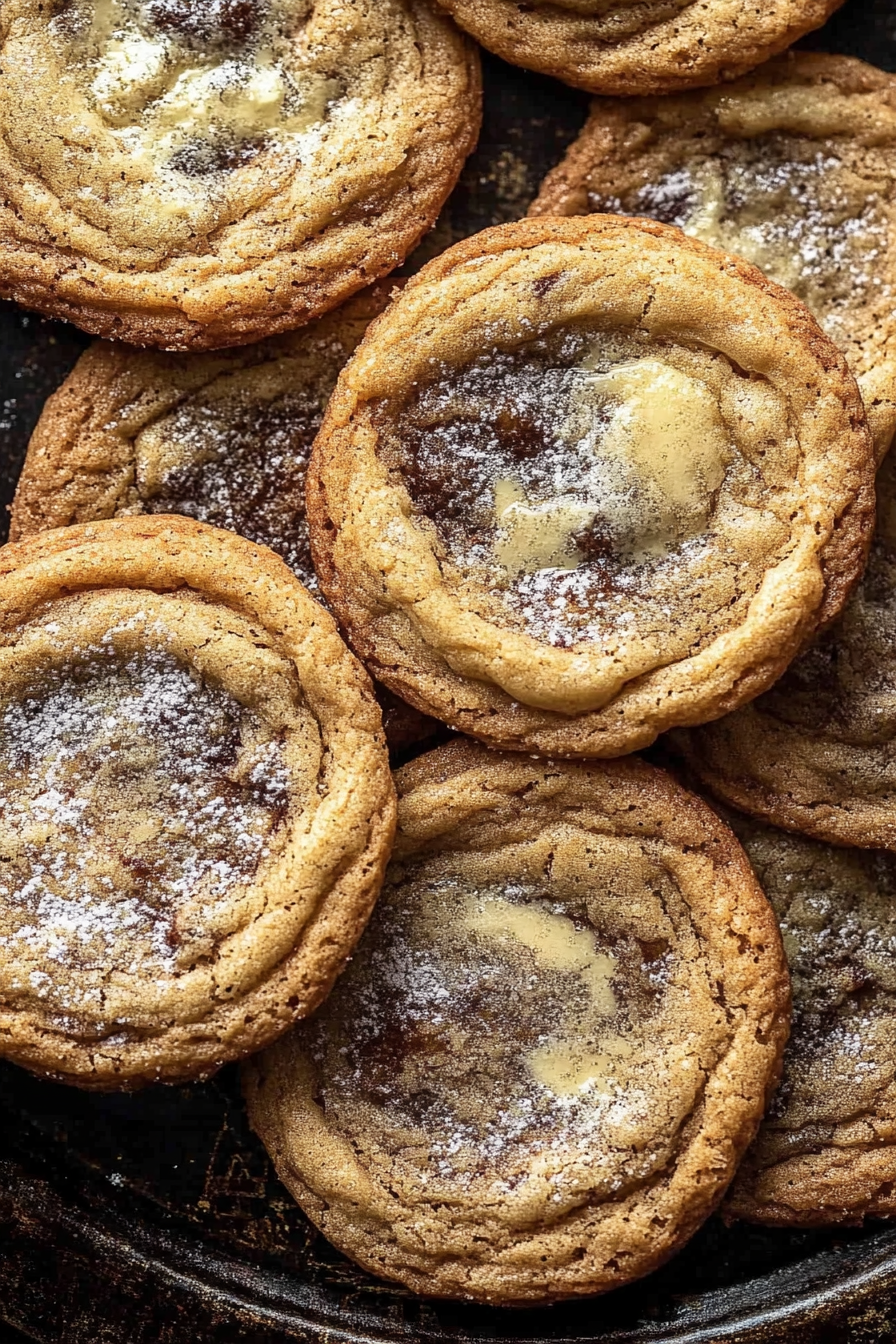
browned butter
Ingredients
Method
- In a skillet over medium-high heat, melt the butter, swirling occasionally. Continue until foam forms and milk solids turn golden brown, then scrape off any burnt bits and pour into a heat-safe bowl.
- Allow the browned butter to cool slightly. Stir in the light brown sugar until combined, and let it cool for 15-20 minutes.
- In a medium bowl, whisk together the flour, baking soda, salt, and baking powder.
- Add eggs and vanilla to the cooled butter mixture, whisking until smooth.
- Gradually add the flour mixture into the wet ingredients, mixing with a spatula until just combined.
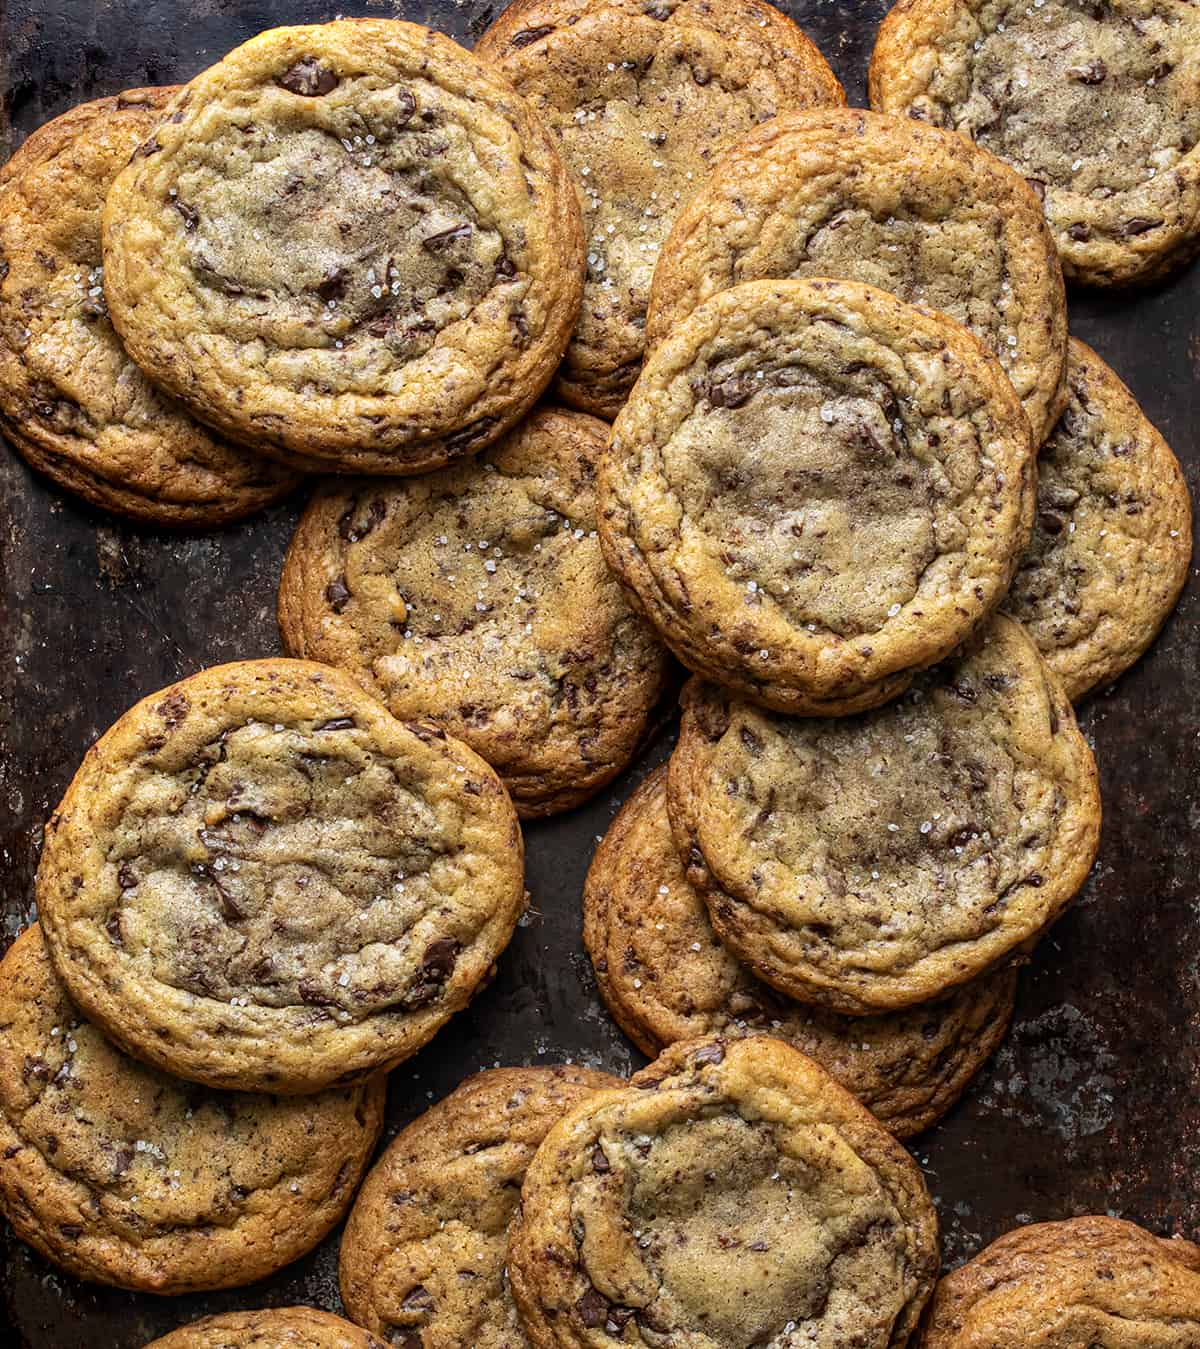
- Fold in the chopped chocolate. Scoop the dough onto a baking sheet and chill for 24 hours.
- Preheat oven to 350°F. Scoop dough onto baking sheets and bake for 12 minutes until golden.
- Remove cookies from oven, sprinkle with sea salt, and cool on wire racks.
Love the cozy vibe—those cookies always make mornings so much better!
So good! I love the smell of vanilla and chocolate baking in the morning—definitely makes my day better. Can’t wait to try this recipe!
I love how you captured the cozy feeling of baking—even when it’s not quite perfect! That smell really makes mornings better.
I love the idea of baking these cookies—the vanilla scent sounds so comforting, especially on a chilly morning.
I totally get it—those morning smells are the best! I tried your recipe and they turned out so soft and chewy, perfect with coffee.