
Sweet Easter Treats for Bakers
Growing up, there was always something magical about baked goods that tasted just a little unexpected—something that made you do a double-take at the kitchen table. This zucchini swirl cake is exactly that. I always do this when I want something sweet but don’t want to fuss over complicated recipes. The smell alone—warm, cinnamon-spiced with hints of fresh zucchini—brings everyone to the kitchen. My kids ask for this all the time, and honestly, it’s become our go-to on busy weekends when I need to whip up something quick, comforting, and genuinely delicious. Plus, I love that it sneaks some veggies into a treat— guilt-free indulgence, right? And trust me, this one’s a lifesaver on busy nights when everyone’s starving but I don’t want to spend hours baking. It’s moist, tender, and packed with flavor. The swirl of cinnamon and zucchinis makes each bite a little surprise, and it disappears in minutes at my house. I tested this with different types of zucchinis—green, yellow—and honestly, it’s just as good with either. So, grab your zucchinis and let’s get baking! You’re about to make your kitchen smell amazing and your family happy as clams.
What is Zucchini Swirl Cake?
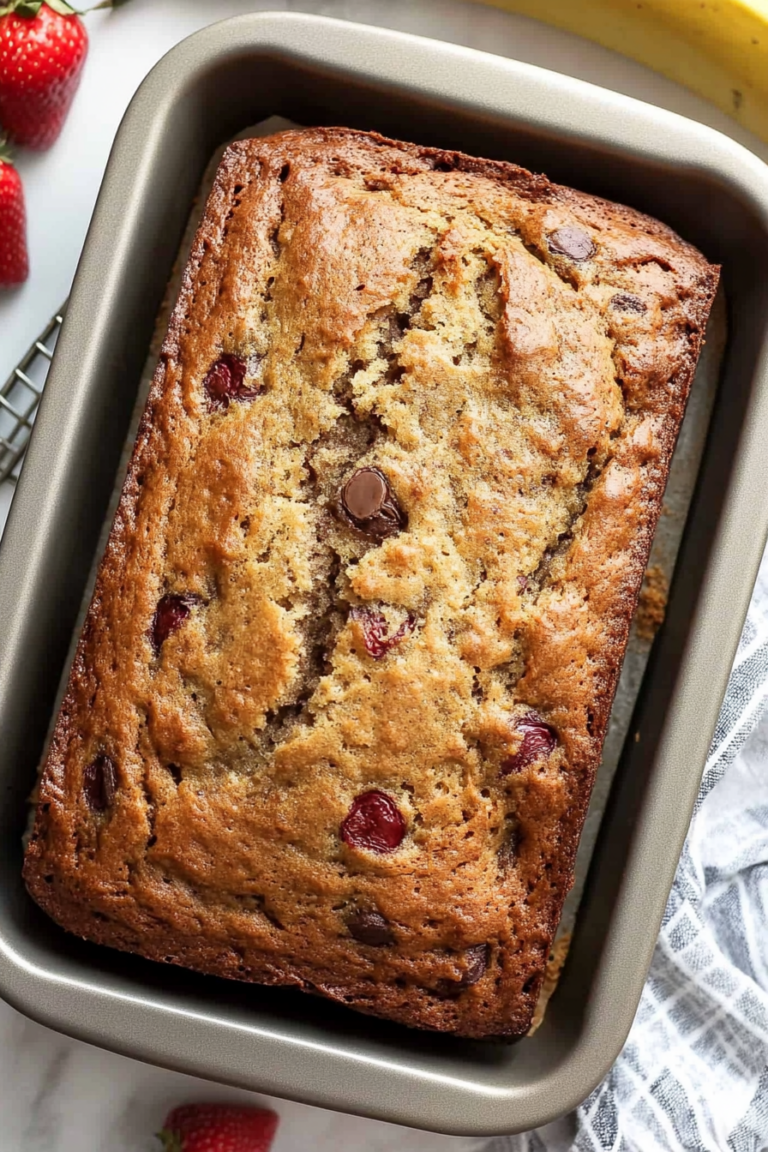
Think of zucchini swirl cake as a cozy twist on classic loaf cakes—somewhere between breakfast bread and a dessert. It’s essentially a moist, tender cake dotted with shredded zucchini, then swirled with cinnamon-spiced sugar. The “swirl” part is like a little cinnamon lullaby running through the batter, giving each bite a gorgeous marbled look and an incredible flavor punch. The name is pretty straightforward — “zucchini” because of the main vegetable hidden inside, and “swirl” for the cinnamon sugar ribbons that make it so pretty and flavorful. It’s the kind of recipe that’s perfect for those days when you want a little something sweet but don’t want to fuss over fancy icing or complicated layers. I love that it’s versatile enough to serve for breakfast, brunch, or as a sweet afternoon treat. And, of course, it’s one of those recipes that tastes even better after a day or two— if it lasts that long! This cake is a perfect way to use up summer zucchinis, but honestly, I’ve made it with frozen shredded zucchinis in the winter, and it’s just as good.
Why you’ll love this recipe?
What I love most about this zucchini swirl cake is how it hits all the right notes—moist, flavorful, and surprisingly simple to make. It’s like a hug in cake form. The flavor profile is balm for any sweet tooth: tender crumb, just the right amount of cinnamon, and that beautiful swirl of sugar and spice that’s almost caramel-like when it bakes. Plus, it’s a total time-saver. You mix everything in one bowl, swirl it up, and bake. No fancy techniques, just good old-fashioned home-baking. Another thing I appreciate is the budget-friendly ingredients. You probably already have everything in your pantry and fridge—flour, sugar, eggs, zucchini—nothing fancy needed. And the versatility? This cake is excellent on its own but also plays well with a dollop of vanilla yogurt, a smear of cream cheese, or even a dusting of powdered sugar. My kids actually ask for seconds, and I love knowing I’ve added a little veggie boost to their treat. It’s perfect when you want to impress without stressing—great for breakfast, dessert, or an afternoon tea. Honestly, once you’ve made this, it’s going to be a staple in your baking lineup.
How do I make Zucchini Swirl Cake?
Quick Overview
This cake is a breeze to whip up—it all starts with shredding the zucchini (I do this in about five minutes with a box grater), then mixing the batter in one big bowl. The swirl is simply a cinnamon-sugar mixture that you gently fold into the batter before baking. It’s that easy. The best part? You don’t need a mixer—just a whisk or spoon does the trick. I love that you can prep the pan while the oven heats, so everything moves along smoothly. Once baked, let it cool just enough so the swirl isn’t messy, then slice and serve. It’s perfect for making ahead since it stays moist and flavorful the next day. Whether you’re a seasoned baker or a total novice, this recipe is a real winner. It’s flexible, forgiving, and always turns out beautifully, which makes it one of my favorites to keep on hand.
Ingredients
For the Main Batter:
– 2 cups all-purpose flour (I always use unbleached for better flavor, but regular works fine)
– 1 1/2 teaspoons baking powder
– 1/2 teaspoon baking soda
– 1/2 teaspoon salt
– 1 teaspoon ground cinnamon
– 1/2 cup granulated sugar
– 1/2 cup light brown sugar (adds a lovely richness)
– 2 large eggs
– 3/4 cup vegetable oil (can substitute with melted coconut oil for a bit of tropical flavor)
– 1 teaspoon vanilla extract
– 1 1/2 cups shredded zucchini (about one medium zucchini, but I like to squeeze out excess moisture with a clean towel after shredding)
For the Filling:
– 1/4 cup light brown sugar
– 1 teaspoon ground cinnamon
– 2 tablespoons unsalted butter, melted
*(Optional: a handful of chopped nuts or chocolate chips for extra flair)*
For the Glaze:
– 1/2 cup powdered sugar
– 1-2 teaspoons milk or lemon juice
– A dash of vanilla or almond extract (for extra flavor)
*(If you prefer a richer glaze, add a tablespoon of cream cheese or mascarpone)*
Step-by-Step Instructions
Step 1: Preheat & Prep Pan
Set your oven to 350°F (175°C). Grease a standard loaf pan or line it with parchment paper—trust me, easy removal makes a world of difference. I like to give a quick spray with non-stick spray and dust with a little flour or sugar. While the oven heats, shred the zucchini and squeeze out any excess moisture with a clean towel—you want it moist but not watery. This is a small step, but it keeps your cake tender and prevents sogginess.
Step 2: Mix Dry Ingredients
In a big mixing bowl, whisk together the flour, baking powder, baking soda, salt, and cinnamon. This ensures everything gets evenly distributed, and your cake rises nicely. I’ve learned that sifting isn’t necessary here—just whisking works fine and saves time. The cinnamon smells amazing when combined with the dry ingredients, and your kitchen will start to smell cozy even before the batter is made.
Step 3: Mix Wet Ingredients
In another bowl, whisk together the eggs, oil, vanilla, and sugars until smooth and slightly frothy. Adding the eggs one at a time helps the mixture emulsify better, which makes for a more tender cake. I tested this with almond milk once, and honestly, it made it even creamier! Stir in the shredded zucchini after the wet ingredients are blended; this prevents the batter from becoming too thick or dry.
Step 4: Combine
Pour the wet mixture into your dry ingredients gently, folding with a spatula or spoon. Do not overmix—stop as soon as there’s no streak of flour. Overmixing can cause a dense crumb rather than a light, fluffy texture. The batter should be thick but easily stirrable, with occasional lumps—this is normal and perfect.
Step 5: Prepare Filling
Mix together the brown sugar, cinnamon, and melted butter in a small bowl. If you’re feeling creative, toss in chopped nuts or chocolate chips. Set aside, ready to create your beautiful swirl.
Step 6: Layer & Swirl
Pour half of the batter into the prepared pan, then sprinkle half of the cinnamon-sugar mixture over the batter. Add the remaining batter on top, then sprinkle with the rest of the cinnamon sugar. Use a butter knife or skewer to gently swirl through the batter—don’t overdo it; you want lovely ribbons, not a muddy mess. Visualize a gentle figure-eight or circular motion—the goal is pretty marbling that looks inviting even before baking.
Step 7: Bake
Pop the cake in the oven at 350°F and bake for 45-50 minutes. Keep an eye on it after 40 minutes; insert a toothpick into the center—if it comes out clean, you’re good. The top should turn golden and feel slightly firm to the touch. If your oven runs hot or cold, you may need to adjust the timing a bit—every oven is a little different, so don’t forget to check.
Step 8: Cool & Glaze
Let the cake cool in the pan for about 15 minutes, then transfer to a wire rack. This prevents sogginess and helps the swirl set nicely. Once cooled, whisk together your glaze ingredients and drizzle over the top. I like to do this while the cake is still slightly warm— the glaze seeps into all those lovely cracks and makes every bite extra special.
Step 9: Slice & Serve
Using a serrated knife, cut into thick slices for a hearty treat or thinner slices for a light snack. The swirl pattern looks pretty on a plate, and the aroma is just divine. Serve with a dollop of whipped cream, a sprinkle of extra cinnamon, or just as is—this cake is versatile enough for all occasions.
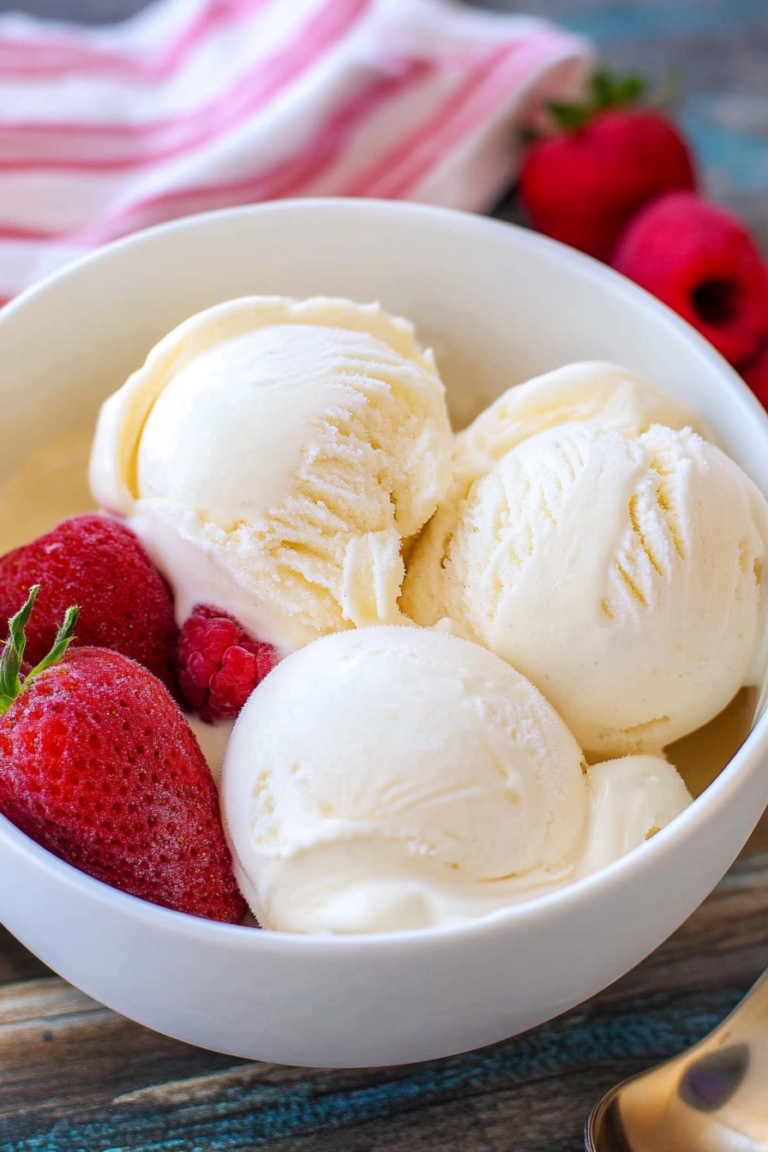
What to Serve It With
This cake is truly versatile. For breakfast, I love a slice with a strong cup of coffee or a mug of milky chai. It’s perfect alongside fresh fruit or a dollop of mascarpone. At brunch, set it on the table with some fresh berries and a drizzle of honey—looks fancy, tastes cozy. As a dessert, a dusting of powdered sugar or a scoop of vanilla ice cream takes it to the next level. I also serve it as a casual snack with afternoon tea or coffee, especially when the weather turns chilly. Sometimes, I add a handful of chopped walnuts or chocolate chips to elevate the flavor, and my family always asks for seconds. It’s one of those recipes that feels like a warm hug— simple, warm, and just a little indulgent.
Top Tips for Perfecting Your Zucchini Swirl Cake
Over the years, I’ve learned a few tricks to make this cake turn out even better:
- Zucchini Prep: Always squeeze out excess moisture after shredding. Too much water can make the cake dense or soggy. I keep a pinch of salt on hand while shredding—rubbing it gently over the zucchini helps draw out moisture faster.
- Mixing Advice: Don’t overmix once wet and dry are combined—that’s a common rookie mistake. Stop as soon as it’s combined to keep the crumb light and tender.
- Swirl Customization: Play with the swirl pattern—try zigzags, figure-eights, or even just gentle circles—your cake will look more beautiful, and the marbling will be more interesting.
- Ingredient Swaps: You can swap applesauce for part of the oil for a healthier version, or use coconut sugar instead of brown sugar for a tropical twist. Test small batches first to get a sense how the textures change.
- Baking Tips: Always check your oven’s temperature with an oven thermometer, and rotate the cake halfway through baking if your oven heats unevenly. The toothpick test is golden—if it comes out clean, it’s done!
- Glaze Variations: Instead of powdered sugar, try a drizzle of honey or maple syrup. Or, sprinkle with toasted coconut or finely chopped nuts for extra crunch. I usually prefer to add the glaze after the cake has cooled—this keeps it from melting too quickly.
This recipe is forgiving, but these tips help elevate your baking game. A few small tweaks make all the difference, and once you get the hang of it, you won’t want to stop experimenting!
Storing and Reheating Tips
Since this cake stays moist but not soggy, it’s perfect for making ahead. Store it in an airtight container at room temperature for up to 2 days. If it’s warm or humid where you are, pop it in the fridge—just bring it out about 20 minutes before serving so it regains its softness. For longer storage, wrap the cake tightly with plastic wrap and freeze for up to 3 months. I like to slice it before freezing, so I can grab a piece whenever cravings hit. Thaw at room temperature or warm slices gently in the microwave for a few seconds. Just remember, if you add the glaze later, do it right before serving for the best shine and texture.
Frequently Asked Questions
Final Thoughts
If you’re into cozy, slightly unexpected baking that makes your house smell like a bakery, this zucchini swirl cake is your new best friend. It’s a humble treat that feels a little special every time—moist, flavorful, and surprisingly adaptable. I’ve made dozens of variations over the years, but the classic cinnamon-sugar swirl remains a favorite. It’s just one of those recipes that reminds me how simple ingredients can come together to create something so comforting and satisfying. Trust me, once you try it, it’s bound to become a recurring favorite in your kitchen, too. I hope you have as much fun baking this as I did sharing it with you—happy baking, and I can’t wait to hear how yours turns out! Don’t forget to leave a comment, share your tweaks, or snap a photo—food loves to be shared.
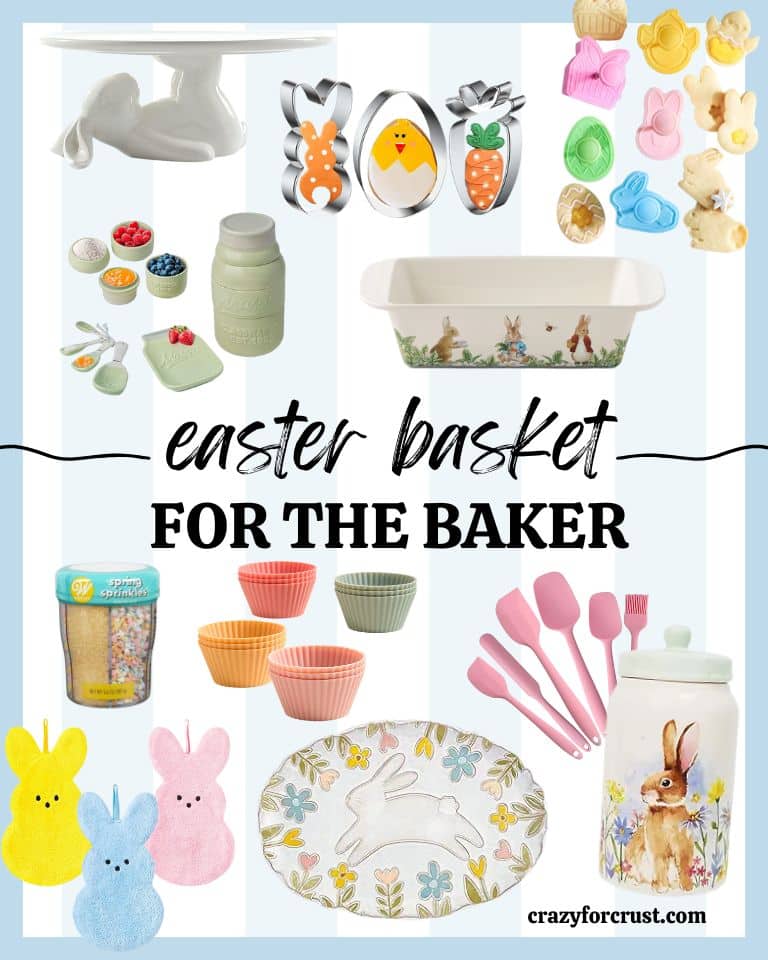
Easter baskets
Ingredients
Method
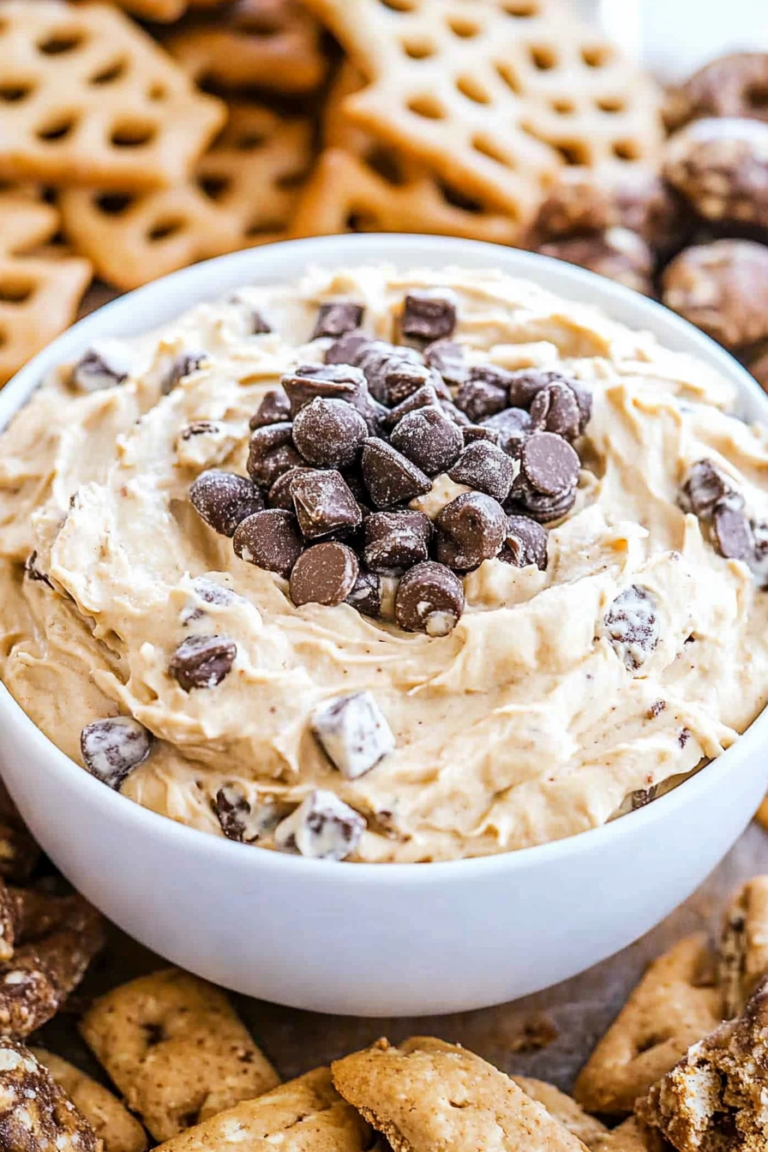
- Mix graham cracker crumbs, cream cheese, powdered sugar, and vanilla extract until smooth.
- Fold in white chocolate chips into the mixture.
- Shape the mixture into small baskets or balls and place on a baking sheet.
- Melt the white chocolate and dip the baskets to give a glossy coat.
- Decorate each basket with mini chocolate eggs and let set.
I love this idea! Zucchini swirl cake sounds both delicious and surprising. Perfect for Easter with its unexpected twist.
I love how this zucchini swirl cake turns something simple into a surprise—definitely adding this to my Easter baking list!
I love the idea of a zucchini swirl cake—surprising yet delicious! It’s amazing how a little twist can make a classic treat feel special.