
Flaky Cherry Pastries How to Make Them
There’s something so comforting about biting into a warm slice of coffee cake, especially when it’s packed with a sweet swirl of cinnamon and fresh zucchini. I remember my grandma making something similar on chilly Sunday mornings — the smell of it baking alone would fill the entire house with warmth and nostalgia. Over the years, I’ve tweaked my grandma’s classic recipe into something that’s just a little more flavorful, a little more moist, and maybe even easier to pull off after a long day. Honestly, this zucchini cinnamon swirl coffee cake is one of those recipes I turn to when I want a cozy treat but don’t want to fuss with complicated steps. It’s incredible how such simple ingredients can come together to make a cake that looks fancy yet is so totally homey. Plus, I love knowing I’m sneaking a veggie into a dessert — it’s like a secret bonus!
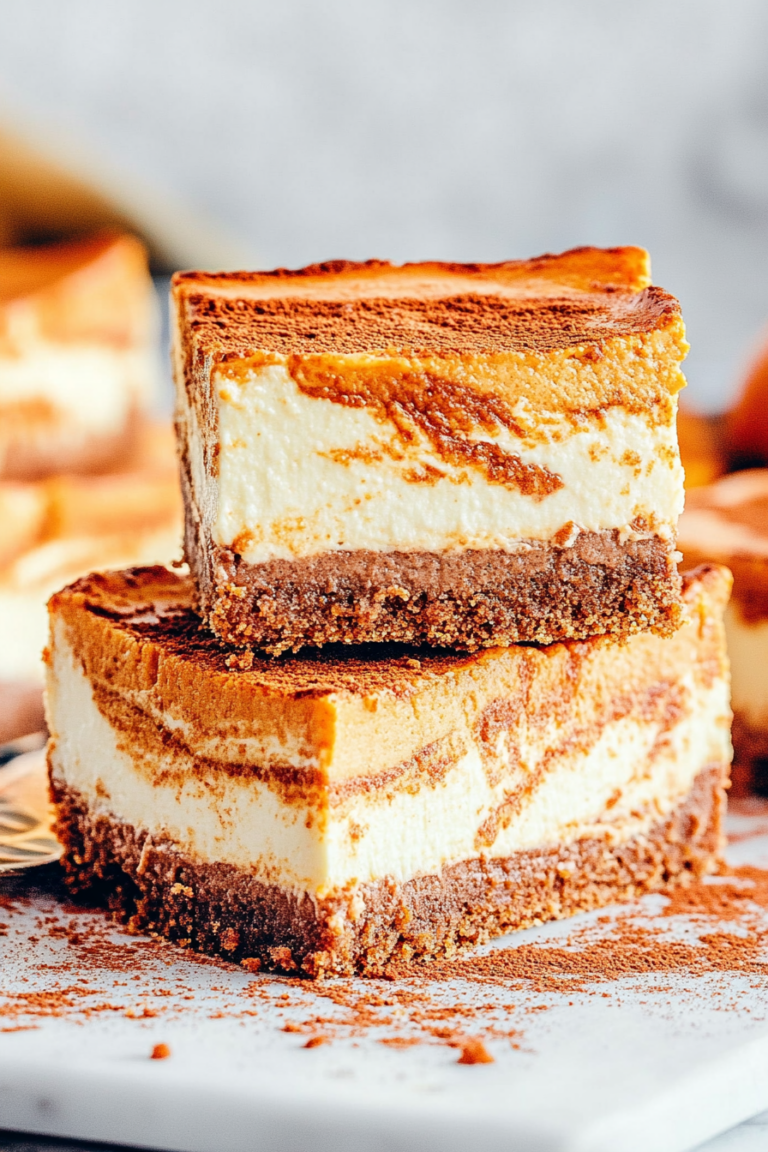
What is Zucchini cinnamon swirl coffee cake?
This might sound like an odd combo at first, but trust me — zucchini in coffee cake is a game changer. Think of it as a classic cinnamon coffee cake, the kind you’ve probably had at bakeries, but with the added moisture and subtle sweetness of grated zucchini. The name itself points to the layered design: tender cake with a generous cinnamon-sugar swirl running through it, topped with a glazed finish. It’s essentially a cross between a loaf and a crumble, but baked in a cozy cake pan. The zucchini keeps the cake incredibly moist without any strange texture — in fact, you barely notice it once it’s baked. It’s the perfect weekend bake or a lovely addition to breakfast with your morning coffee or tea. The best part? You get the satisfaction of baking something that’s as lovely to look at as it is to eat!
Why you’ll love this recipe?
What I love most about this zucchini cinnamon swirl coffee cake is how adaptable and effortless it really is. It’s one of those recipes that feels like a gift — simple ingredients, straightforward steps, and a result that always blows everyone away. The flavor? Rich, warm, and just enough sweetness with that cozy cinnamon smell wafting through the kitchen. It’s honestly a lifesaver on busy nights or lazy weekends when you want something baked, comforting, and tasty without the fuss. Plus, it’s budget-friendly — no fancy ingredients, just everyday staples you probably already have in the pantry. I also love how versatile it is: serve it for breakfast, brunch, or even a casual dessert, and everyone will ask for seconds. My kids actually ask for this all the time, especially when they see the swirl filling. It’s a guaranteed crowd-pleaser that makes the house smell incredible, and honestly, I feel a little proud every time I make it. The best part? You can swap out ingredients or tweak the sweetness to match your mood. It’s truly a recipe you can make your own.
How do you make Zucchini Swirl Coffee Cake?
Quick Overview
This recipe is about mixing dry ingredients, blending wet ones, then folding everything together just enough to keep it light and tender. The cinnamon-sugar swirl is my favorite part — I layer and swirl it gently into the batter, creating beautiful marbled patterns. After a quick bake, the cake emerges moist, fragrant, and ready for its glaze. It’s really about balancing the cinnamon and zucchini for the perfect texture and flavor. Trust me — once you get the hang of the swirl technique, it’s smooth sailing. Plus, I’ve tested this with different zucchinis, even a combination of yellow squash, and it still comes out delicious. Just make sure you give the zucchini a good squeeze to remove excess moisture — it’s a game changer for keeping the cake from getting soggy! This one’s a lifesaver on busy mornings or when guests pop by unexpectedly.
Ingredients
For the Main Batter:
– 2 cups all-purpose flour (look for unbleached if you can; it adds a better flavor)
– 1 cup granulated sugar (I always do half with brown sugar for more depth)
– 1 teaspoon baking powder
– 1/2 teaspoon baking soda
– 1/2 teaspoon salt
– 1 teaspoon ground cinnamon (because the swirl needs that cozy flavor)
– 1/2 teaspoon vanilla extract
– 1/2 cup vegetable oil or melted butter
– 3 large eggs
– 1 cup freshly grated zucchini (don’t forget to squeeze out the excess moisture!)
For the Filling:
– 1/2 cup brown sugar
– 2 teaspoons ground cinnamon
– 2 tablespoons unsalted butter (melted)
– Optional: 1/4 cup chopped nuts or mini chocolate chips for a twist
For the Glaze:
– 1 cup powdered sugar
– 2-3 teaspoons milk or cream
– 1/2 teaspoon vanilla (or almond extract if you love that flavor)
– A pinch of cinnamon for extra warmth
Step-by-Step Instructions
Step 1: Preheat & Prep Pan
Set your oven to 350°F (175°C). Grease a 9-inch round or square baking pan with butter or non-stick spray, then line it with parchment paper for easy removal. I always do this because cleaning up afterward is a breeze, and the cake comes out perfect every time. To keep your cake from sticking, dust lightly with flour if you’ve skipped parchment, but I prefer the paper for neat slices.
Step 2: Mix Dry Ingredients
In a big mixing bowl, whisk together the flour, sugar, baking powder, baking soda, salt, and cinnamon. This part is simple but crucial — it ensures even distribution of the leavening agents. I learned this from years of baking that skipping this step can lead to uneven rising, and nobody wants a flat or lumpy cake.
Step 3: Mix Wet Ingredients
In another bowl, beat the eggs lightly, then add the oil, vanilla, and grated zucchini. Mix until smooth. The zucchini should be grated finely and squeezed dry so your batter isn’t watery—trust me, excess moisture can sink your cake and make it gummy. When I first tried with zucchini straight from the fridge, I ended up with a soggy mess, so now I always give it a good squeeze and pat dry with a paper towel.
Step 4: Combine
Pour the wet ingredients into the dry ingredients and fold gently with a spatula until just combined. Don’t overmix — a few lumps are fine, and it keeps the cake nice and tender. Overmixing can make the final product dense. If you see heaping flour spots, just fold a little more gently until combined.
Step 5: Prepare Filling
In a small bowl, stir together brown sugar, cinnamon, and melted butter. This mixture will give the swirl that gooey, spicy kick. If you want to add nuts or chocolate chips, fold those in now. I love the nutty crunch or melty chocolate bits in every bite — make it your own!
Step 6: Layer & Swirl
Pour half of the batter into your prepared pan and spread evenly. Then sprinkle the entire filling mixture over this layer—don’t be shy! Use a spatula or the back of a spoon to spread it evenly. Pour the remaining batter on top, smoothing it out gently. Now, the fun part — using a knife or skewer, swirl through the batter to create beautiful ribbons. I like making a few figure-eight patterns — it looks fancy, but it’s super simple. The swirl will spread during baking, giving you that gorgeous marbled look.
Step 7: Bake
Pop the cake into the oven and bake for 40-45 minutes. Check for doneness by inserting a toothpick into the center — if it comes out clean, you’re good. Keep in mind that ovens vary, so I sometimes cover the cake loosely with foil halfway through if it’s browning too fast — nobody wants a burnt top! The smell will fill the room and make everyone come running. Patience is key here — let it cool in the pan for about 15 minutes before transferring to a wire rack.
Step 8: Cool & Glaze
Let the cake cool completely before glazing. Mix the powdered sugar with a splash of milk and vanilla until smooth — it should drizzle easily, but not be runny. Pour or drizzle the glaze over the cooled cake, allowing it to set for about 10-15 minutes. If you like, sprinkle a little extra cinnamon or nuts on top before the glaze hardens. This step makes the cake look irresistibly professional.
Step 9: Slice & Serve
Use a sharp knife to cut even slices — I dip mine in hot water and wipe it clean after every cut for neat pieces. Serve with a cup of coffee or tea, and watch how quickly it disappears! I love it warm, but it’s just as good at room temperature. Bonus: the leftover slices keep beautifully in an airtight container for a couple of days, if they last that long.
What to Serve It With
This zucchini cinnamon swirl coffee cake is such a versatile treat. For breakfast, pair it with a strong cup of coffee — I swear the aroma alone energizes me for the day. On a lazy weekend brunch, serve it alongside fresh fruit and a dollop of whipped cream or yogurt. It’s also incredible as a dessert — warm slices topped with a scoop of vanilla ice cream or drizzled with caramel sauce create that perfect sweet-and-spicy balance. I often make a batch on Sunday and keep some in the fridge for a quick snack or late-night treat. My family loves it with a glass of cold milk or hot cocoa, especially during colder months. Honestly, it’s one of those recipes that becomes a household favorite so quickly because it feels just a little special, even though it’s so easy to make. Plus, if you’ve got kids or guests over, it’s impressive enough to serve without extra fuss. Everyone leaves the table smiling — that’s the magic of this cake.
Top Tips for Perfecting Your Zucchini Cinnamon Swirl Coffee Cake
Over the years, I’ve learned a few tricks to make this cake truly shine. First, always dry your zucchini thoroughly. Moisture is the enemy of fluffy cakes; I usually grate in the zucchini, then squeeze out as much water as I can using a clean kitchen towel. It makes a huge difference in texture. When mixing the batter, be gentle — overmixing is temptation, but it’ll make your cake dense instead of airy. If the swirl pattern isn’t as defined as you’d like, try using a skewer or chopstick and swirling in tight circles, avoiding pushing all the way to the bottom. The corners tend to brown faster, so if you notice the edges darkening too quickly, tent the top with foil. For ingredient swaps, I’ve tested using honey instead of sugar, and honestly, it’s just as tasty — just reduce the liquid slightly to account for moisture. When it comes to baking time, start checking at 40 minutes; every oven is different. To keep your glaze smooth, add a teaspoon of milk at a time — too thick, add a little more; too runny, add a touch more powdered sugar. The key is patience and gentle touches — the result is worth it. Trust me, I’ve burned more than a few, but each mistake taught me how to bake this cake just right. It’s those tiny tweaks that make your version uniquely yours and perfect every time.
Storing and Reheating Tips
Once cooled, keep leftovers in an airtight container at room temperature for up to two days. If you want to keep it longer, refrigerate for up to five days — just make sure it’s well wrapped to prevent drying out. I like to cover it with a clean towel or plastic wrap. For longer storage, freezing slices individually wrapped in plastic and then in a zip-top bag works great. To reheat, microwave for about 15-20 seconds — just enough to warm through without drying out. If you prefer warm, on-the-spot cake, pop it in the microwave and cover with a paper towel. Keep in mind: the glaze will set and harden after a few hours, so if you want the shiny look, it’s best to add the glaze just before serving. I tested storing with and without glaze, and honestly, it’s better fresh on top — the glaze stays shiny and luscious when added last minute. This cake is forgiving, flexible, and always better the next day — as long as you keep it sealed and cozy, it’ll stay lovely.
Frequently Asked Questions
Final Thoughts
This zucchini cinnamon swirl coffee cake has become a staple in my house. It’s a little bit cozy, a little bit indulgent, and honestly, deeply satisfying. The secret to its charm is how effortlessly it comes together and how everyone raves about its moist crumb and delicious swirl. Whether you’re baking for a quick brunch, a weekend treat, or a cozy dessert, I promise this will become a go-to. Don’t be discouraged if your swirl isn’t perfect at first — practice makes perfect! And trust me, every time I make this, I feel like I’ve brought a little bit of my family’s tradition into my kitchen. I hope you give it a try and love it as much as I do — leftovers are perfect for breakfast the next day, toasted with a smear of butter. Happy baking, and I’d love to hear how your version turns out or if you’ve added your own twists. Don’t forget to leave a comment below or share your photos — I’d love to see!
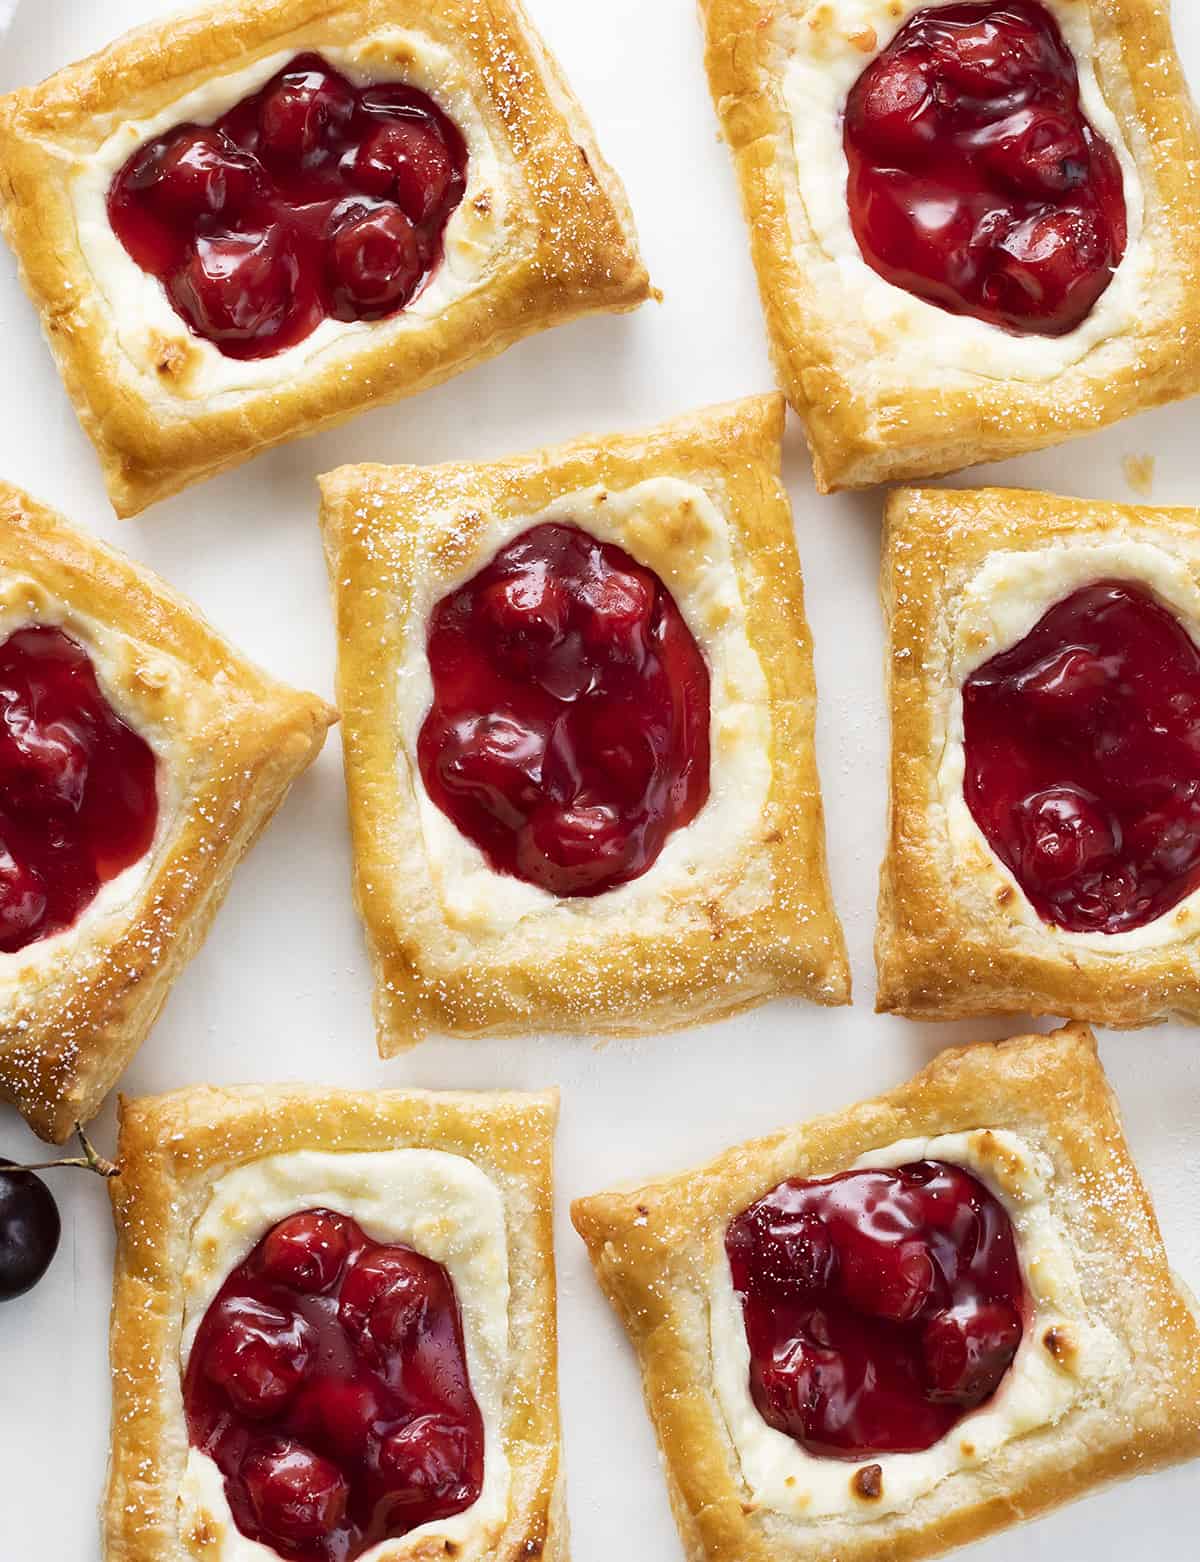
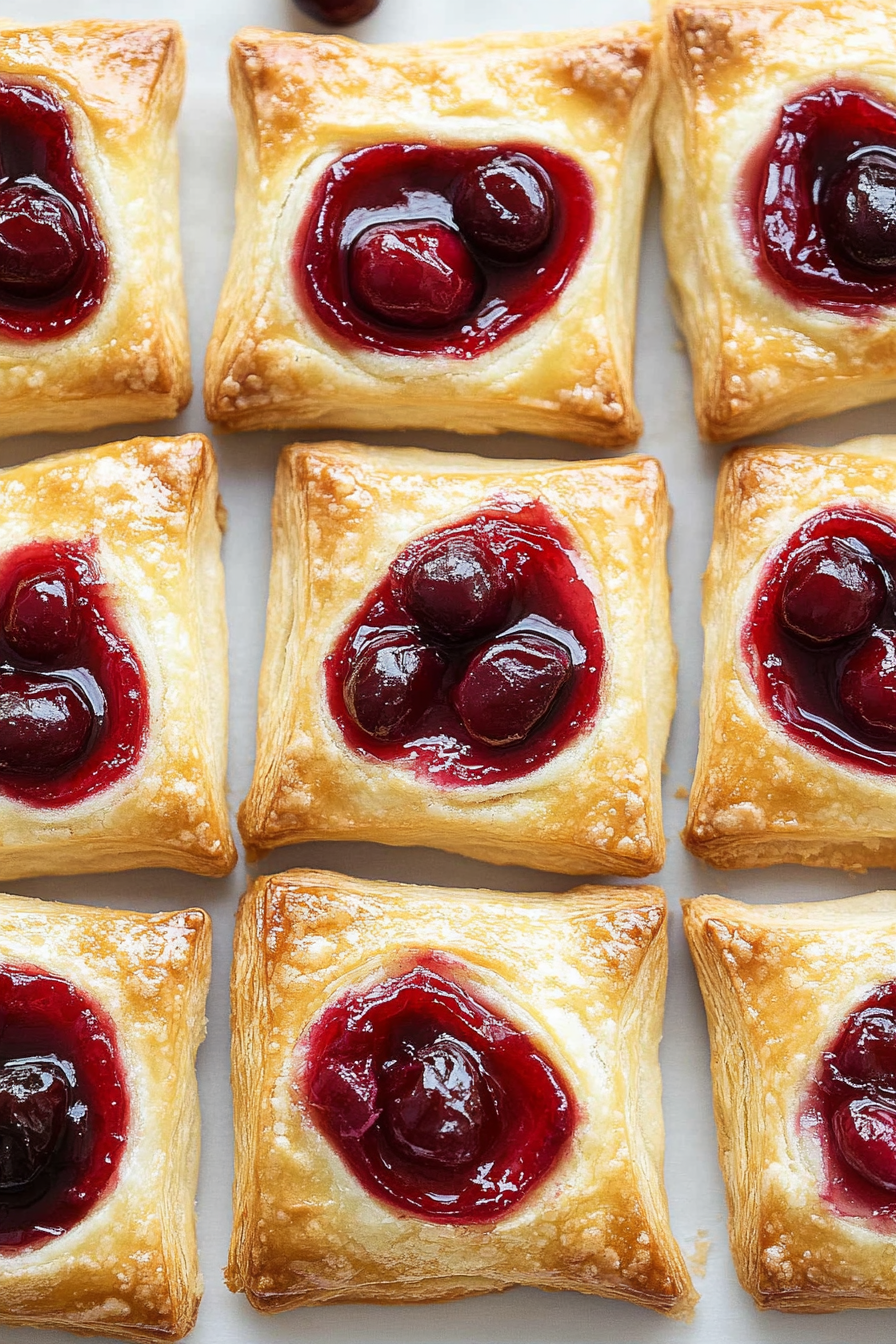
cherry danish
Ingredients
Method
- Preheat the oven to 400°F. Line 2 large baking sheets with parchment paper.
- Lay the puff pastry sheets on a lightly floured surface, and cut each into 6 rectangles.
- Arrange the puff pastries evenly onto the baking sheets, leaving about 1 inch between them.
- Use a fork to poke holes into the middle of each pastry, leaving a ½-inch border.
- In a medium bowl, stir together the cream cheese, sugar, and almond extract until combined.
- Spread one tablespoon of the cream cheese mixture onto each pastry.
- Top each with two tablespoons of cherry pie filling.
- In a small bowl, whisk the egg and water to create an egg wash; brush around the edges.
- Bake for 15-18 minutes until golden.
- Remove from oven and dust with confectioners' sugar. Let cool slightly before serving.

I love how cozy and nostalgic these pastries feel—definitely adding this recipe to my weekend baking list!
I love the idea of combining cherries with flaky pastry—this sounds like such a cozy treat! Can’t wait to try it.
I remember my grandma making something just like this—warm, flaky, and perfect with a cup of coffee. Thanks for the nostalgic recipe!
These pastries look absolutely delicious! The flaky layers and cherry filling must be so irresistible.
I love how comforting these pastries can be—my grandmother used to make something similar, and the smell always brought back such warm memories.