

Sweet Dijon Pork Tenderloin Recipe
There’s nothing quite like waking up to the smell of coffee brewing and something sweet baking in the oven. I remember growing up, my mom would often surprise us on Saturday mornings with her famous coffee cake—moist, cinnamon-swirled, and just the right amount of sweetness. Over the years, I’ve tweaked her recipe to include zucchini—yes, zucchini!—and let me tell you, it’s a game changer. This zucchini cinnamon swirl coffee cake is seriously a slice of heaven, and best of all, it’s incredibly easy to whip up, even on those mornings when you’re in a rush but still crave something comforting. I always do this when I want a little nostalgic treat that’s packed with flavor but doesn’t require me to be a pastry chef. And trust me, once you try it, it’ll be your go-to for breakfast, brunch, or even an afternoon pick-me-up. Warm, a little crumbly, with that gorgeous cinnamon swirl peeking through—this one’s a lifesaver on busy nights or lazy weekends. My kids ask for this all the time, and honestly, I never get tired of it either. It’s a recipe I’ve made countless times, and it always disappears in minutes at my house.
What is Zucchini cinnamon swirl coffee cake?
This charmingly cozy dessert is essentially a tender, moist cake layered with a sweet cinnamon swirl, baked to perfection in a loaf or round pan. Think of it as a cross between a classic coffee cake and bread, but with a sneaky addition of zucchini, which keeps things extra moist and adds a slight earthiness that balances out the sweetness. The name might sound fancy, but really, this is one of those recipes that’s foolproof—perfect for feeding a crowd or just treating yourself after a long day. The term “coffee cake” comes from its traditional pairing with coffee—as much a breakfast treat as a mid-morning snack. With its swirled cinnamon filling and a golden-brown crust, it kinda reminds me of my grandma’s morning bake, but with a modern, veggie twist that makes it feel just a little healthier without sacrificing any flavor. Think of it as a “healthy-ish” indulgence you don’t have to feel guilty about—because zucchini, after all, is basically nature’s magic vegetable.
Why you’ll love this recipe?
What I love most about this zucchini cinnamon swirl coffee cake is how incredibly versatile and forgiving it is. The flavor combo—warm cinnamon with just a touch of vanilla—hits all the right notes and smells absolutely divine when baking. And honestly, it’s so simple that even if you’re not an experienced baker, you’ll be proud of the results. I’ve tested this with different types of flour, including almond and gluten-free blends, and it still turns out delicious—trust me on this one. Plus, it’s budget-friendly; most ingredients are staples in my pantry. My favorite part? The zucchini keeps the cake super moist, so it stays soft and tender even a day or two later. It’s perfect for breakfast with a cup of coffee, but I’ve also served it as a cozy afternoon snack—my kids actually ask for seconds! The swirl of cinnamon in every bite is like a warm hug, and the subtle vegetable sneaks in a tiny bit of healthiness without overshadowing the sweet, fragrant flavor. And because it’s baked in a simple loaf or cake pan, cleanup is a breeze. Honestly, I make this at least once a month—it’s that good. The best part? Once you get the hang of swirling the cinnamon mixture, you’ll be adding your own flavor twists in no time. Think nut streusel, chocolate chips, or even lemon zest—this recipe is a blank canvas, and the results are always comforting, homey, and just right.
How do you make Zucchini Swirl Coffee Cake?
Quick Overview
This zucchini cinnamon swirl coffee cake is a simple one-bowl batter mixed with grated zucchini, poured into a pan, then topped with a cinnamon sugar swirl before baking. The whole process takes about 10 minutes of prep, and then you just pop it into the oven—baking at around 350°F for 40-45 minutes. The magic lies in the swirl: spreading a cinnamon-sugar mixture on top and then swirling it through the batter with a knife creates those irresistible marble patterns. The result? A moist, fragrant cake that’s soft and tender inside with a slightly crunchy cinnamon topping. I love how this recipe doesn’t require any fancy equipment—just a mixing bowl and a spatula—and it’s truly foolproof. It’s especially forgiving if you’re new to baking. The smell alone when it’s baking will make your house feel extra cozy, and trust me, it’s just as gorgeous as it looks when it comes out of the oven.
Ingredients
For the Main Batter:
– 1 ½ cups all-purpose flour (or gluten-free blend, if you prefer)
– ¾ cup granulated sugar
– 1 teaspoon baking powder
– ½ teaspoon baking soda
– ½ teaspoon salt
– 1 teaspoon ground cinnamon (plus extra for the swirl)
– 2 large eggs
– ½ cup vegetable oil or melted coconut oil
– ½ cup plain Greek yogurt or buttermilk (I tested with almond milk too—makes it even creamier!)
– 1 teaspoon vanilla extract
– 1 cup grated zucchini (squeeze out excess moisture with a paper towel so it doesn’t water down the batter)
For the Filling:
– ¼ cup packed brown sugar
– 1 tablespoon ground cinnamon
– 2 tablespoons melted butter (or coconut oil for dairy-free)
– Optional: chopped nuts or chocolate chips for extra flair
For the Glaze:
– ½ cup powdered sugar
– 1-2 teaspoons milk or lemon juice
– A pinch of vanilla (if you want extra flavor)
Step-by-Step Instructions
Step 1: Preheat & Prep Pan
Set your oven to 350°F (175°C). Grease a 9-inch round cake pan or a loaf pan with butter or cooking spray. Line with parchment if you want an easy release. I always do this when I’m baking anything crumbly because it prevents sticking and makes cleaning a breeze. Set it aside while you mix the batter.
Step 2: Mix Dry Ingredients
In a large bowl, whisk together the flour, sugar, baking powder, baking soda, salt, and cinnamon. This ensures everything’s evenly distributed—the last thing you want is a clump of baking soda in one spot. I find that sifting isn’t necessary with these ingredients, but a quick whisk does the trick for me.
Step 3: Mix Wet Ingredients
In another bowl, beat the eggs, then whisk in the oil, yogurt (or almond milk), and vanilla until smooth. I keep everything at room temperature if I remember—this helps everything mix more seamlessly. Add the grated zucchini last, folding it in gently so it doesn’t clump or break apart too much.
Step 4: Combine
Pour the wet mixture into the dry ingredients. I gently fold everything together with a spatula—try not to overmix, or your cake might turn out dense instead of tender. Stop as soon as the batter looks just combined; a few lumps are totally fine. Overmixing is my biggest rookie mistake, but after a few tries, I got the hang of it!
Step 5: Prepare Filling
In a small bowl, mix the brown sugar, cinnamon, and melted butter. If you’re feeling adventurous, add some chopped nuts, chocolate chips, or even a splash of orange zest. My kids adore the chocolate chip version, and honestly, it’s a little dessert and a little breakfast all in one.
Step 6: Layer & Swirl
Pour half of the batter into your prepared pan, then sprinkle the cinnamon-sugar mixture evenly over the surface. Top with the remaining batter, then use a butter knife or skewer to swirl through the layers—creating beautiful marbled patterns. Don’t overdo it; just a few gentle zigzags will do. The swirl is what makes this cake look pretty and adds an extra burst of cinnamon flavor in each bite.
Step 7: Bake
Pop it into the oven and bake for 40-45 minutes, or until a toothpick inserted in the center comes out clean. I always check around the 38-minute mark because ovens vary. If your top is browning too fast, tent it loosely with foil. Let it cool in the pan for about 10 minutes before transferring to a wire rack. The smell alone when it’s baking is enough to make everyone gather in the kitchen!
Step 8: Cool & Glaze
Once cooled (or slightly warm, if you prefer), whisk together the powdered sugar and milk until smooth, then drizzle over the top. This glaze is optional but adds a lovely sweetness that pairs perfectly with the cinnamon and zucchini. I like to let it set for a few minutes so it doesn’t drip all over the place—patience is key here!
Step 9: Slice & Serve
Use a sharp knife to cut into squares or slices. The cake is best enjoyed warm or at room temperature. Serve on a pretty plate with a sprinkle of extra cinnamon if you like, and maybe a side of fresh fruit or a dollop of whipped cream. Honestly, the first slice is the hardest—I always want seconds!
What to Serve It With
This coffee cake is so versatile, it practically earns a place at every meal. For breakfast, my go-to is a strong black coffee or a lightly sweetened latte—divine! It pairs beautifully with a hot cup of tea too, especially on chilly mornings. During brunch, I’ve served it alongside fresh fruit and a dollop of yogurt—kids love the combination of sweet and tangy. As a dessert, it’s perfect with a scoop of vanilla ice cream or a drizzle of caramel—those cinnamon swirls just melt in your mouth. And don’t forget cozy snack times—warm slices with a glass of milk or herbal tea are pure comfort. I feel like your guests will ask for the recipe almost instantly—trust me, this one’s a crowd-pleaser. Plus, it’s an excellent way to sneak some veggies into breakfast without anyone noticing. My family always asks for this on lazy weekends or whenever I need a little warm-up in the kitchen. I hope you love it as much as we do!
Top Tips for Perfecting Your Zucchini Cinnamon Swirl Coffee Cake
Over the years, I’ve learned a few tricks that help this cake turn out perfectly every single time. First off, squeezing out excess moisture from the zucchini is crucial—wet batter is no fun, and it can make the cake dense or even soggy. I use a clean kitchen towel or paper towels to press out the water after grating. A tip I discovered after many attempts: room temperature eggs and yogurt help keep everything smooth and fluffy. When it comes to the swirl, don’t overmix—just a few gentle zigzags with a knife or skewer creates beautiful marbling without blending the layers into one muddy mess. For ingredient swaps, I’ve tested coconut sugar instead of granulated, and it works beautifully, just a tad richer in flavor. If you want extra flair, sprinkle chopped nuts, coconut flakes, or even dried cranberries on top before baking. Baking tips? Always check your oven’s temperature—mine runs slightly hot, so I lower my heat by 10-15 degrees and monitor closely. When it’s done, I let it cool at least ten minutes before glazing; patience makes all the difference in the final presentation. And final little tip: the glaze is optional, but a quick drizzle just before serving makes every bite feel decadent. Trust me, the more you practice, the more you’ll fall in love with customizing this recipe—maybe even adding your own secret ingredient someday!
Storing and Reheating Tips
This coffee cake stays pretty darn wonderful for a couple of days. I usually store it in an airtight container at room temperature if I’m planning to enjoy it within a day or two. Cover it loosely with foil or store in a cake keeper—that keeps it fresh and prevents it from drying out. If I want to keep it longer, pop slices into an airtight ziplock or container and refrigerate for up to a week. My secret? I like to reheat slices in the microwave for about 15-20 seconds; it makes the cinnamon swirl warm and gooey again—just the way I like it. If you want to freeze the whole cake, wrap it tightly in plastic wrap, then foil, and store for up to 3 months. Thaw it overnight in the fridge or gently warm slices in the microwave. Just a note about the glaze—add it after reheating, so it stays fresh and doesn’t get soggy in storage. Overall, this cake adapts beautifully to storage, and I find the flavors even deepen after a day or two—kind of like a good coffee—better with time. Keep an eye on humidity and always store in a cool, dry spot for maximum freshness.
Frequently Asked Questions
Final Thoughts
This zucchini cinnamon swirl coffee cake has definitely become one of my favorites—I love that it’s cozy, foolproof, and a little unexpected. The addition of zucchini keeps it moist, while the cinnamon swirl adds that irresistible aroma and flavor that makes me want to bake just to fill my kitchen with warmth. I’ve shared it with friends and family, and everyone always asks for the recipe—trust me, it’s a hit. Plus, it’s such a forgiving recipe; you can swap out ingredients, add your own twists, or whip it up on a whim. Baking this makes my house smell like Sunday morning, no matter what day it is. My hope is that it becomes a special part of your routine, too. Whether you enjoy a slice with coffee on a lazy weekend or pack it for a quick breakfast, I know you’ll love it. Happy baking, and I can’t wait to hear how yours turns out! Don’t forget to leave a comment if you give it a try or add your own secret ingredient—sharing food makes all of us a little closer.

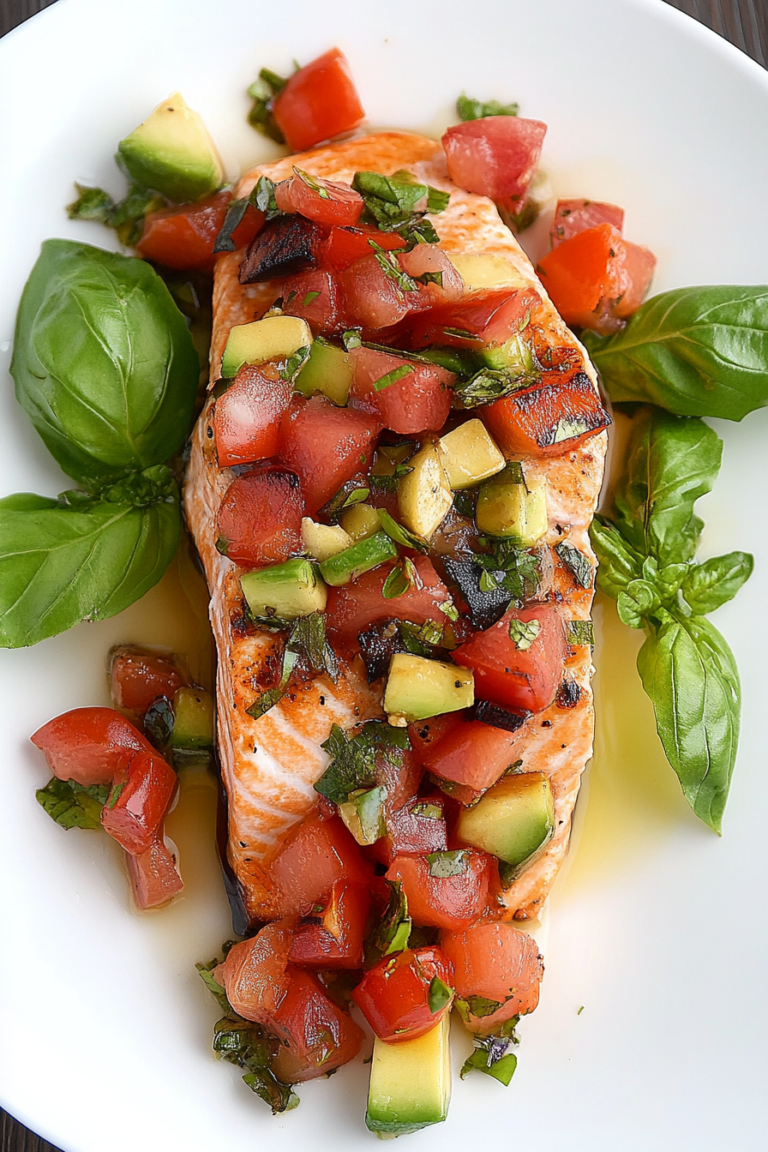
Pork Tenderloin with Dijon Glaze
Ingredients
Method
- Preheat oven to 400°F. Season the pork tenderloin with salt and pepper on both sides.
- Heat olive oil in a skillet over medium heat. Add pork tenderloin and brown about 2 minutes per side. Remove from heat.
- Place pork tenderloin in an ovenproof pan. Brush with Dijon mustard. Sprinkle evenly with brown sugar and press gently to adhere.
- Bake uncovered for 20 to 25 minutes or until internal temperature reaches 145°F. Let rest 3-5 minutes before slicing.
- Slice and serve with a dipping sauce made by mixing Dijon mustard, mayonnaise, and brown sugar to taste.


This recipe sounds amazing—nothing beats that comforting mix of coffee and sweet baking in the morning. Reminds me of cozy family moments too!
That sounds amazing! Nothing beats the comforting smell of baking while waking up.
That sounds so comforting—I love how food can bring back such warm memories! Thanks for sharing the recipe, I’ve been wanting to try this.
I love this recipe—it brings back such fond memories of my mom’s cooking too. The sweet and tangy glaze sounds perfect for a cozy morning!
This recipe sounds amazing—I love how comforting and cozy it feels when something like this comes out of the oven.