
Easy Peanut Butter Cookie Dip Recipe
If you’re like me, you probably have a partly guilty pleasure relationship with zucchini. It’s one of those vegetables that feels like an afterthought—wait, I have zucchini? Let’s just toss it into something sweet and call it a day. And trust me, this isn’t your garden-variety veggie trying to sneak onto your plate—this chocolate zucchini cake is where zucchini gets to shine in the most decadent way. Honestly, I’ve made this cake so many times I’ve lost count. Each time, my kids ask for seconds (sometimes thirds), and I always do that little happy dance when everyone’s raving about how moist, chocolatey, and just downright addictive this cake is. This one’s a lifesaver on busy nights when you want something rich but don’t want to fuss in the kitchen. Plus, it’s a sneaky way to get some veggies into the kids’ diet—because who can say no to chocolate? Exactly. So, if you’re craving something sweet that feels like a hug, grab that zucchini and let’s bake!
What is chocolate Zucchini cake?
Think of this cake as a marvel of flavor and texture—moist, fudgy, and packed with chocolate intensity that makes you forget there’s zucchini in there at all. It’s basically a classic chocolate cake with a healthy (well, semi-healthy!) twist. The name itself is pretty straightforward: a cake made mainly from shredded zucchini combined with cocoa, sugar, and butter or oil. Its popularity probably comes from the magic of zucchini’s subtle moisture and how it keeps the cake insanely tender. The idea is simple: you grate zucchini, squeeze out a bit of excess moisture, and blend it right into your batter. Despite the green veggie in there, what comes out of the oven is rich, chocolatey, and so satisfying—like a big, warm hug from your grandma’s kitchen but with a modern twist. Think of it as the perfect way to impress guests or just treat yourself after a long week. Plus, if you’ve got a garden or a bunch of zucchinis sitting on your counter, this recipe is your secret weapon for making them disappear while making everyone smile.
Why you’ll love this recipe?
Honestly, what I love most about this chocolate zucchini cake is how foolproof it is—I’ve made it on my busiest days and still get perfect, desserts everyone asks for again and again. The flavor? Out of this world. I swear, you almost don’t taste the zucchini; instead, you get this deep, chocolaty richness, almost like a flourless chocolate torte, but way lighter. My kids actually ask for this all the time, even if I tell them there’s a hidden veggie in their dessert—kids’ noses are pretty good, but this cake still wins. It’s also a budget-friendly win because you probably already have most of these ingredients in your pantry—flour, sugar, cocoa, and eggs—and the zucchini is essentially free from your garden or the market. The best part? This cake is so versatile—you can serve it as a simple afternoon snack, a fancy dinner-party dessert, or even slice it into muffins for grab-and-go mornings. It’s one of those recipes I keep coming back to because it’s comforting, customizable, and just downright delicious. Trust me on this one—you’ll keep this in your back pocket for when you need a quick fix of chocolate happiness.
How do I make Zucchini cake?
Quick Overview
This cake comes together faster than you’d imagine. First, you shred and squeeze out some zucchini moisture—trust me, it makes all the difference. While that’s happening, you whisk up your dry ingredients—flour, cocoa, sugar, baking powder. Then, you beat your wet ingredients—eggs, oil, vanilla—and gently fold everything together. Layer in your shredded zucchini, pour the batter into a prepared pan, toss it in the oven, and you’ve got yourself a luscious, chocolatey masterpiece in under an hour. The magic here is the balance—lightly mixing ingredients to keep it tender and moist, with a couple of easy tricks along the way. This cake is forgiving, so don’t stress if your batter seems a little thicker or thinner than expected. Once it’s out, cooling is key before glazing or frosting, and you’re golden. Plus, I like to add a sprinkle of sea salt on top just before baking—trust me, it amplifies the chocolate flavor like nothing else!
Ingredients
For the Main Batter:
- 1 ½ cups all-purpose flour (or gluten-free blend, see tips!)
- ¾ cup unsweetened cocoa powder (preferably Dutch-processed for richness)
- 1 ½ cups granulated sugar
- 1 teaspoon baking powder
- ½ teaspoon baking soda
- ¼ teaspoon salt
- ½ cup vegetable oil (or melted coconut oil for extra flavor)
- 3 large eggs
- 1 teaspoon vanilla extract
- 1 cup grated zucchini (squeezed to remove excess moisture)
For the Filling (Optional but Delicious):
- ½ cup cream cheese, softened (to swirl in or top with)
- ¼ cup sugar (if you want extra sweetness)
- 1 teaspoon vanilla
For the Glaze:
- ½ cup powdered sugar
- 2 tablespoons cocoa powder
- 2-3 tablespoons milk (dairy or plant-based)
- Optional: a dash of vanilla or a pinch of salt
Step-by-Step Instructions
Step 1: Preheat & Prep Pan
Set your oven to 350°F (175°C). Grease a 9-inch round cake pan or line it with parchment paper. I like to smear a little butter or spray with non-stick spray; it makes for easy removal and keeps the cake from sticking. If you’re a batch baker, this batter also works well as muffins—just adjust the timing accordingly.
Step 2: Mix Dry Ingredients
In a large bowl, whisk together the flour, cocoa powder, sugar, baking powder, baking soda, and salt. Mixing these first helps distribute everything evenly so your cake bakes uniformly. I’ve learned the hard way that skipping this step can lead to clumps of cocoa or uneven rise.
Step 3: Mix Wet Ingredients
In a separate bowl, beat the eggs lightly, then add the oil and vanilla. Whisk until well combined. I always do this right in my measuring cup—makes for less cleanup! If I want to make it dairy-free, I’ve tested coconut milk instead of oil, and it actually made the cake even creamier, so don’t be shy about experimenting.
Step 4: Combine
Pour the wet mixture into the dry, and gently fold with a spatula until just combined. Overmixing can create a dense crumb, which you definitely don’t want here. The batter should be thick but pourable—think a thick chocolate pudding. Now, fold in the shredded zucchini—don’t skip this step! It adds moisture and a subtle flavor that pairs so nicely with the chocolate.
Step 5: Prepare Filling
If you’re adding cream cheese, blend it with sugar and vanilla until smooth. You can swirl this in the batter before baking for a marbled effect or just spread it on top after the cake cools. I love the contrast of creamy cheese with the dense chocolate—so good.
Step 6: Layer & Swirl
Pour half of the batter into your pan, add dollops of the cream cheese mixture, then top with the remaining batter. Use a knife or skewer to swirl gently—don’t overdo it, or you’ll lose the marbled look. Visualize a gentle figure-eight pattern for a pretty finish.
Step 7: Bake
Bake for 40-45 minutes, checking doneness with a toothpick inserted in the center—if it comes out with moist crumbs, you’re good. Every oven is different, so start checking at 40 minutes. Just don’t open the oven too often or you risk sinking the cake. The smell alone will draw you right into the kitchen!
Step 8: Cool & Glaze
Allow the cake to cool in the pan for about 15 minutes, then transfer to a wire rack. Once fully cooled, drizzle on your prepared glaze. To make it shiny and smooth, whisk the powdered sugar and cocoa with enough milk until you reach a pourable consistency—you want it thick enough to stick, but not so runny that it slides right off.
Step 9: Slice & Serve
Use a sharp serrated knife for clean slices. Serve it slightly warm or at room temperature—either way, it’s a chocolate lover’s dream. I love adding a sprinkle of sea salt or a dollop of whipped cream for extra indulgence. And trust me, it disappears in minutes at my house!
What to Serve It With
This cake is pretty versatile, so think about the occasion. For a cozy coffee break, serve a slice with a hot cup of your favorite brew—trust me, the bitterness of the coffee balances the sweetness perfectly. If you’re having friends over for brunch, pair it with some fresh berries and a dollop of whipped cream. My family likes it as a decadent after-dinner dessert—especially with a drizzle of caramel or a scoop of vanilla ice cream. It’s also fantastic sliced into muffins for quick breakfast bites—you can even freeze leftovers and reheat them gently in the toaster oven. One thing’s for sure: no matter how you serve it, this chocolate zucchini cake will satisfy every sweet tooth while sneaking in a sneaky veggie. It’s become a staple in my house, especially when I want something comforting but a little healthier. Plus, it makes a gorgeous centerpiece for celebrations, thanks to that lush, cracked top and deep chocolate hue. I swear, everyone I serve this to asks for the recipe!
Top Tips for Perfecting Your Chocolate Zucchini Cake
Over the years, I’ve picked up a few tricks that make this cake turn out even better every time. First, shredding zucchini can be a little messy—especially when you don’t squeeze out enough moisture. I always do this over a bowl, then squeeze the shredded zucchini with a clean dish towel or paper towels to remove excess water—that way, your batter won’t be too watery. Also, don’t overmix once you add the wet ingredients; it’s tempting to keep stirring for a smoother batter, but that can lead to a dense crumb. Fold gently and stop when just combined. If you want more decadent flavor, try adding a teaspoon of espresso powder to the dry mix—it really intensifies the chocolate. Swirling in different flavors like peanut butter or even orange zest can add a lovely twist—trust me, I’ve tried it all! Regarding ingredient swaps, if you’re gluten-free, almond flour works but with a denser texture that’s delicious in its own right. Don’t forget to test your oven temperature—my old oven runs hot, so I lower it by 10°F and extend baking a few minutes. For the glaze, I often add a splash of bourbon or a dash of cinnamon to make it more interesting. Lastly, I learned that letting the cake rest for about 15 minutes after baking allows the flavors to set and makes slicing much neater. The key is patience—good things come to those who wait, especially when it’s cake!
Storing and Reheating Tips
Once cooled, this cake keeps so well—so don’t be shy about making it ahead. At room temperature, I usually keep slices covered with a clean kitchen towel for up to two days. If you want it to stay fresh longer, pop it into an airtight container and refrigerate for up to five days—just bring it to room temp or warm it slightly before serving. The frosting or glaze can get a little sticky in the fridge, so I recommend adding it just before serving if you’re storing it longer. For freezing, wrap slices tightly in plastic wrap, then in foil, and store for up to three months. To reheat, warm in a low oven (around 300°F) for about 10 minutes or microwave in short bursts—careful not to dry it out. When it comes to the glaze, I suggest adding it after thawing or reheating—otherwise, it can become thin and gloopy. A quick tip? If the glaze gets too thick, stir in a teaspoon of hot water or milk until it’s just right. The moisture from the zucchini keeps the cake tender, so even after a few days, it stays moist, which is a huge plus when you’re doing make-ahead desserts.
Frequently Asked Questions
Final Thoughts
There’s something truly special about a dessert that feels indulgent but sneaks in a vegetable—this chocolate zucchini cake hits that sweet spot. It’s become my go-to whenever I need an easy, crowd-pleasing dessert that feels a little fancy but is actually simple enough to whip up on a weeknight. Every time I make it, I’m reminded of summers spent in the garden, zucchinis overflowing and me brainstorming ways to turn them into something delicious. The fact that it remains moist, fudgy, and intensely chocolatey for days makes it even more appealing, especially when I want to have a slice on hand without baking again. If you’re looking for that one recipe to add a little magic to your kitchen, I promise this will do the trick. Give it a try and let me know how it turns out—your friends and family will thank you. Happy baking—and remember, a little zucchini just might be your new best friend in the kitchen!
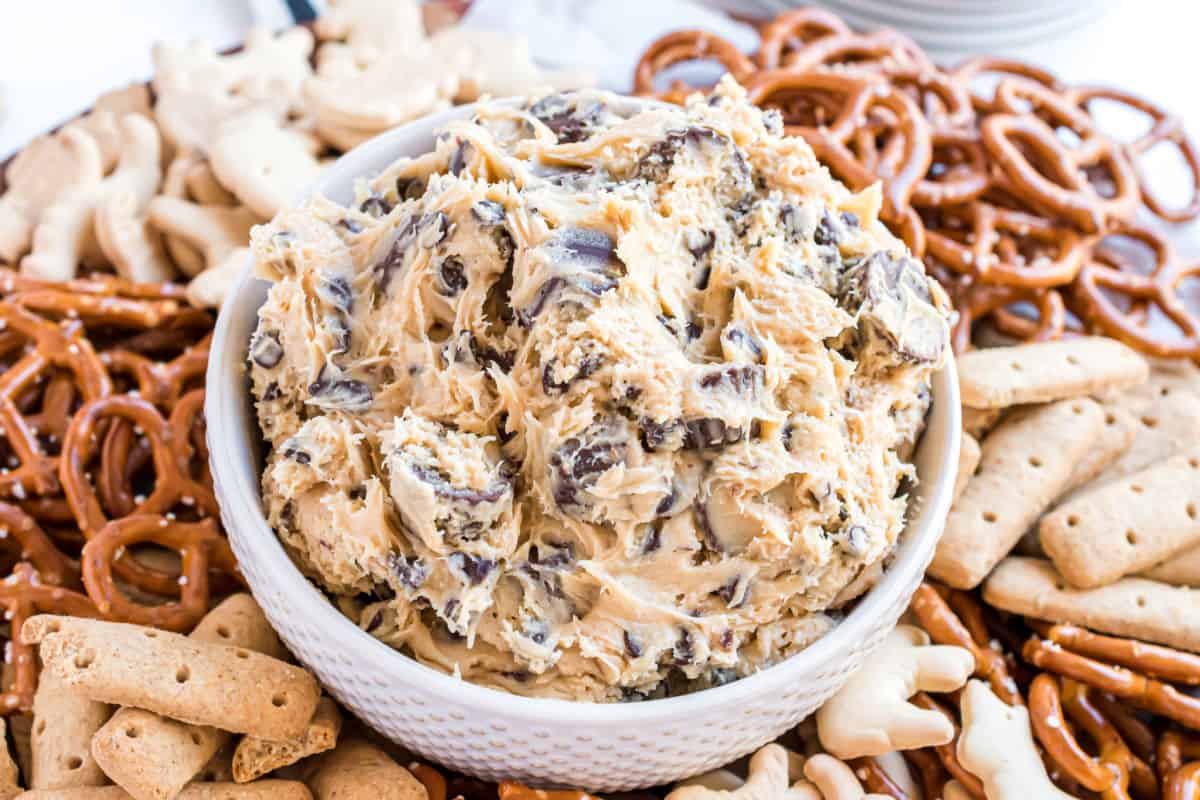
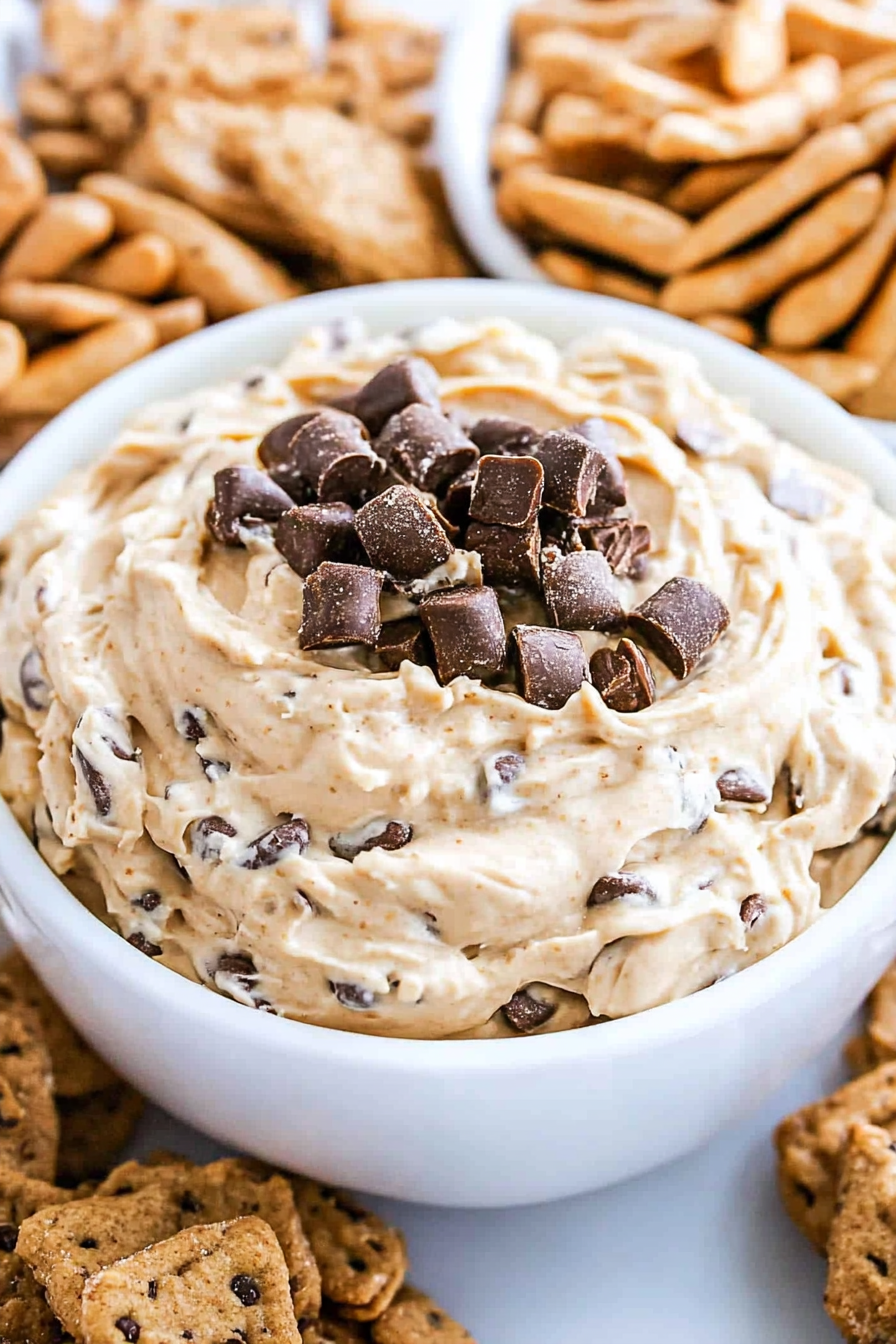
Peanut Butter Cookie Dip
Ingredients
Method
- In a small saucepan over medium heat, melt butter and whisk in the brown sugar and peanut butter. Heat until sugar dissolves, then remove from heat and let cool.
- In a large mixing bowl, beat cream cheese with powdered sugar until smooth. Add cooled butter mixture and beat until well combined.
- Fold in mini chocolate chips and chopped Reese's peanut butter cups. Serve immediately or refrigerate until ready to serve. Enjoy with pretzels or fruits!

I love this dip idea—so much flavor for such a simple recipe! Perfect for parties or just treating yourself.
I’ve made this dip before and it’s such a fun twist—perfect for parties! The peanut butter flavor is surprisingly delicious.
I love this recipe—so simple and delicious! The dip sounds perfect for any party.
I love peanut butter dips! This sounds super easy and delicious—gotta try it soon.
This dip looks perfect for parties! I’m saving this recipe – peanut butter and cookies are always a hit.