
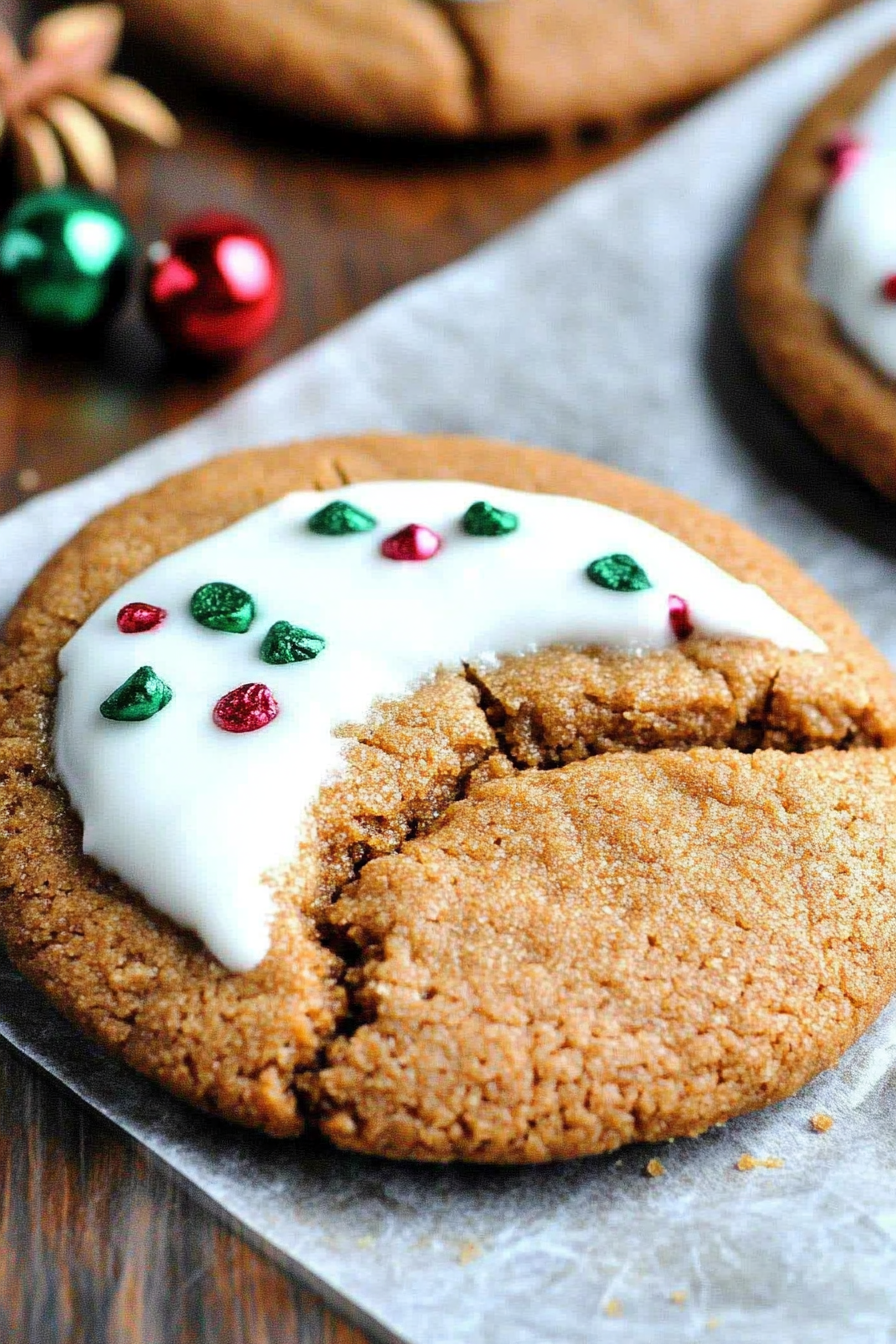
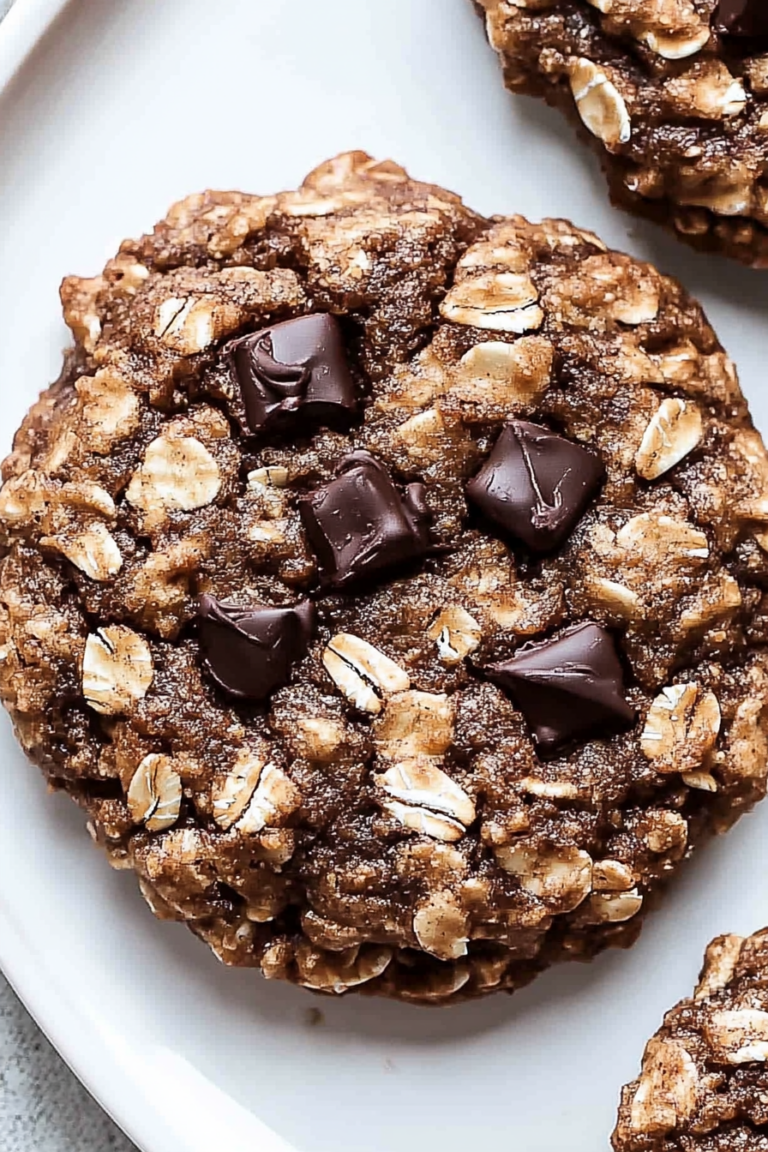
Spiced Cookie Delight How to Bake Them
I remember the first time I made this zucchini swirl cake and how my kids’ eyes lit up when they took that first bite. It was one of those Sunday afternoons when I wanted something sweet, but I didn’t necessarily feel like baking a whole batch of cookies or a complicated pie. Instead, I threw this together quickly, and honestly, it’s become a go-to when I want something comforting, moist, and just a little fancy — all without gluten ruining the vibe. The smell alone draws everyone into the kitchen, and I swear, even my pickiest eaters ask for seconds. Plus, it’s so versatile that I often swap in different fillings or toppings depending on what I have in the fridge. Trust me on this one: once you get the hang of it, you’ll find yourself making it all the time. It’s a perfect mix of indulgence and sneak-in vegetables, so I always do this when I want a dessert that feels a little bit special but is completely doable after a busy day.
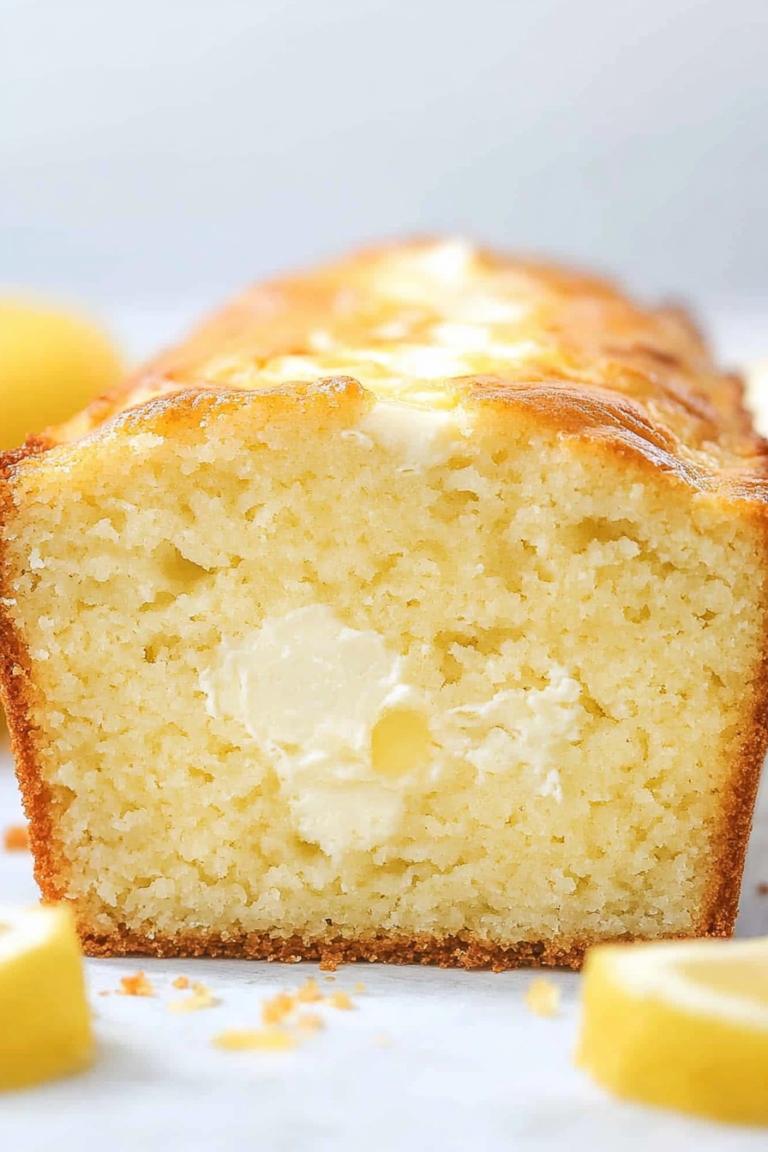
What is gluten free Zucchini Swirl Cake?
This zucchini swirl cake is kind of like a lovechild between a decadent loaf and a bright, veggie-packed dessert. Think of it as sneaking zucchini into something that’s supposed to be sweet — but in the best way possible. The name might sound fancy, but it’s really just a cake that’s moist, tender, and has a gorgeous swirl of fruit or jam running through it. It’s essentially a one-bowl wonder with a pretty marbled look that makes it perfect for brunch, tea, or whenever you’re craving something sweet, but wholesome. I’ve tested this with all sorts of fillings — from raspberry jam to cream cheese swirls — and each time, it just gets better. My goal was to create something gluten-free, so I used almond and oat flours, but you can totally swap in your favorite GF blend if that’s what you prefer. The best part? It’s so easy, you won’t believe how beautiful it turns out without much fuss.
Why you’ll love this recipe?
Honestly, what I love most about this zucchini swirl cake is how it combines good-for-you ingredients with indulgence. It’s often what I reach for when I want a little treat but don’t want to feel guilty — and that’s saying a lot, coming from someone who loves desserts! The flavor here is simply divine: the natural sweetness of zucchini, paired with a hint of vanilla and the richness of almond flour, creates a cake that tastes almost like a cross between bread and pastry. Plus, the swirl of jam or fruit filling makes each bite exciting and colorful. This one’s a lifesaver on busy nights because it comes together in one bowl and bakes in under an hour. And, my favorite part? It’s so versatile. You can swap the filling for lemon curd, chopped nuts, or even chocolate chips if you’re feeling extra decadent. The smell alone will make your house smell cozy and inviting — like a little hug in dessert form. And it’s budget-friendly too; the ingredients aren’t fancy, but the outcome feels like a little bakery treat right from your own kitchen. What’s more, it’s one I always do when I want something wholesome yet satisfying — and my family always asks for more.
How do I make gluten free Zucchini Swirl Cake?
Quick Overview
This cake is all about simple ingredients and straightforward steps. You start by preheating your oven, then mix the dry ingredients directly in the bowl — no fancy gadgets needed. In separate bowls, you whisk your wet ingredients, then gently fold everything together. The key is to not overmix, so it stays tender and moist. You pour half of the batter in your prepared pan, spread a layer of filling or jam on top, then cover with the remaining batter. A quick swirl with your knife creates that pretty marbled effect. Bake until a skewer inserted in the center comes out clean, and you’re pretty much done. It’s so forgiving, and I promise, the first time you try making it, you’ll be surprised how foolproof it really is.
Ingredients
For the Main Batter:
– 1 ½ cups almond flour (I like using blanched for a smoother texture)
– ½ cup oat flour (you can make your own by blending rolled oats)
– 1 teaspoon baking powder (gluten-free, of course)
– ½ teaspoon baking soda
– ¼ teaspoon sea salt
– ½ cup coconut sugar or regular sugar
– 2 large eggs, room temperature
– ⅓ cup coconut oil or melted butter
– 1 teaspoon vanilla extract
– ½ cup grated zucchini (squeeze out excess moisture; I always do this with a clean kitchen towel)
For the Filling:
– ½ cup raspberry or strawberry jam (or any fruit preserves you love)
– Or, if you prefer, a simple cream cheese mixture: ½ cup softened cream cheese mixed with 2 tablespoons honey and a splash of vanilla
For the Glaze:
– ½ cup powdered sugar (or coconut sugar, if you want it less sweet)
– 1-2 tablespoons milk or plant-based milk
– A few drops of vanilla or lemon zest for flavor variations
Step-by-Step Instructions
Step 1: Preheat & Prep Pan
I always start by heating my oven to 350°F (175°C). Grease a loaf pan with butter or line it with parchment paper — makes removal so much easier. If you’re using a springform pan, set that up too. I like to do this early because I tend to forget once I get into the rhythm of mixing everything. Trust me, this little prep step saves a headache later.
Step 2: Mix Dry Ingredients
In a large bowl, whisk together the almond flour, oat flour, baking powder, baking soda, salt, and coconut sugar. I’ve learned over years of baking to sift the baking powder and baking soda to prevent lumps — it keeps the texture light and airy. Give it a good stir so everything is evenly distributed.
Step 3: Mix Wet Ingredients
In a separate bowl, beat the eggs, then add in the melted coconut oil and vanilla extract. I always do this with a fork or whisk quickly — you want everything combined but not overmixed. If your eggs are cold, warm them just slightly (not hot!) to make mixing easier.
Step 4: Combine
Pour the wet into the dry, folding gently with a spatula until just combined. Resist the temptation to overmix: a few lumps are totally fine. Overmixing makes the cake dense, and that’s not what we want here. Your batter should be thick but scoopable.
Step 5: Prepare Filling
If you’re using jam, no prep needed. For the cream cheese filling, just stir the ingredients together until smooth. This gives a lovely contrast in texture and flavor. My kids ask for this as a ‘special surprise,’ so I usually make enough to swirl through a couple of batches.
Step 6: Layer & Swirl
Pour half of the batter into your pan. Then spread the jam or dollop your cream cheese mixture evenly over the batter. Cover with the remaining batter, and use a knife to gently swirl through. Aim for a figure-eight motion — it creates that beautiful marbled look that guests (and I) love.
Step 7: Bake
Pop it in the oven and bake for about 40-45 minutes. Start checking around 38 minutes — if a skewer inserted in the center comes out clean or with just a few moist crumbs, it’s done. Remember, oven temps can vary, so if your oven runs hot, adjust your timing a bit.
Step 8: Cool & Glaze
Let the cake cool in the pan for about 15 minutes, then transfer it to a wire rack. Once completely cooled—otherwise, the glaze will slide right off—mix your powdered sugar with milk and vanilla. Drizzle or spread the glaze over the top. I love adding a little lemon zest in the glaze for a bright, fresh flavor.
Step 9: Slice & Serve
This cake is best sliced once it’s just warm or cooled completely. Use a serrated knife and be gentle — it’s tender! Serve it with a cup of tea or a glass of milk, and watch it disappear in minutes at my house. It’s so satisfying to see how simple ingredients turn into something so pretty and delicious.
What to Serve It With
This zucchini swirl cake pairs beautifully with a variety of accompaniments depending on the occasion. For a cozy breakfast, I love serving a slice with a hot cup of coffee or herbal tea. The subtle sweetness and moist texture make it a perfect start to a busy day. During brunch, I like to present it alongside fresh fruit and a dollop of whipped cream or Greek yogurt — light and refreshing. It’s a showstopper on dessert tables too, especially when topped with fresh berries or a dusting of powdered sugar. Sometimes, I even serve warmed slices with a drizzle of honey or lemon glaze for extra flair. And for those casual afternoons, it’s great as a snack with just a glass of cold milk or even almond latte. My family has loved it so much, I’ve made it for picnics and holiday gatherings — it’s like giving everyone a little slice of home baked goodness.
Top Tips for Perfecting Your Gluten-Free Zucchini Swirl Cake
Experience with this cake has taught me a few tricks to elevate it every time. First, squeezing out the moisture from the zucchini is a MUST — too much moisture can make the batter soggy or dense. I always grate and then press the zucchini in a clean kitchen towel to extract as much liquid as I can. A dry zucchini makes for a much better crumb. When mixing, be gentle but thorough — overmixing can give you a tough texture, and nobody wants that. I’ve learned to fold just until everything’s combined; a few lumps are okay. Swirling is where the magic happens visually — for those pretty marbled effects, I recommend using a skewer or a bamboo chopstick to make gentle figure eights. Want more flavor? Add a teaspoon of lemon zest or a sprinkle of cinnamon into the batter. If you’re sensitive to sweetness, tone down the sugar slightly or swap in natural sweeteners like honey or maple syrup — I’ve tried both, and they work beautifully. Remember, every oven bakes a little differently, so keep an eye on the cake around the 40-minute mark. And don’t forget: cooling completely before glazing helps the glaze set nicely, giving your cake that professional look. Trust me, this has become my favorite way to sneak veggies into dessert — and if you don’t tell anyone, they’ll never know!
Storing and Reheating Tips
This cake keeps really well, which is such a bonus. After it’s cooled completely, I store leftovers in an airtight container at room temperature for up to 2 days, covered with a clean towel if it’s not too humid — just keep an eye out for any moisture buildup. For longer storage, transfer it to the refrigerator, where it will stay fresh for about 4 days. I recommend slicing just before serving, as the moisture can cause it to get a little sticky if left whole for too long. If you need to freeze leftovers, wrap individual slices tightly in plastic wrap then pop them in a freezer bag. They’ll stay good for a month or more. When you’re ready to enjoy, reheat slices in the microwave for about 15-20 seconds, or warm them gently in a low oven. If you’re adding glaze or toppings, do so after reheating to keep everything looking and tasting fresh.
Frequently Asked Questions
Final Thoughts
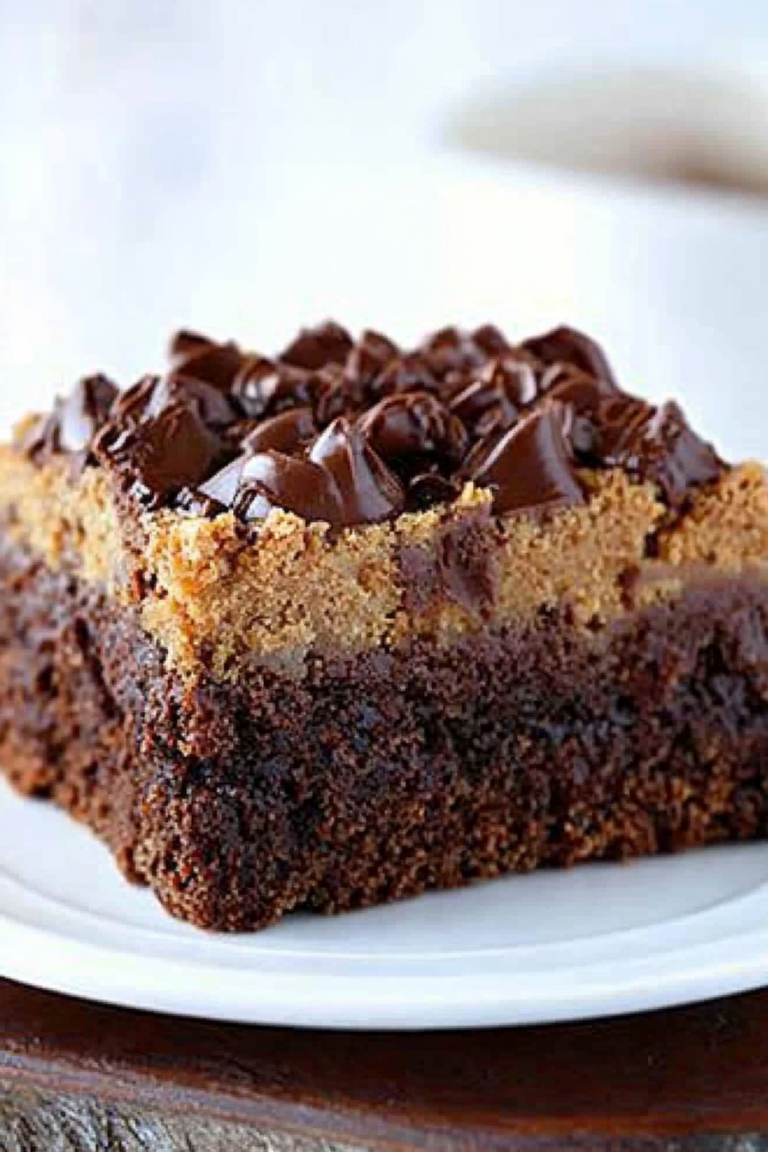
There’s something truly special about this gluten-free zucchini swirl cake. It’s wholesome yet indulgent, simple enough for a weeknight treat but pretty enough to serve at a dinner party. The fact that it’s versatile — with different fillings and toppings — makes it a favorite in my kitchen. Every time I make it, I’m reminded of how nourishing and comforting food can be, even when it’s wrapped in a layer of rich, chocolatey or fruity goodness. Honestly, once you try this, I bet it’ll become a regular in your baking rotation too. I encourage you to experiment with the fillings and flavors — add a dash of cinnamon, swap in your favorite fruit preserves, or even fold in some chopped nuts. I’d love to hear how yours turns out! Drop a comment or share your variations — baking is so much more fun when it’s personalized. Happy baking, and enjoy every delicious slice!
ginger cookies
Ingredients
Method
- Preheat oven to 375°F. Line baking sheet with parchment paper and set aside.
- Combine butter and brown sugar in a large mixing bowl. Beat until fluffy. Add egg and molasses, mix well.
- Add flour, baking soda, cinnamon, ginger, cloves, and salt. Mix until combined.
- Use a cookie scoop to shape dough into balls. Roll each ball in cinnamon sugar mixture and place on prepared baking sheet.
- Bake for 8 minutes or until edges are firm. Cool on baking sheet for 2 minutes, then transfer to wire rack to cool completely.
- Melt white chocolate according to package instructions. Dip half of each cooled cookie into melted chocolate and place on parchment paper to set.

That recipe looks amazing! I love how you described the kids’ reaction—it really shows how special home baking can be.
That recipe brought back such sweet memories! My kids loved it too—especially the swirls. Definitely adding this to our baking list again soon.
That sounds absolutely delicious—I can almost taste it! Your kids’ reaction makes me want to try baking it this weekend.
This recipe sounds amazing—I love how it brings back those cozy Sunday memories! Can’t wait to try it with my own family.